Finding Home

OVA East: Finding Home Exhibtion

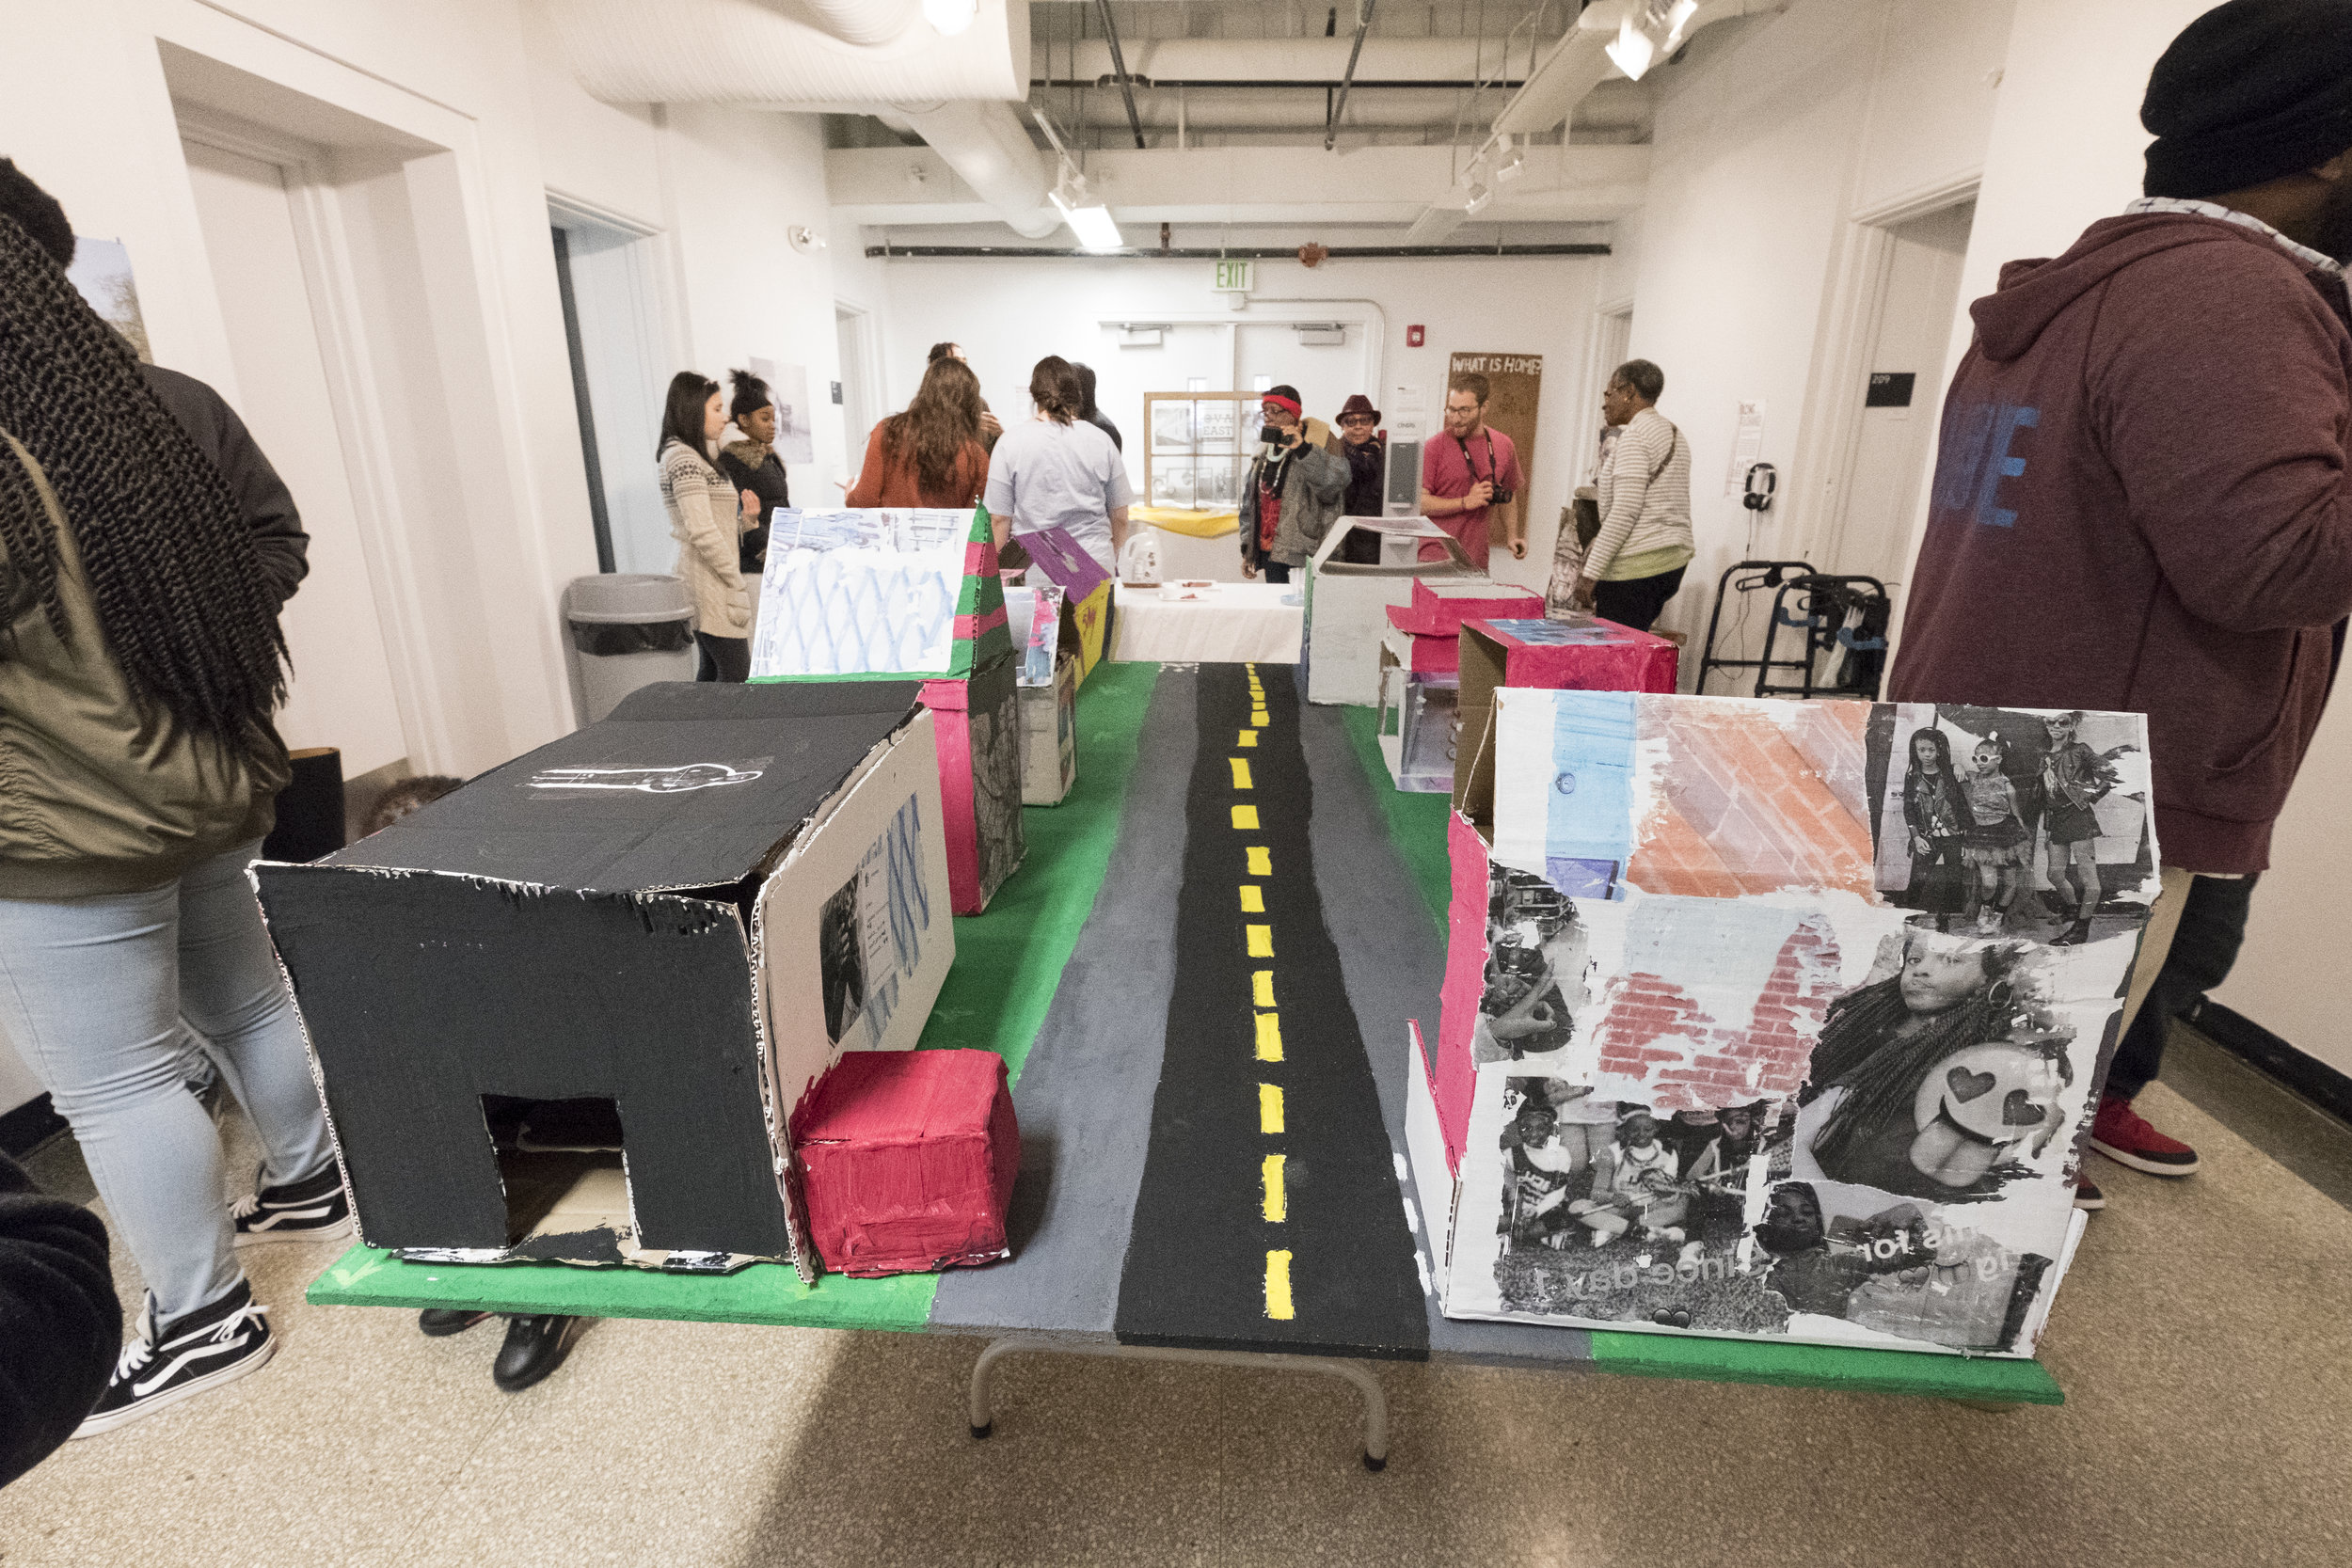
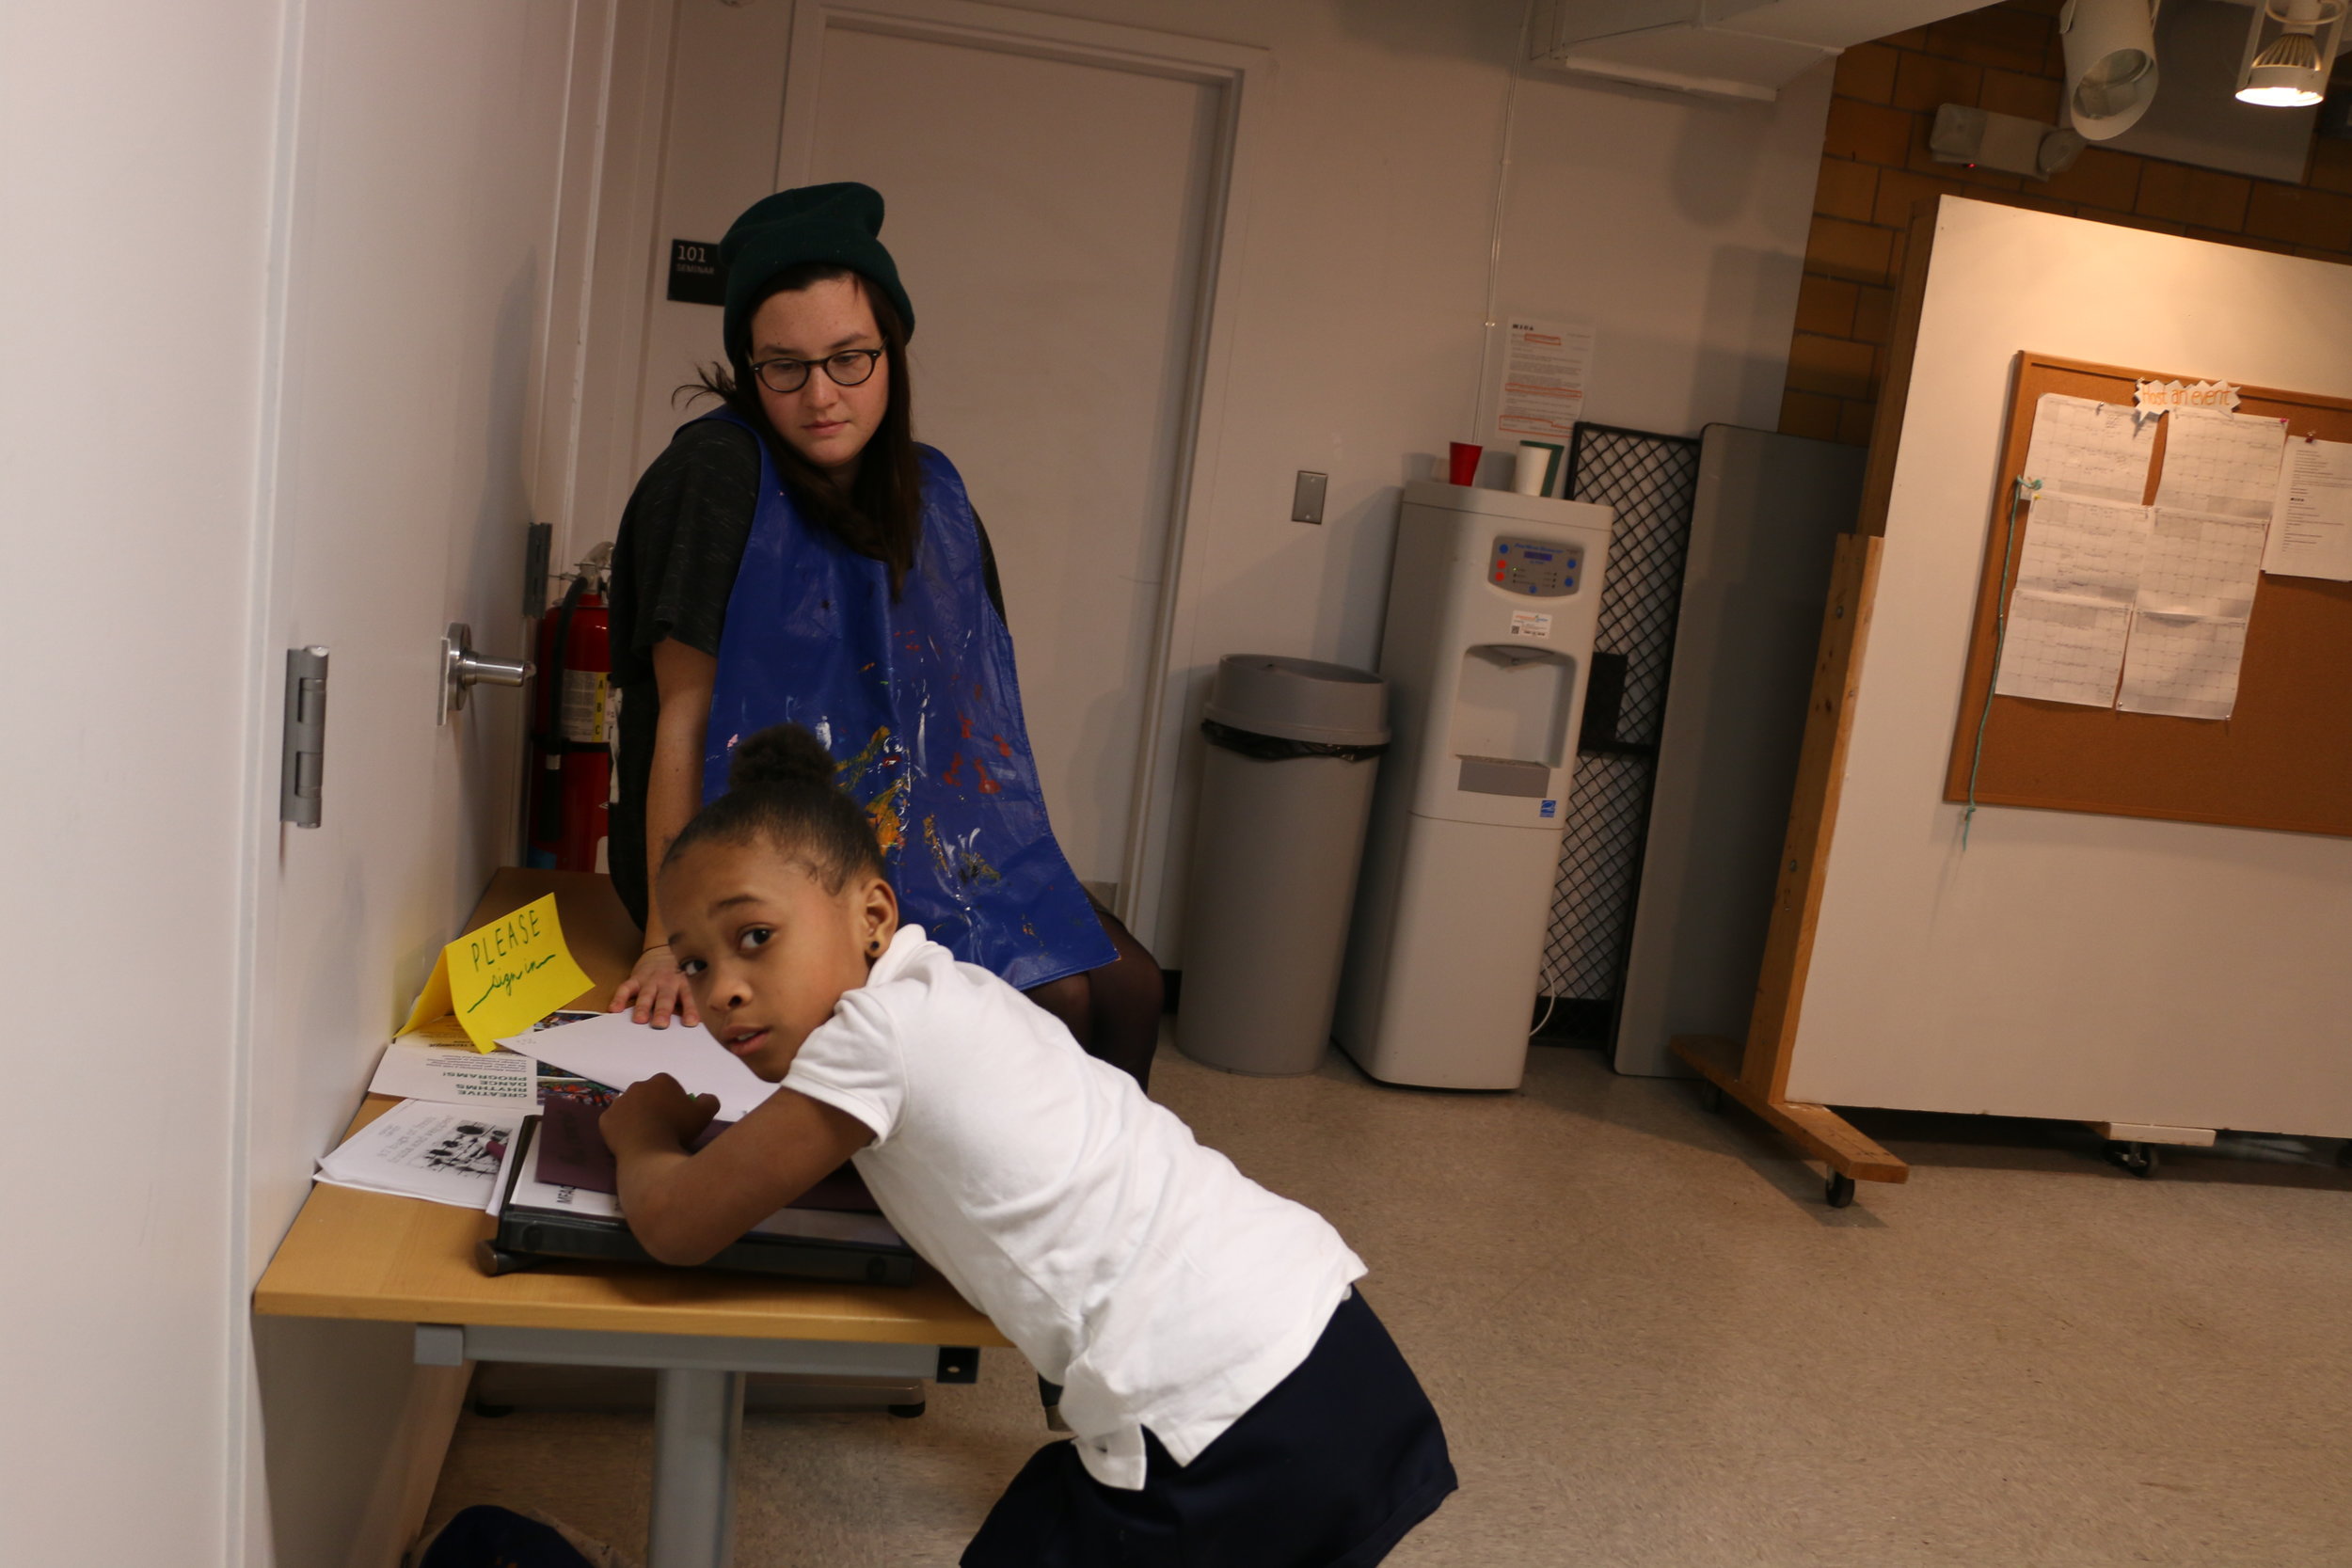
This March, Baltimore United Viewfinders Collective hosted OVA East: Finding Home, an exhibition, workshop, performance, and open mic at MICA PLACE. Let me tell you about the various elements that made up this event. 

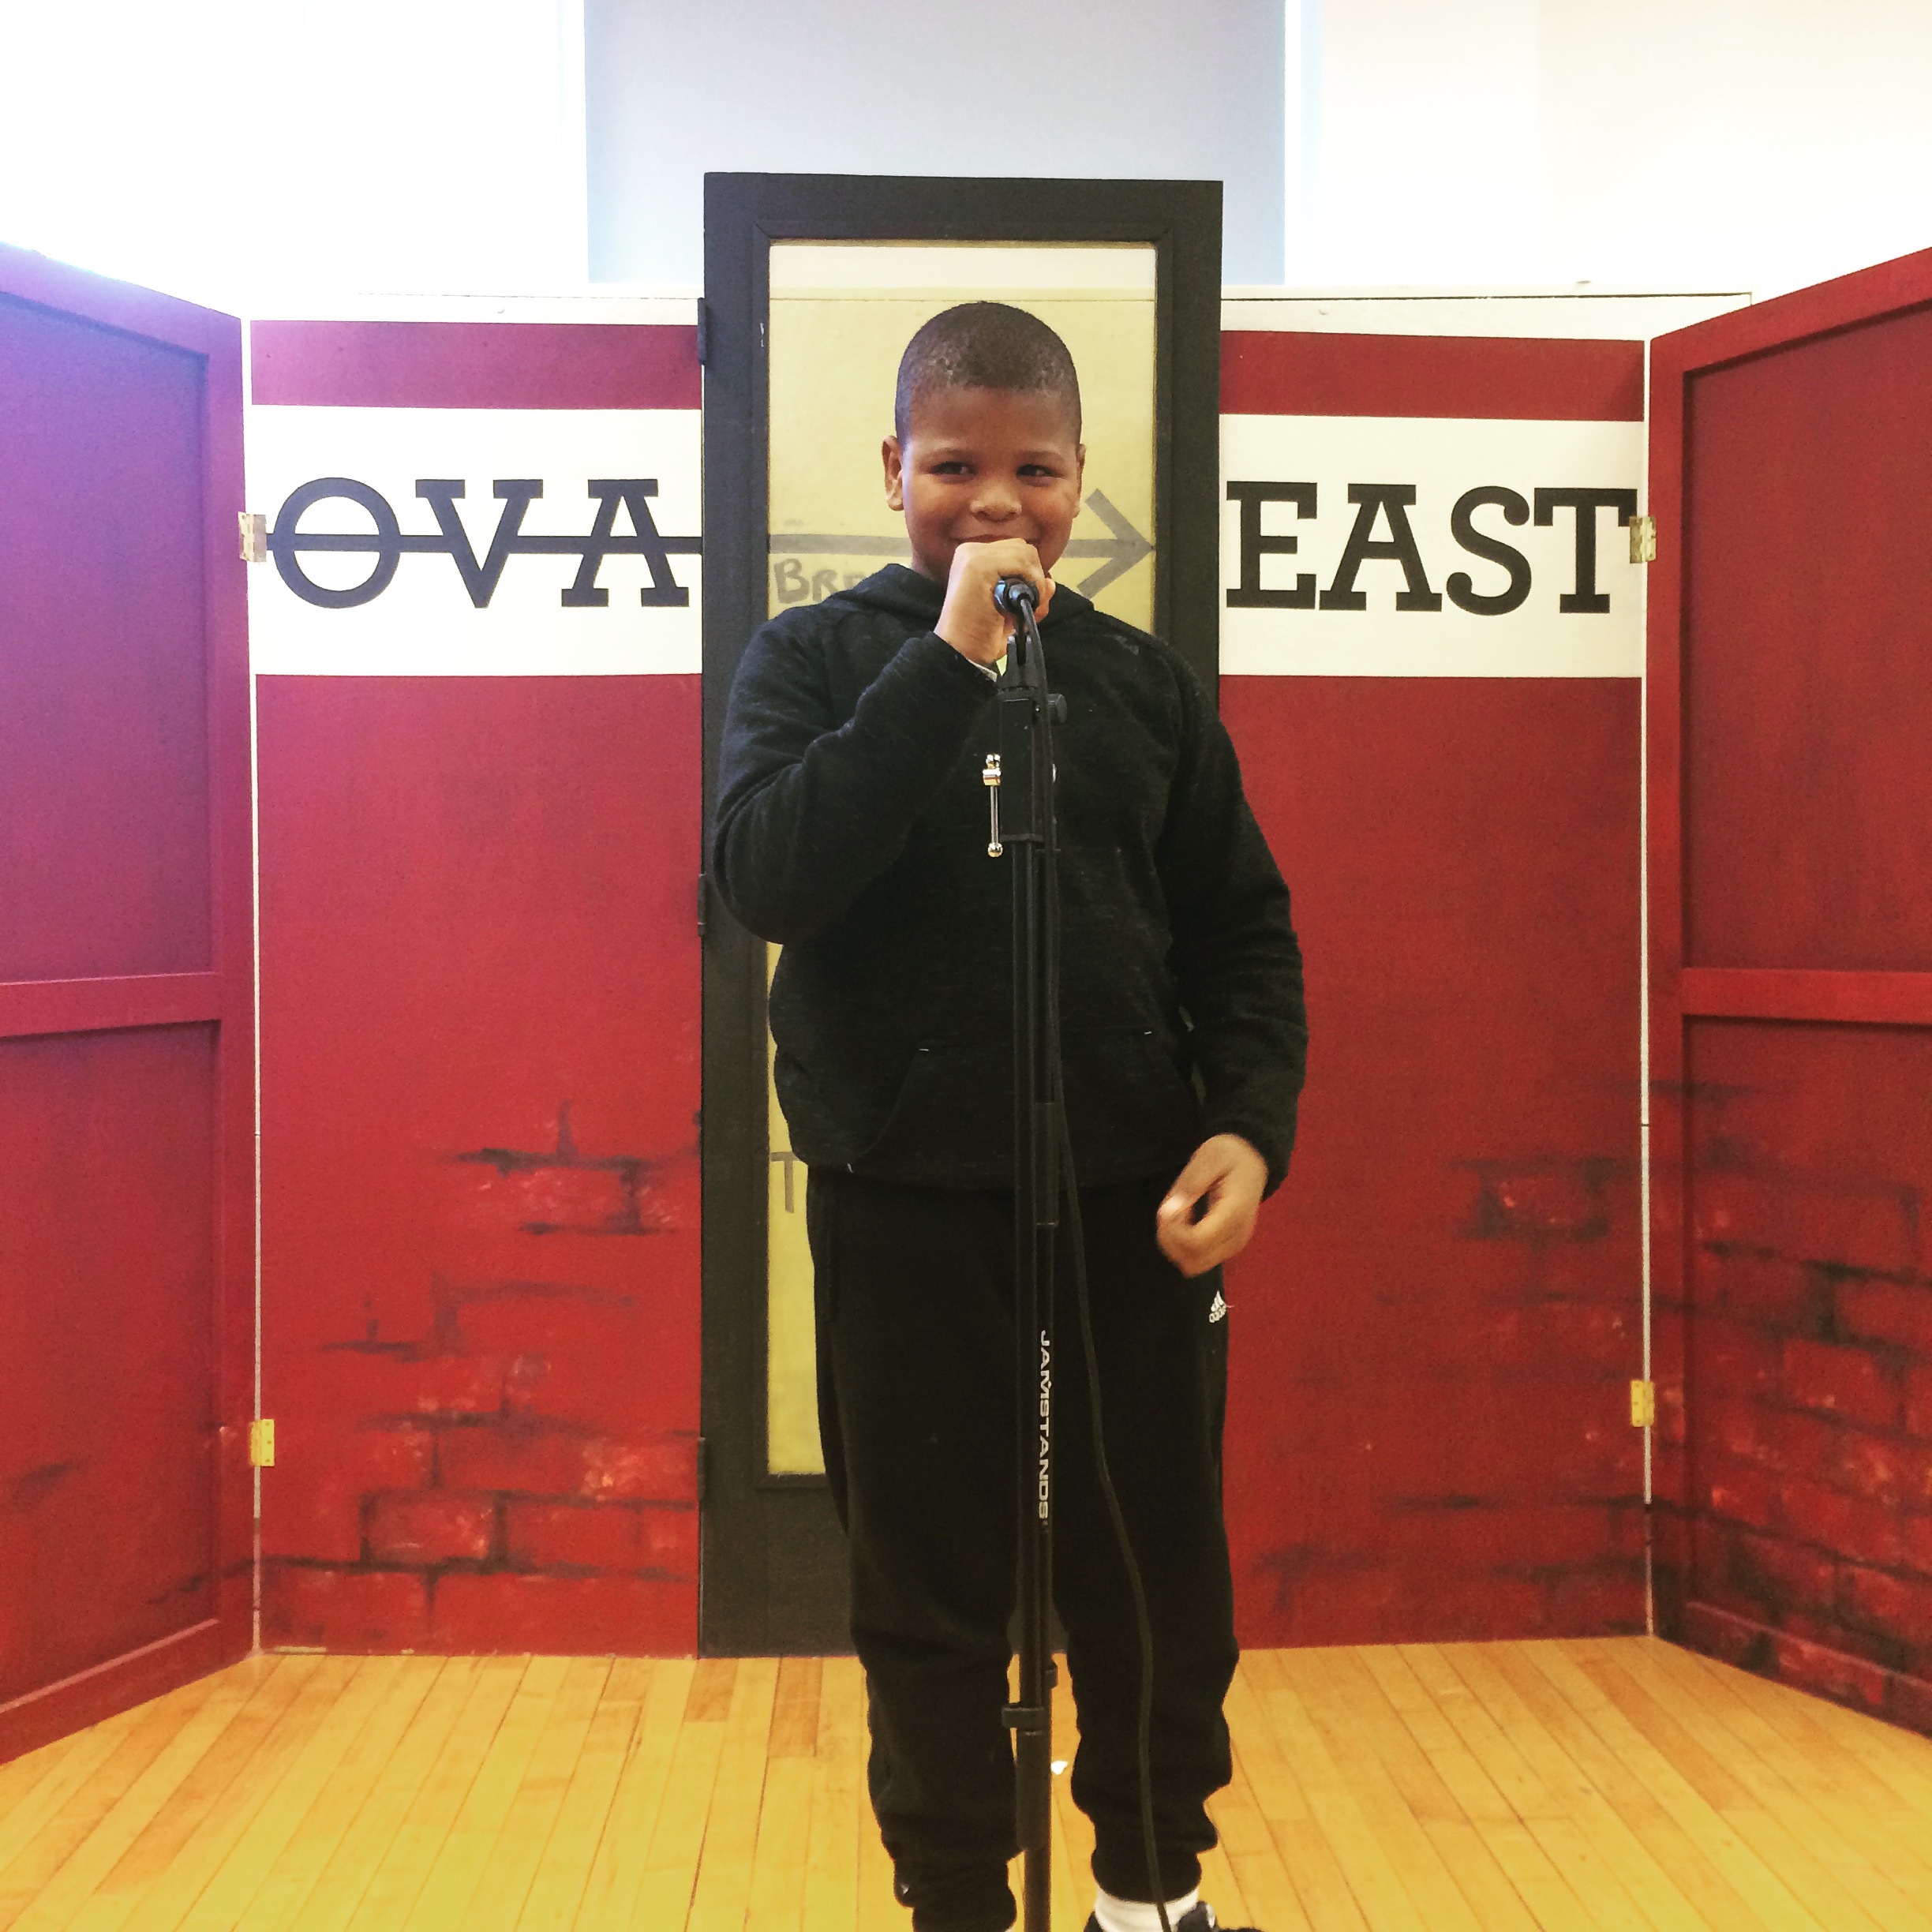
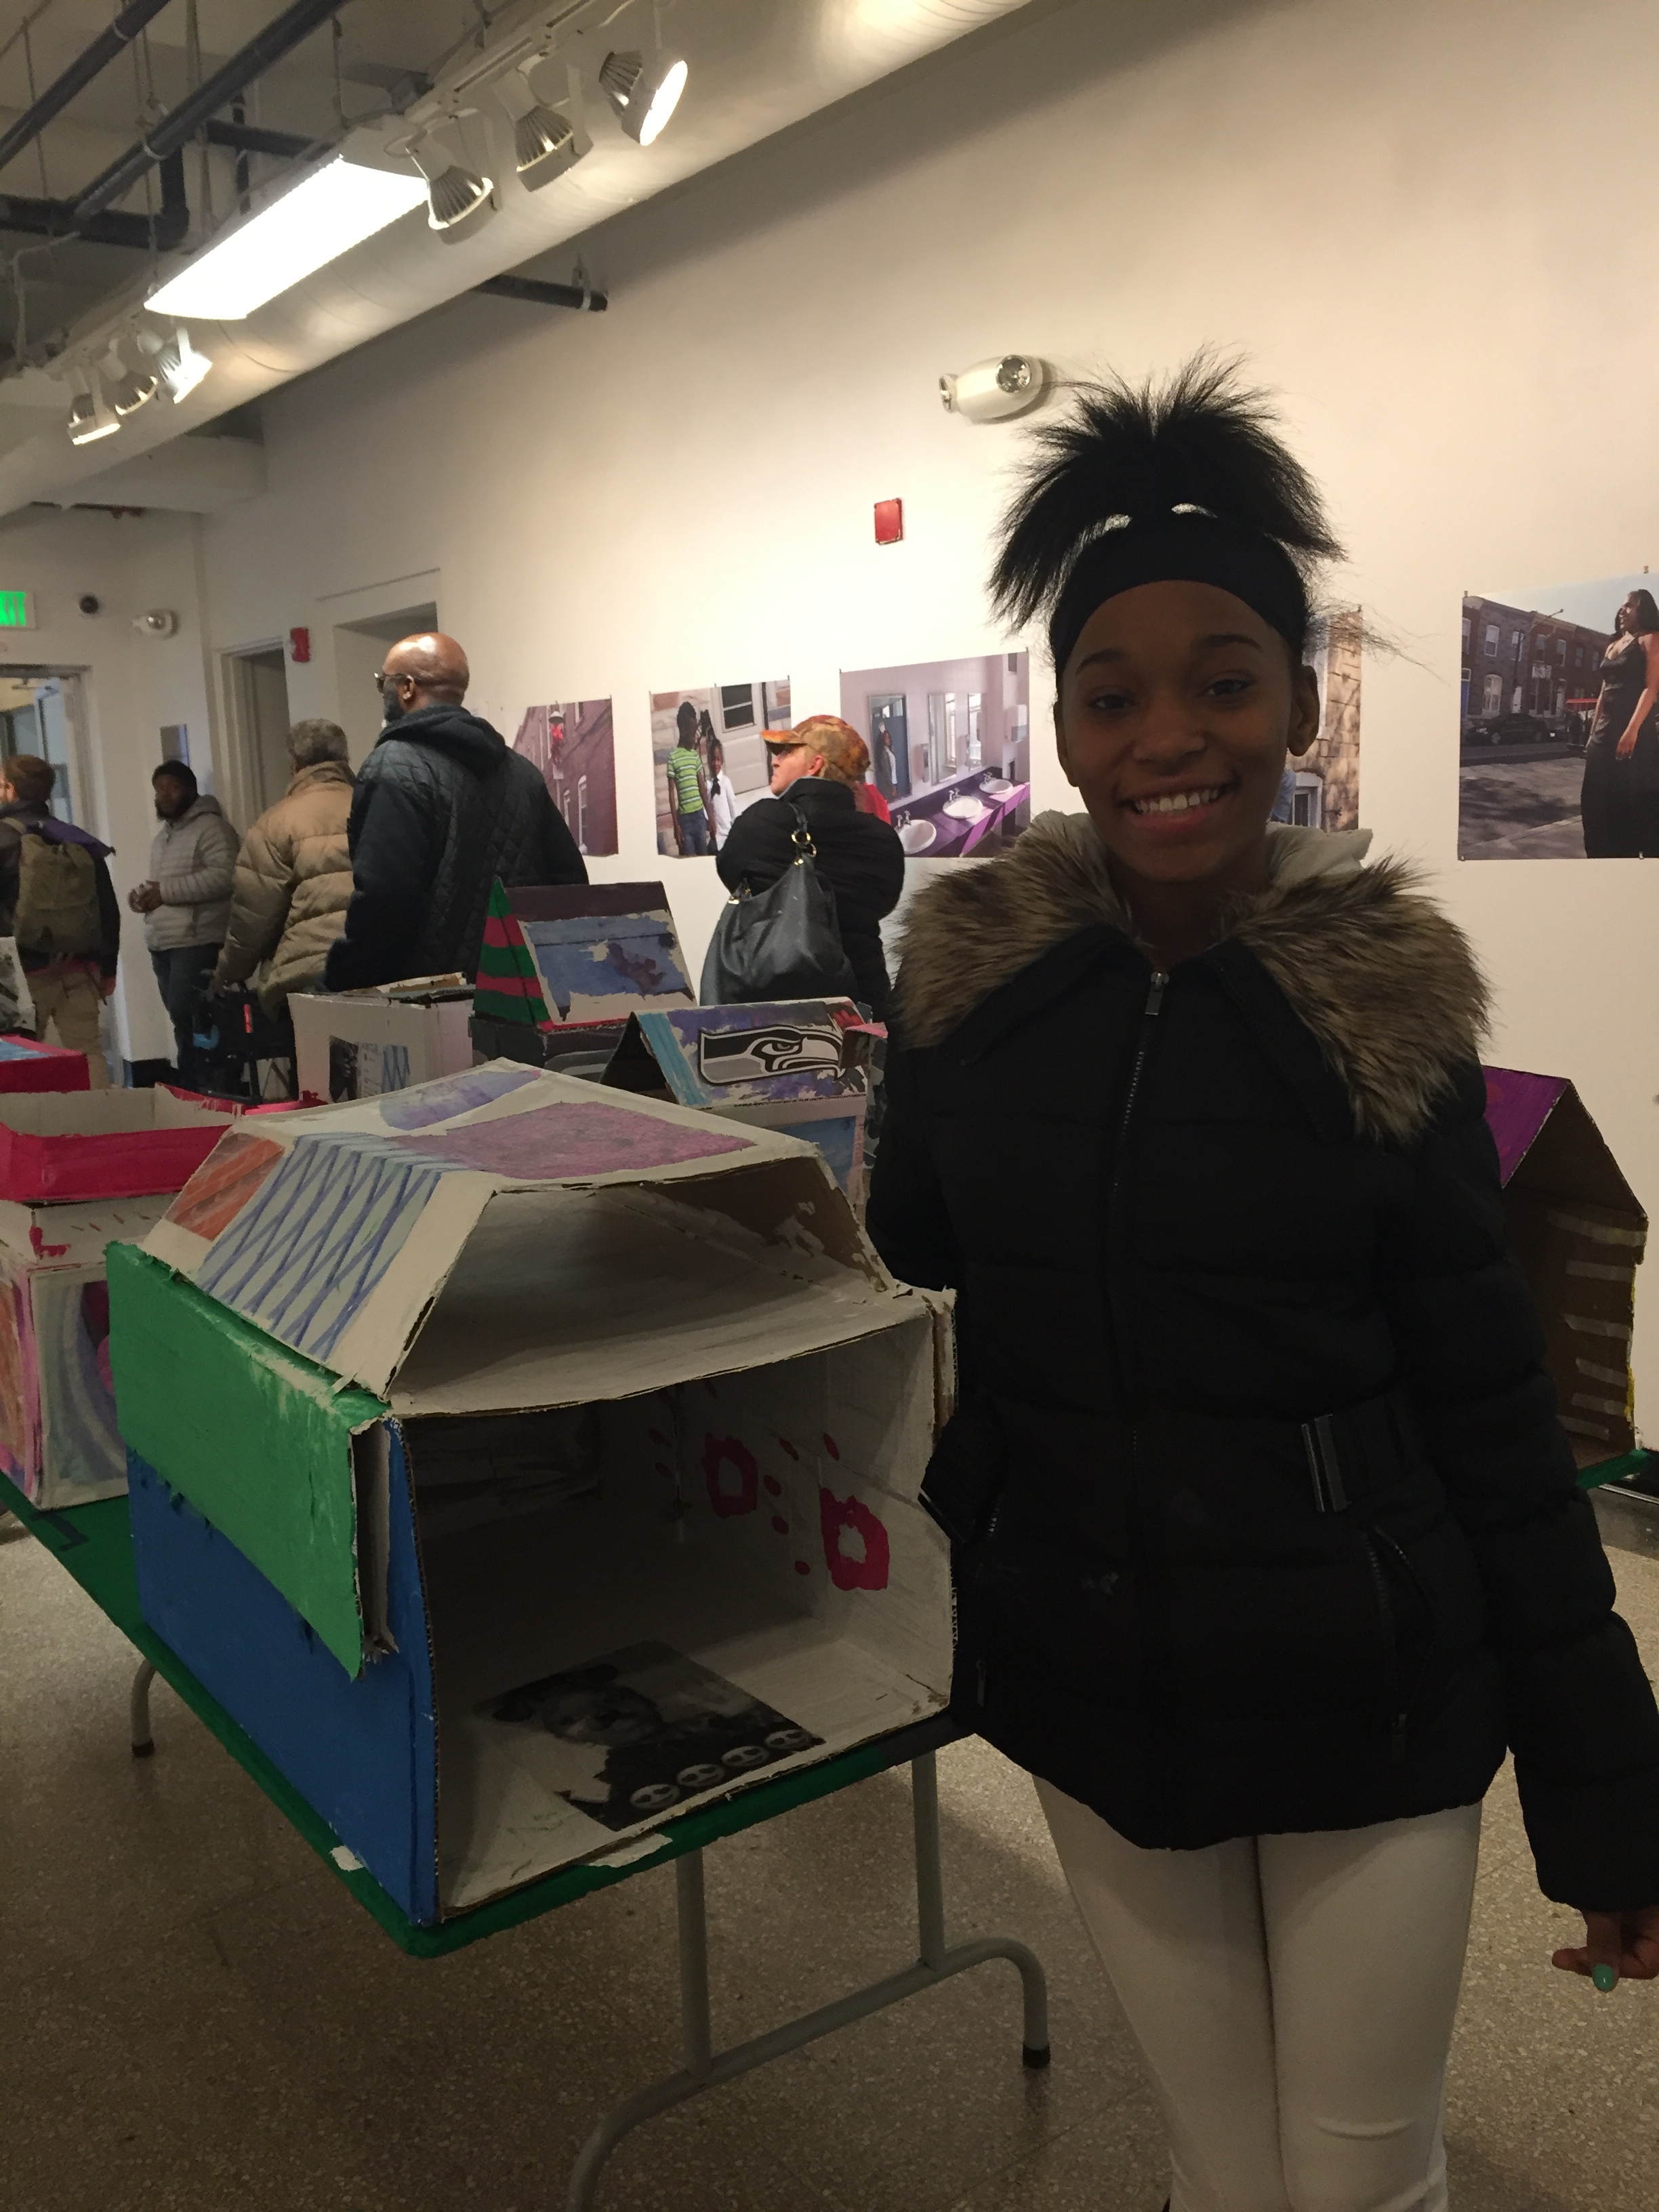
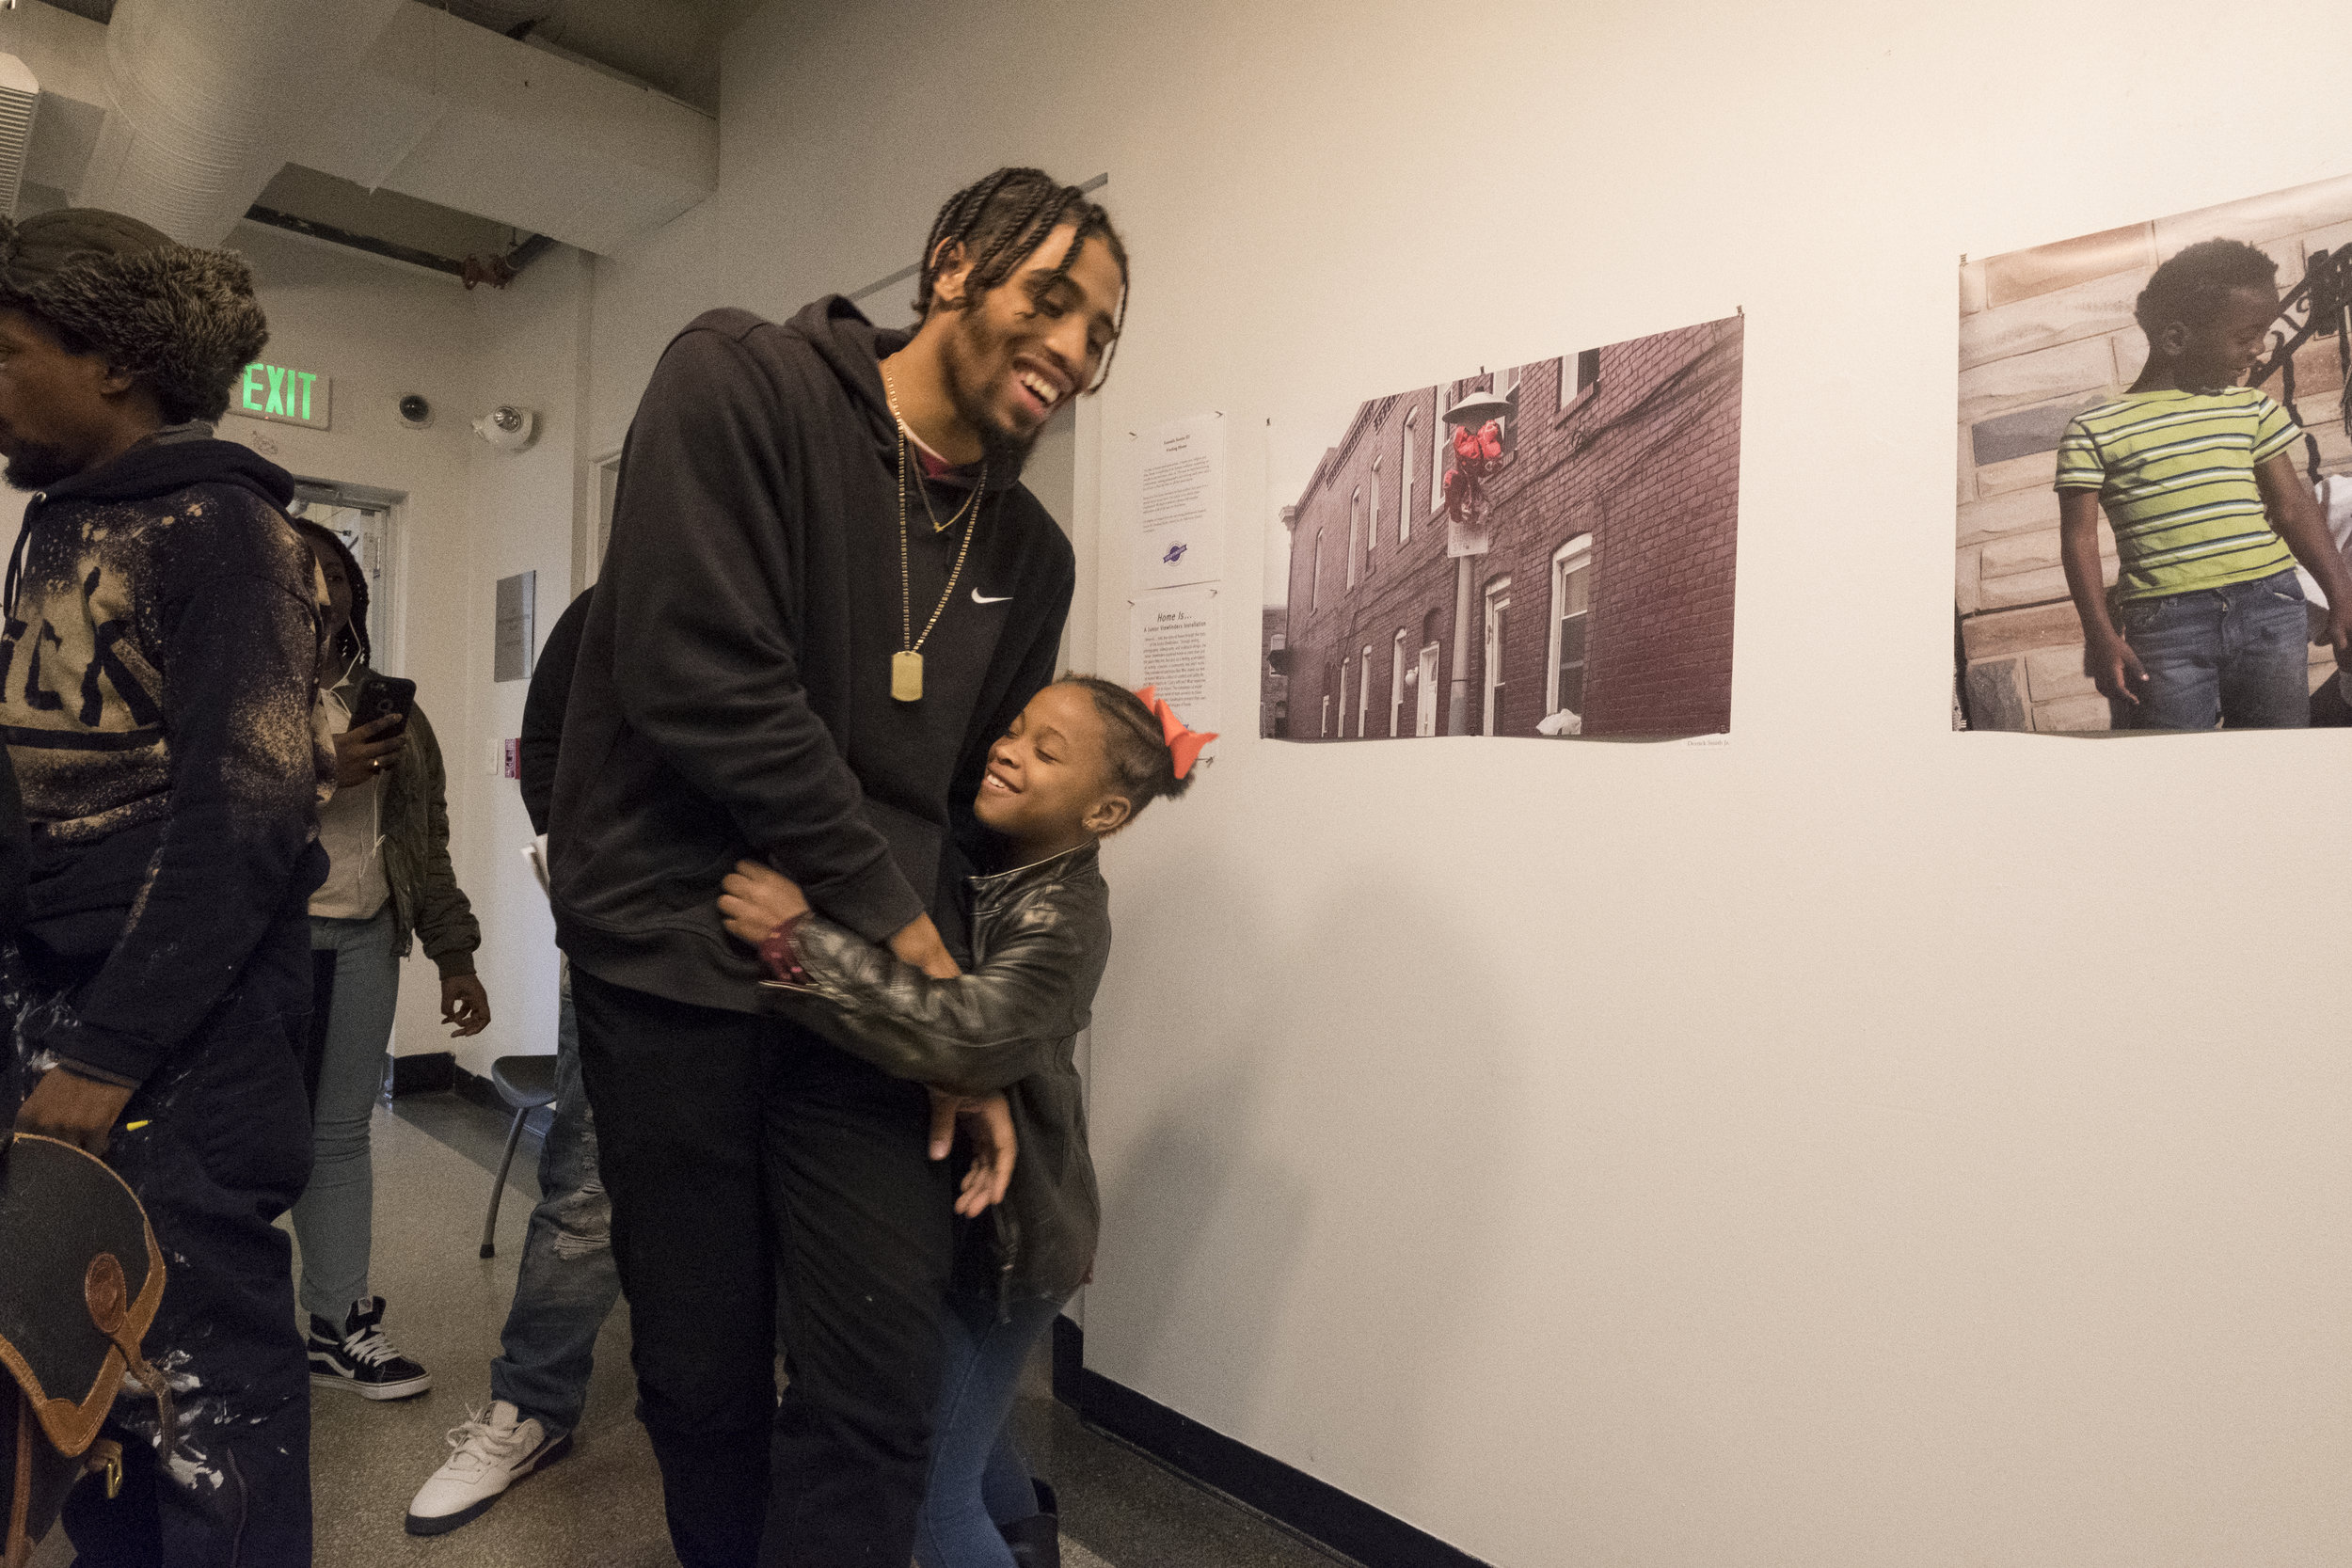
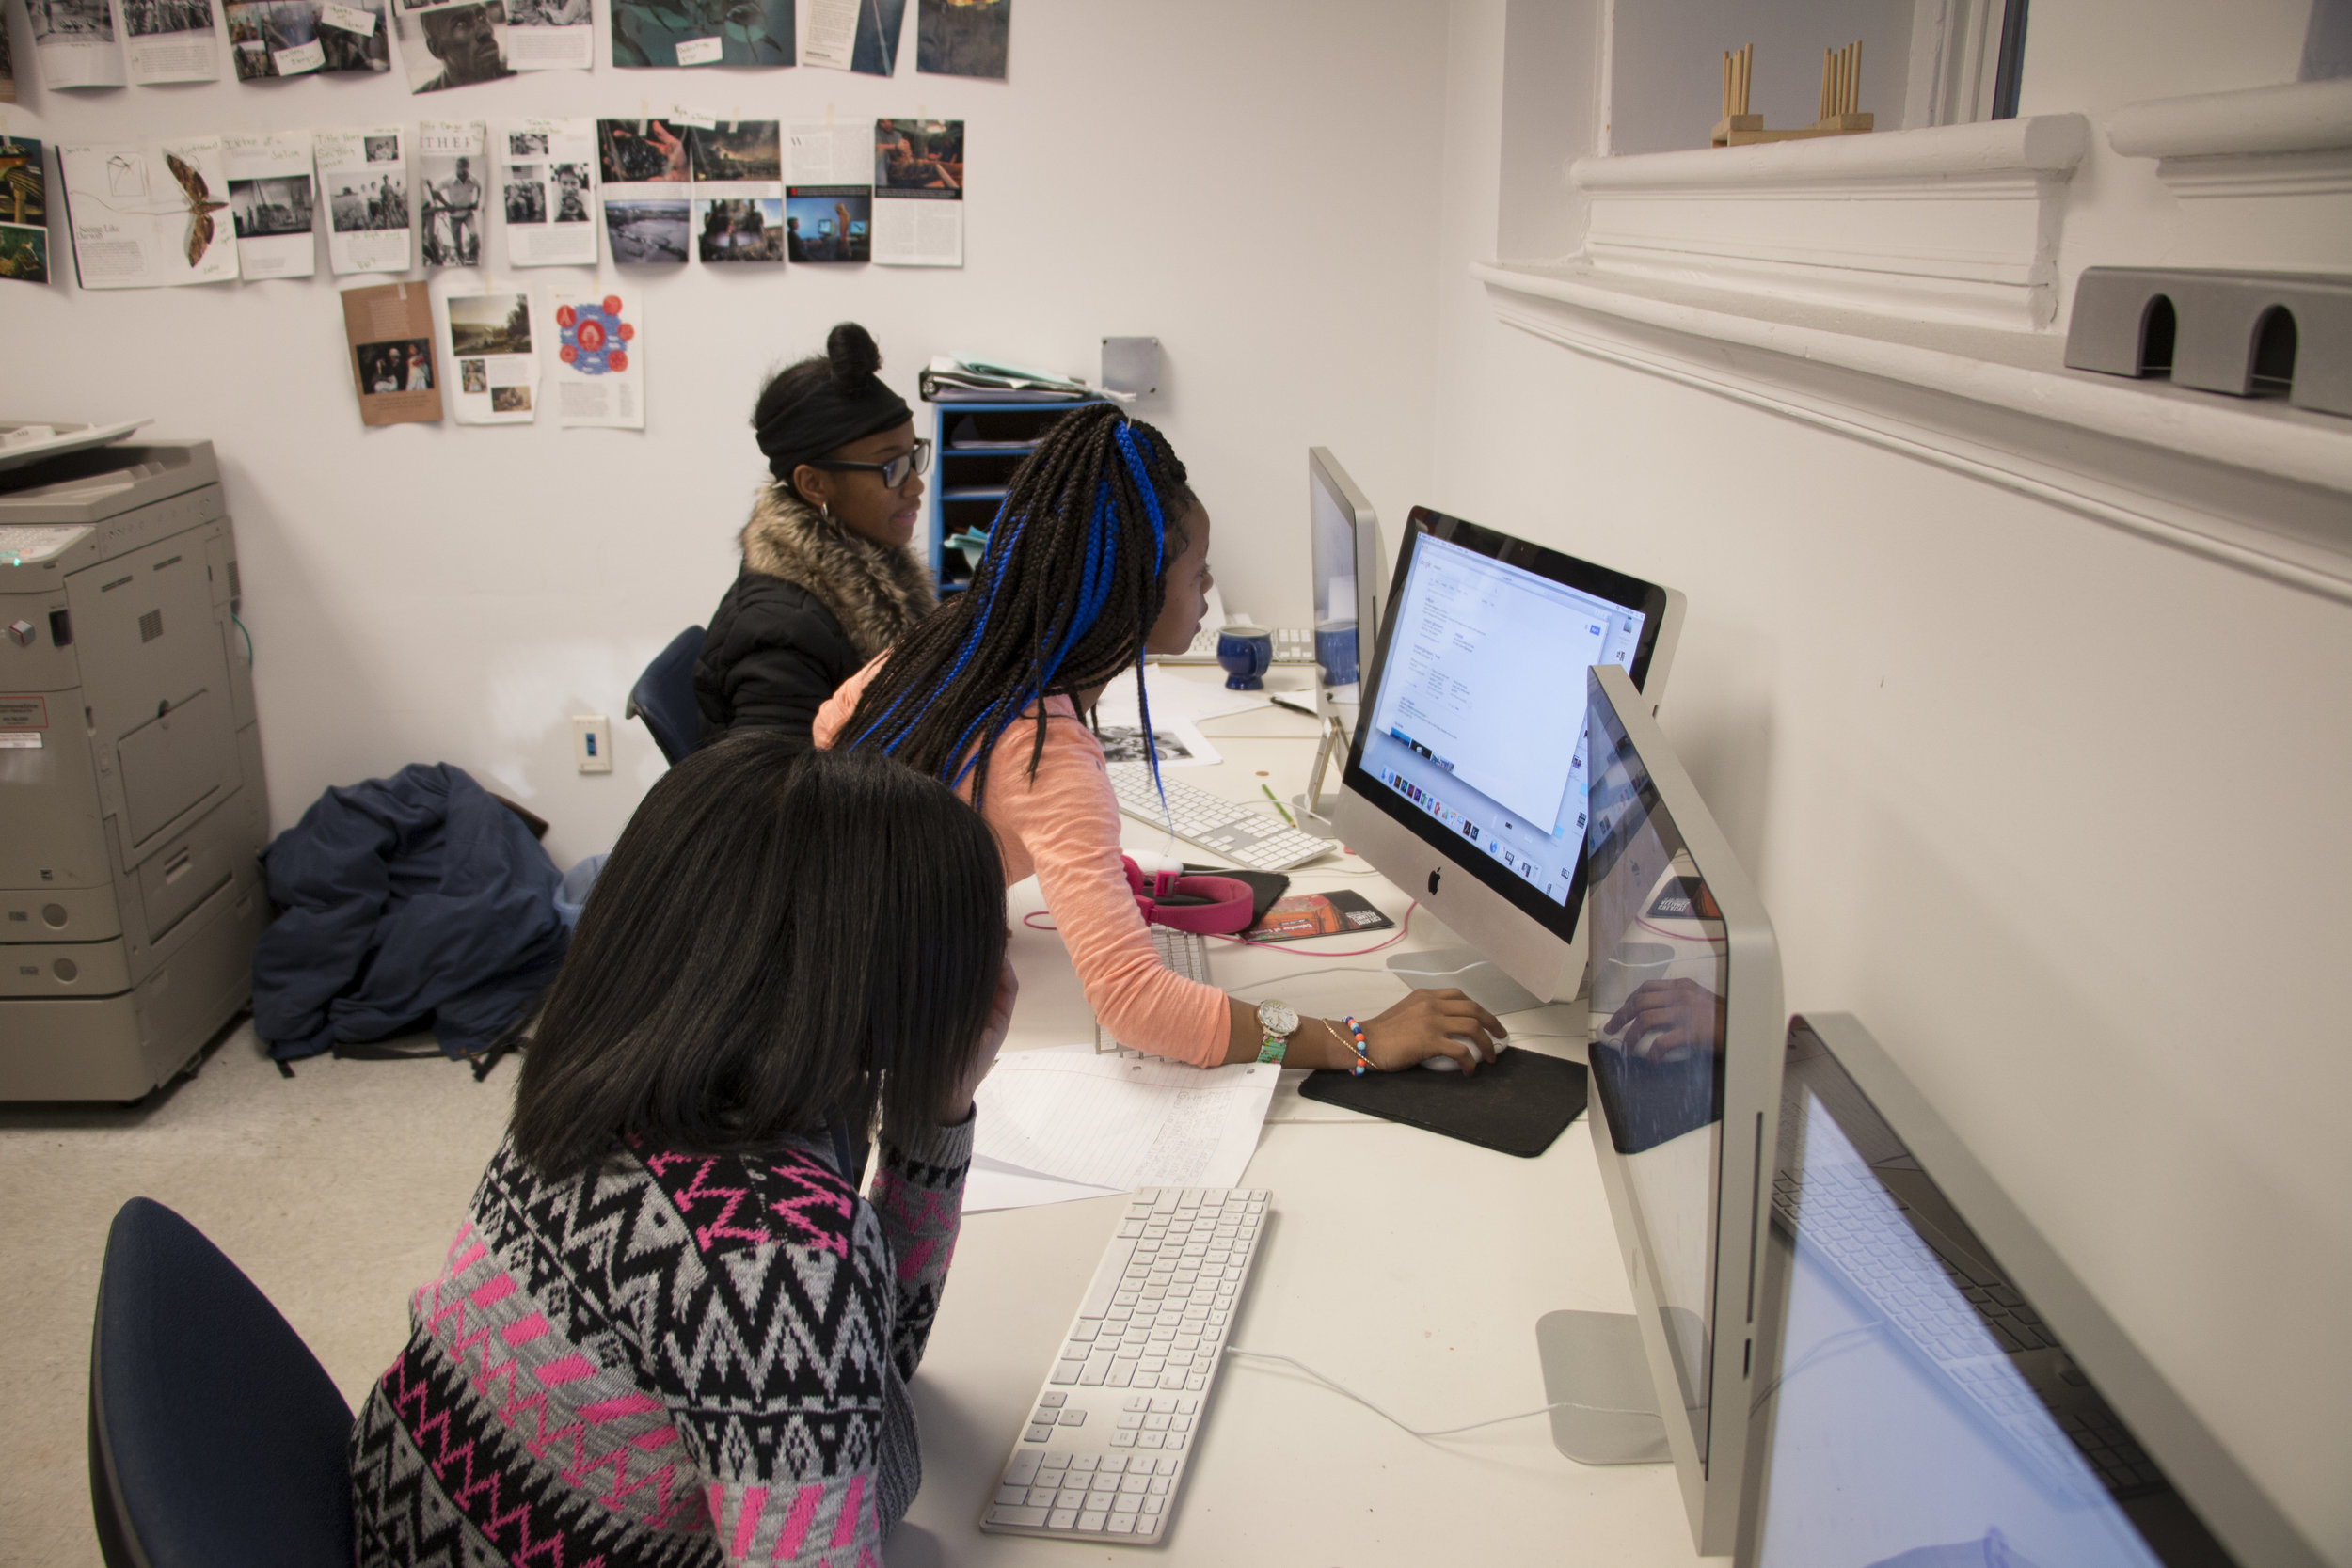
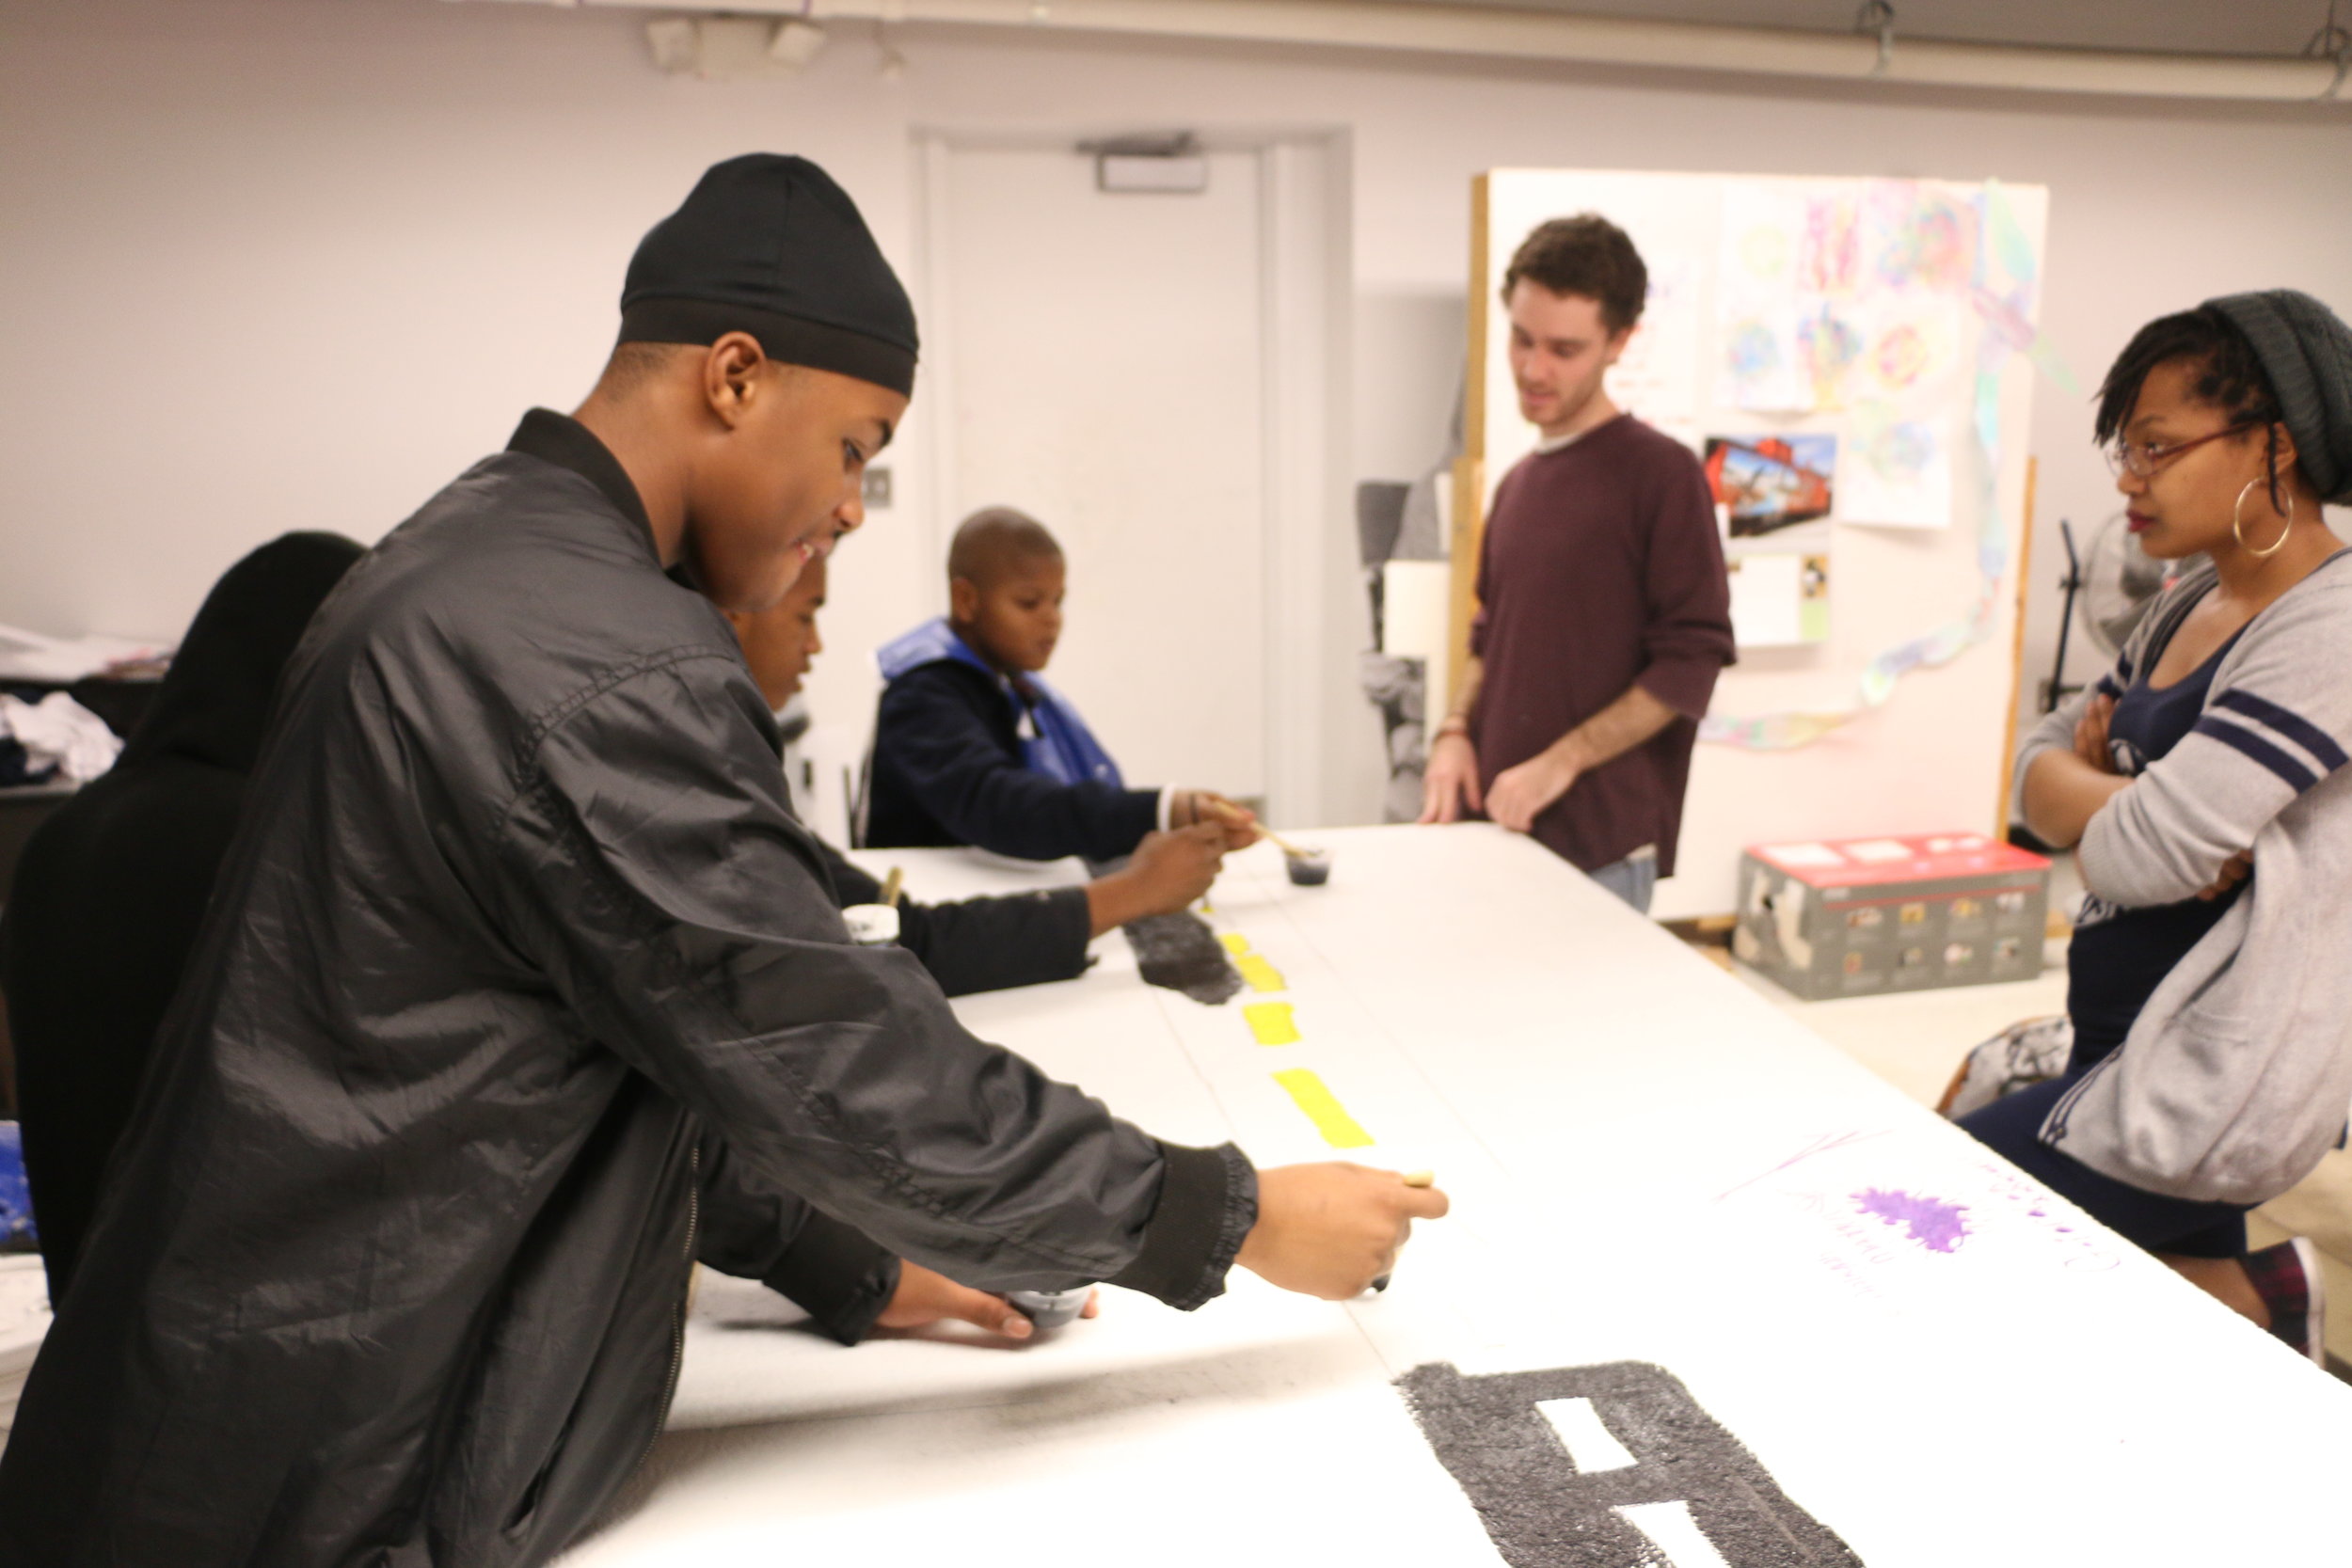
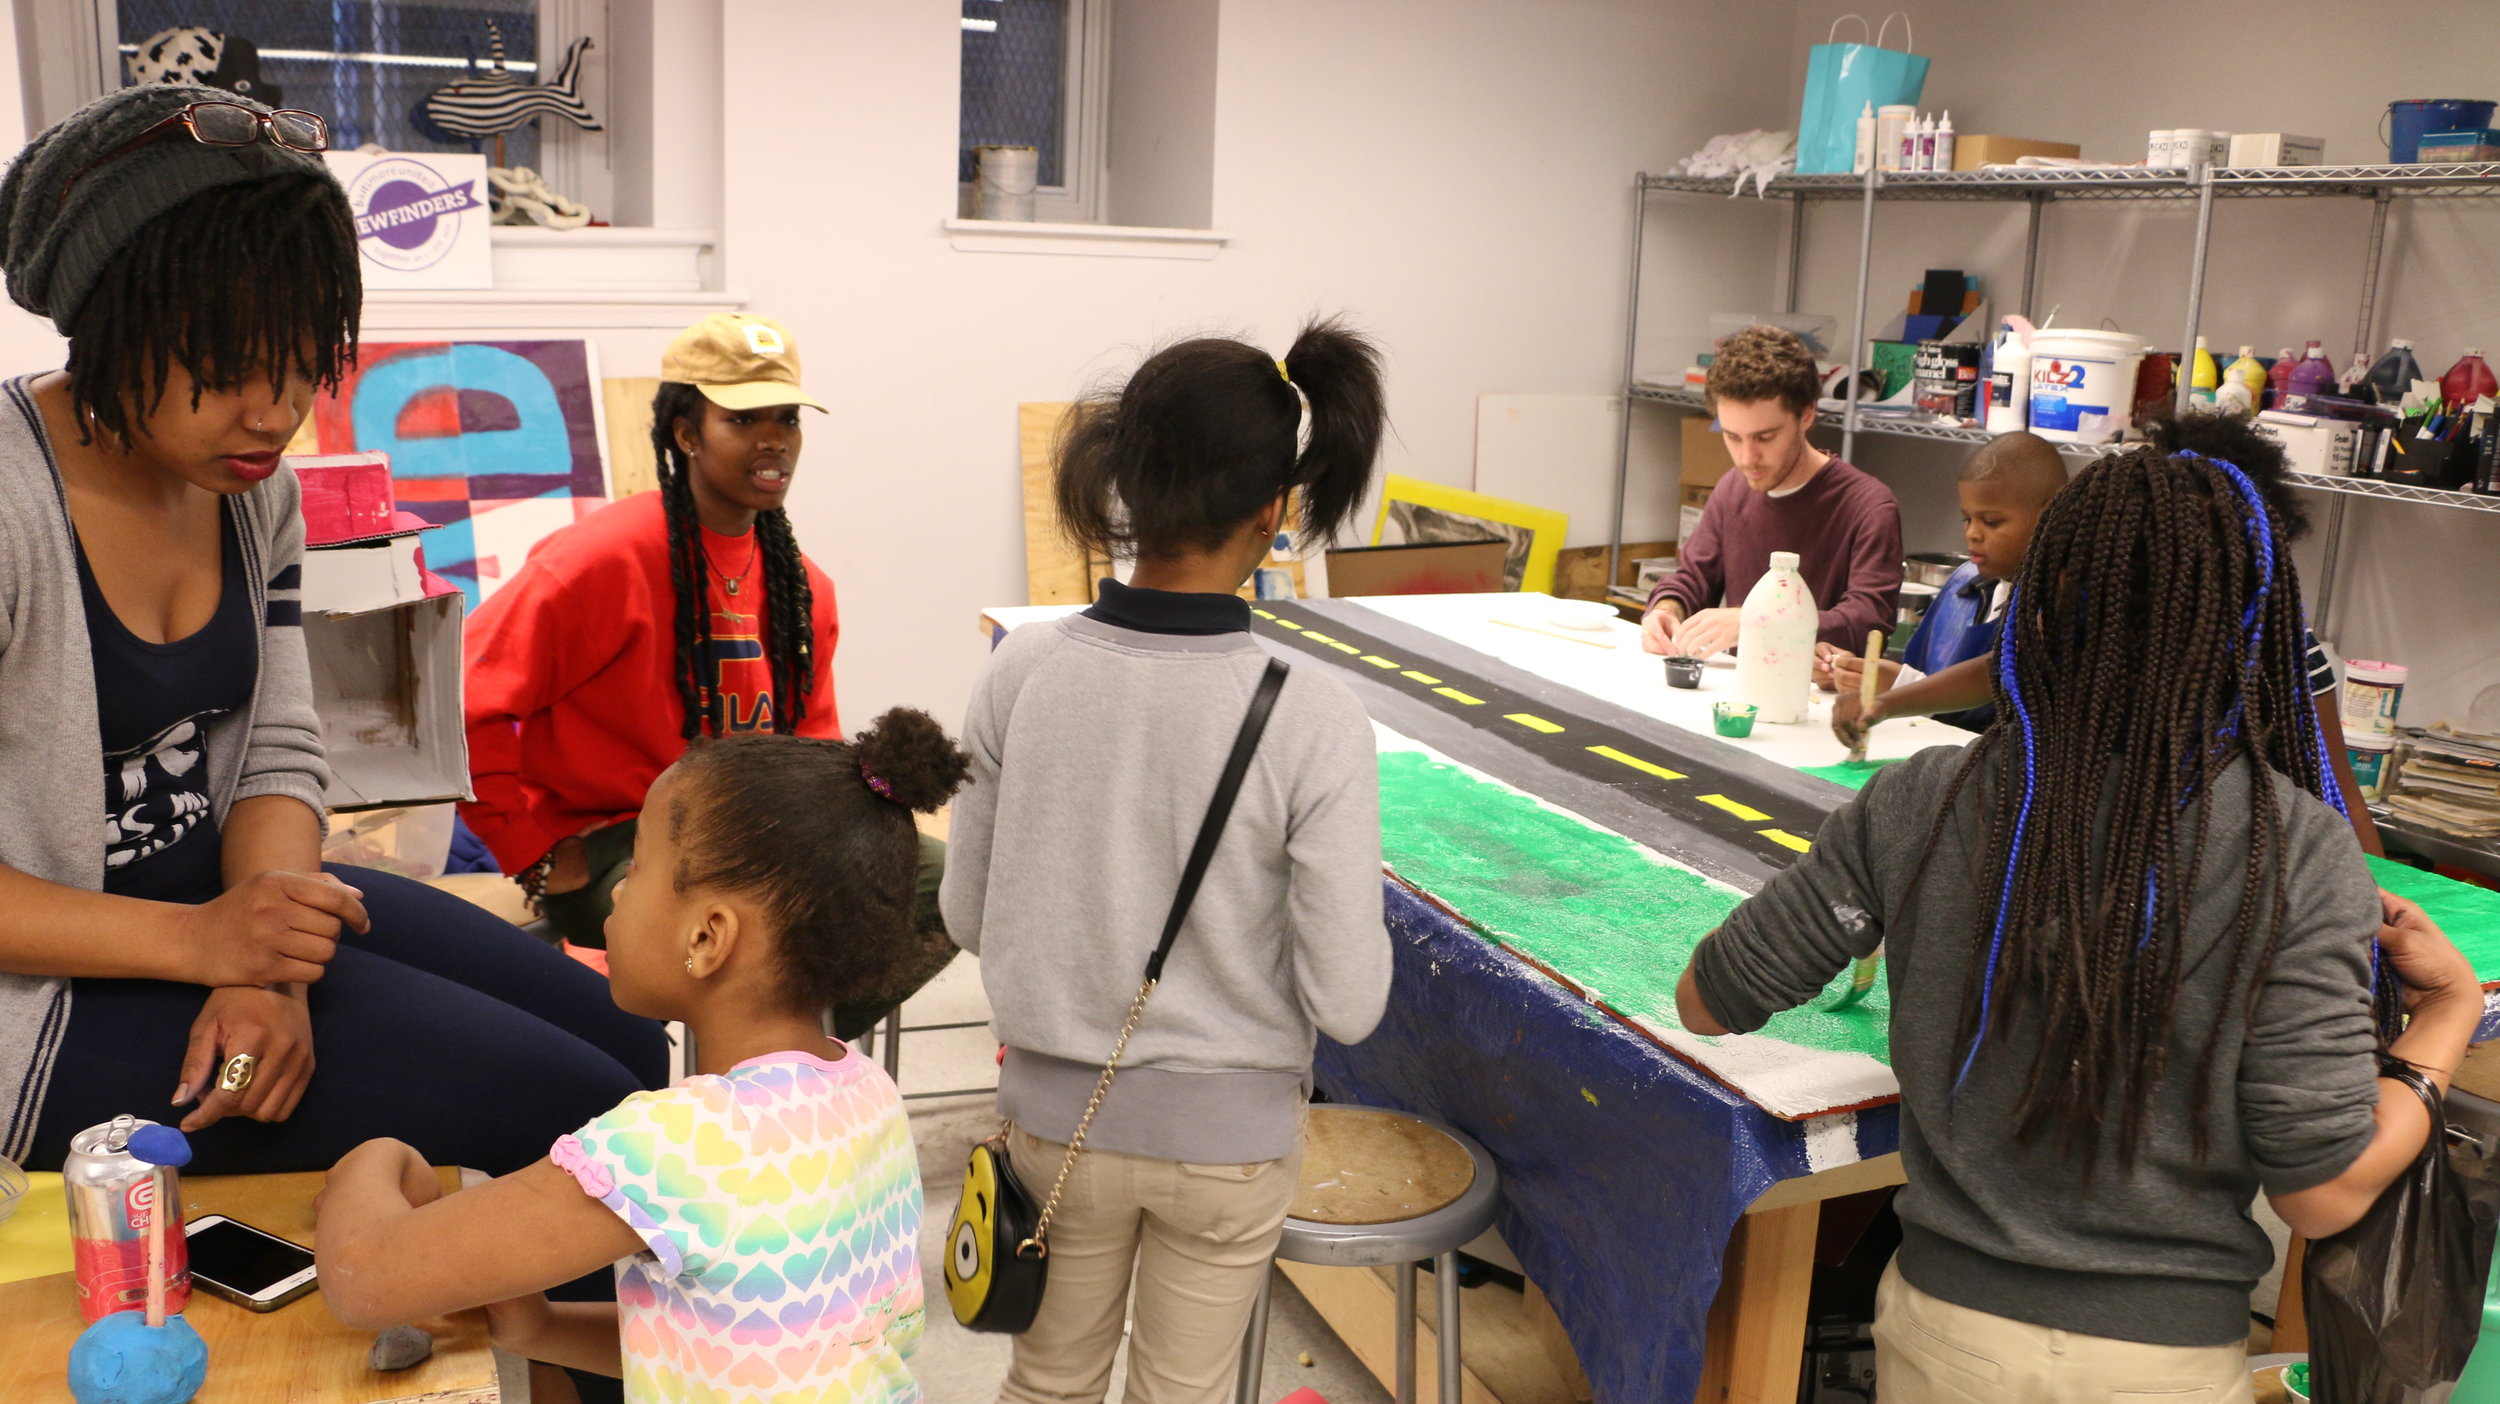
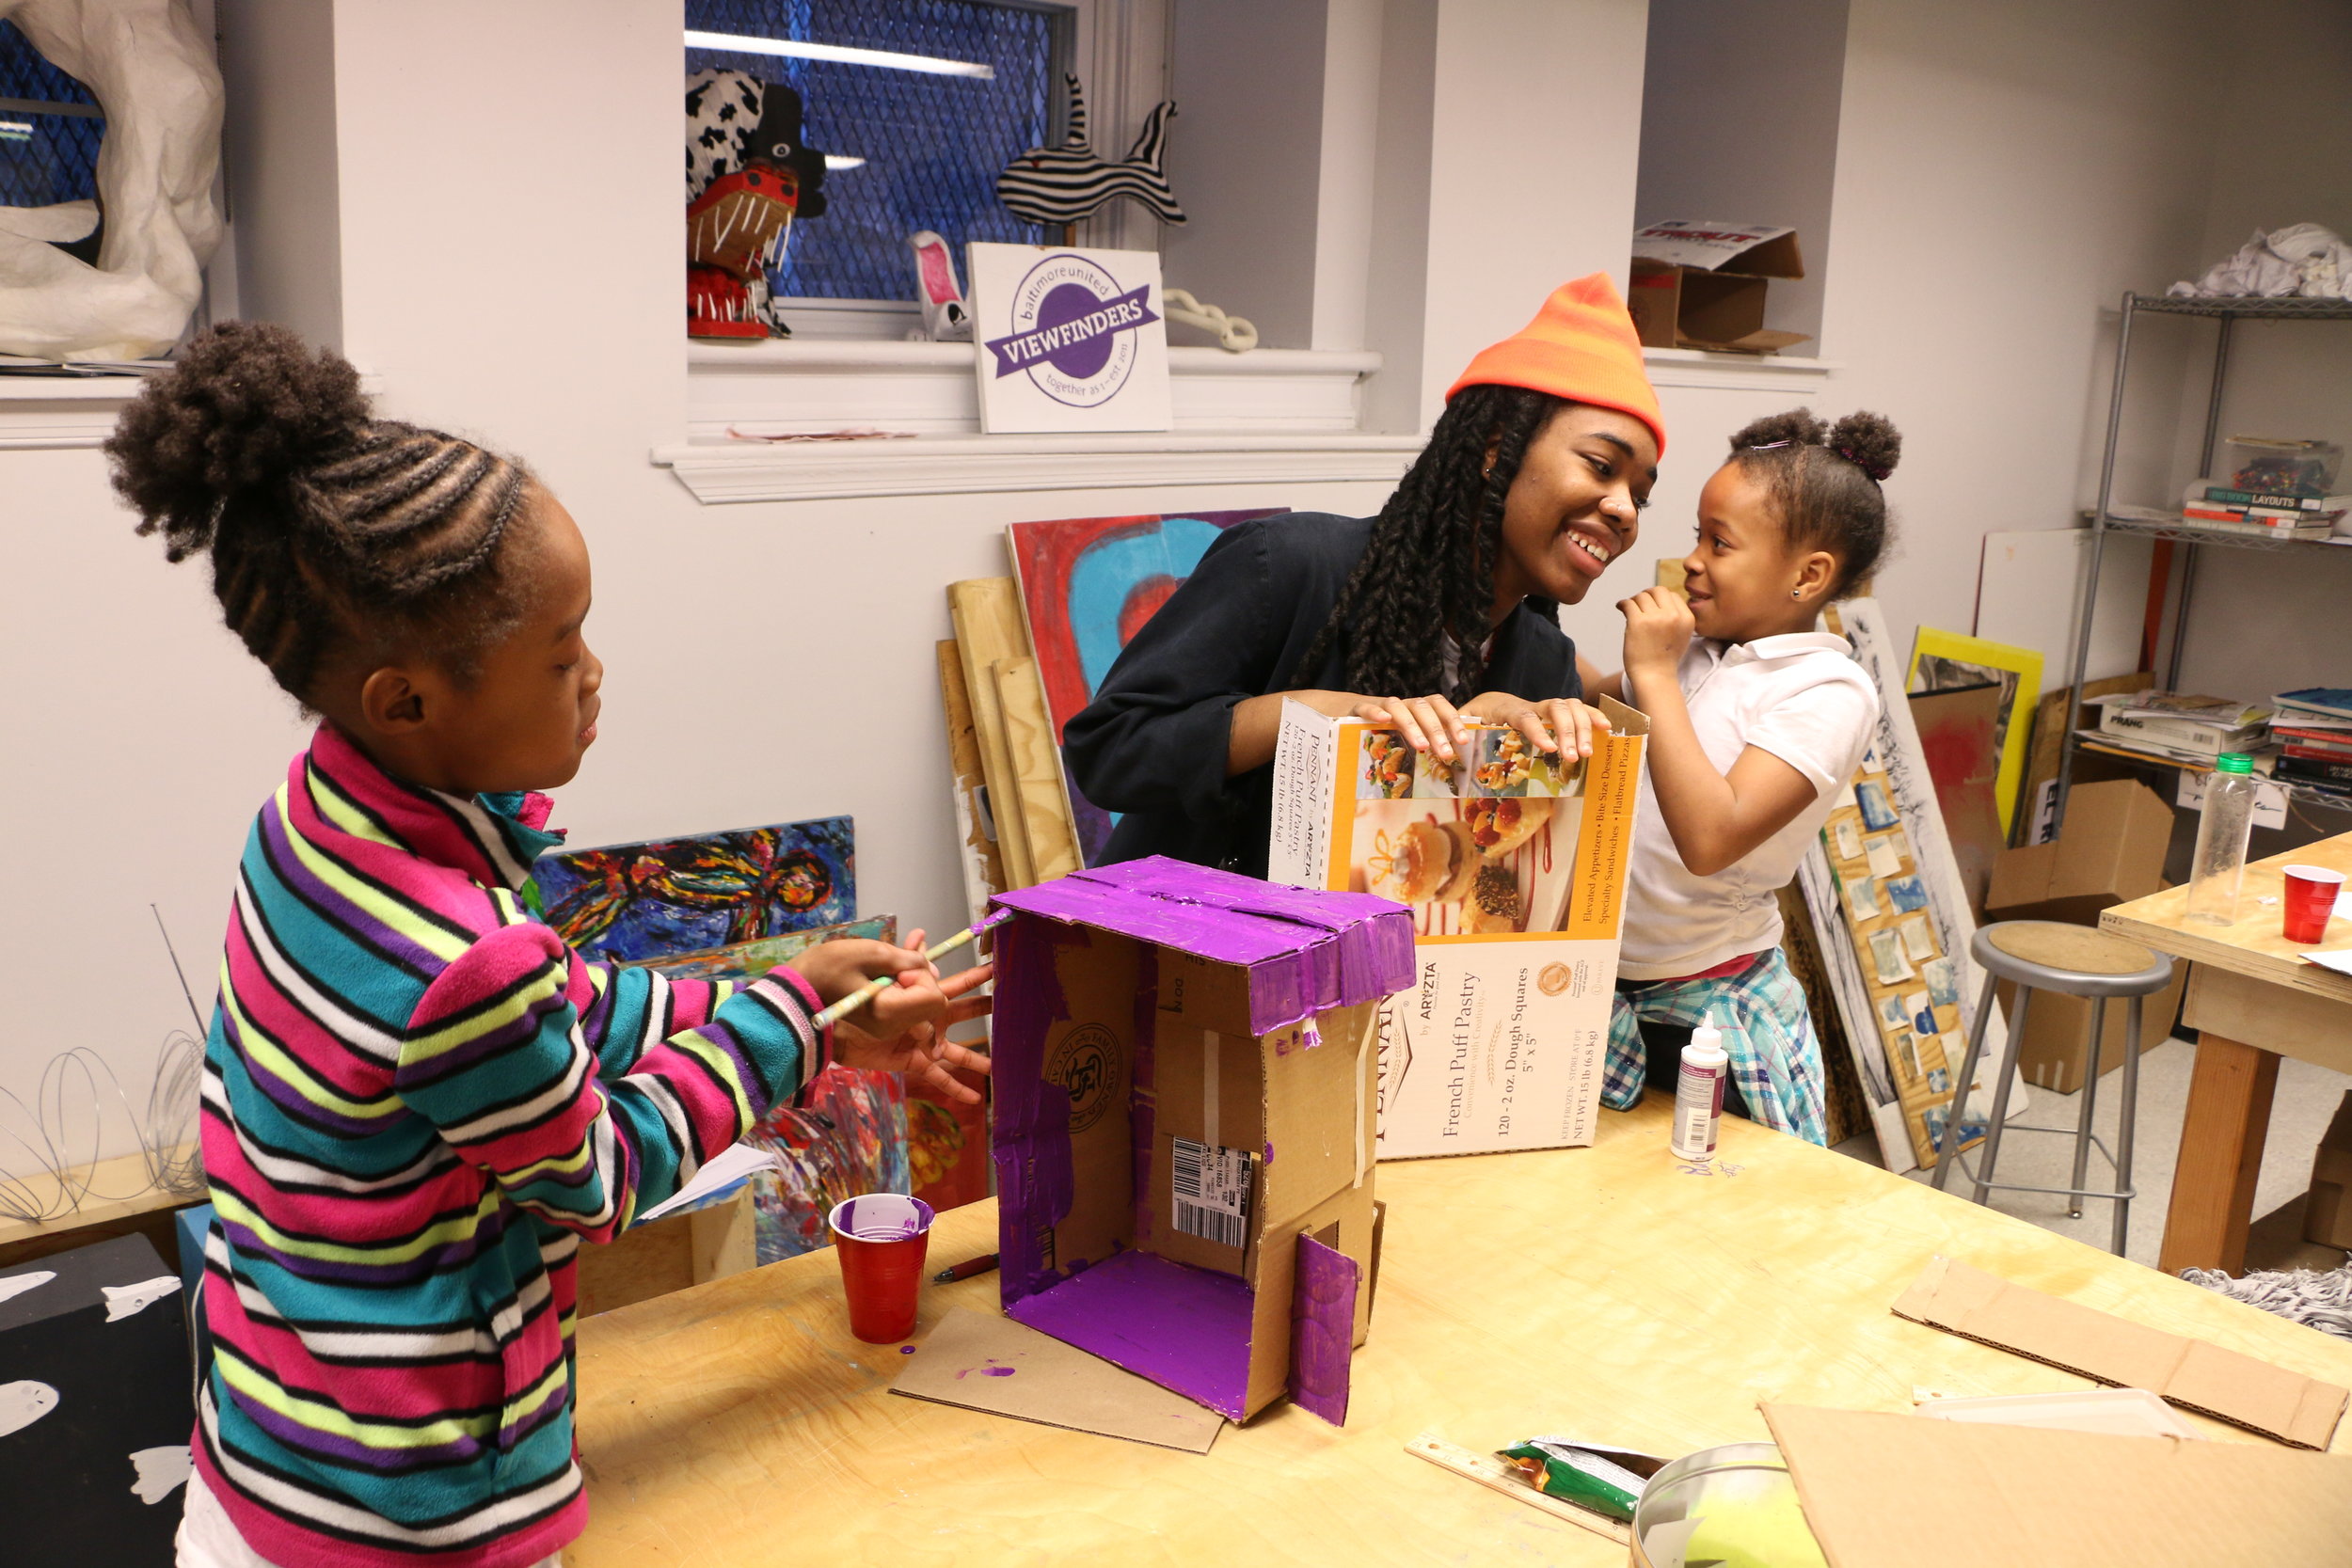
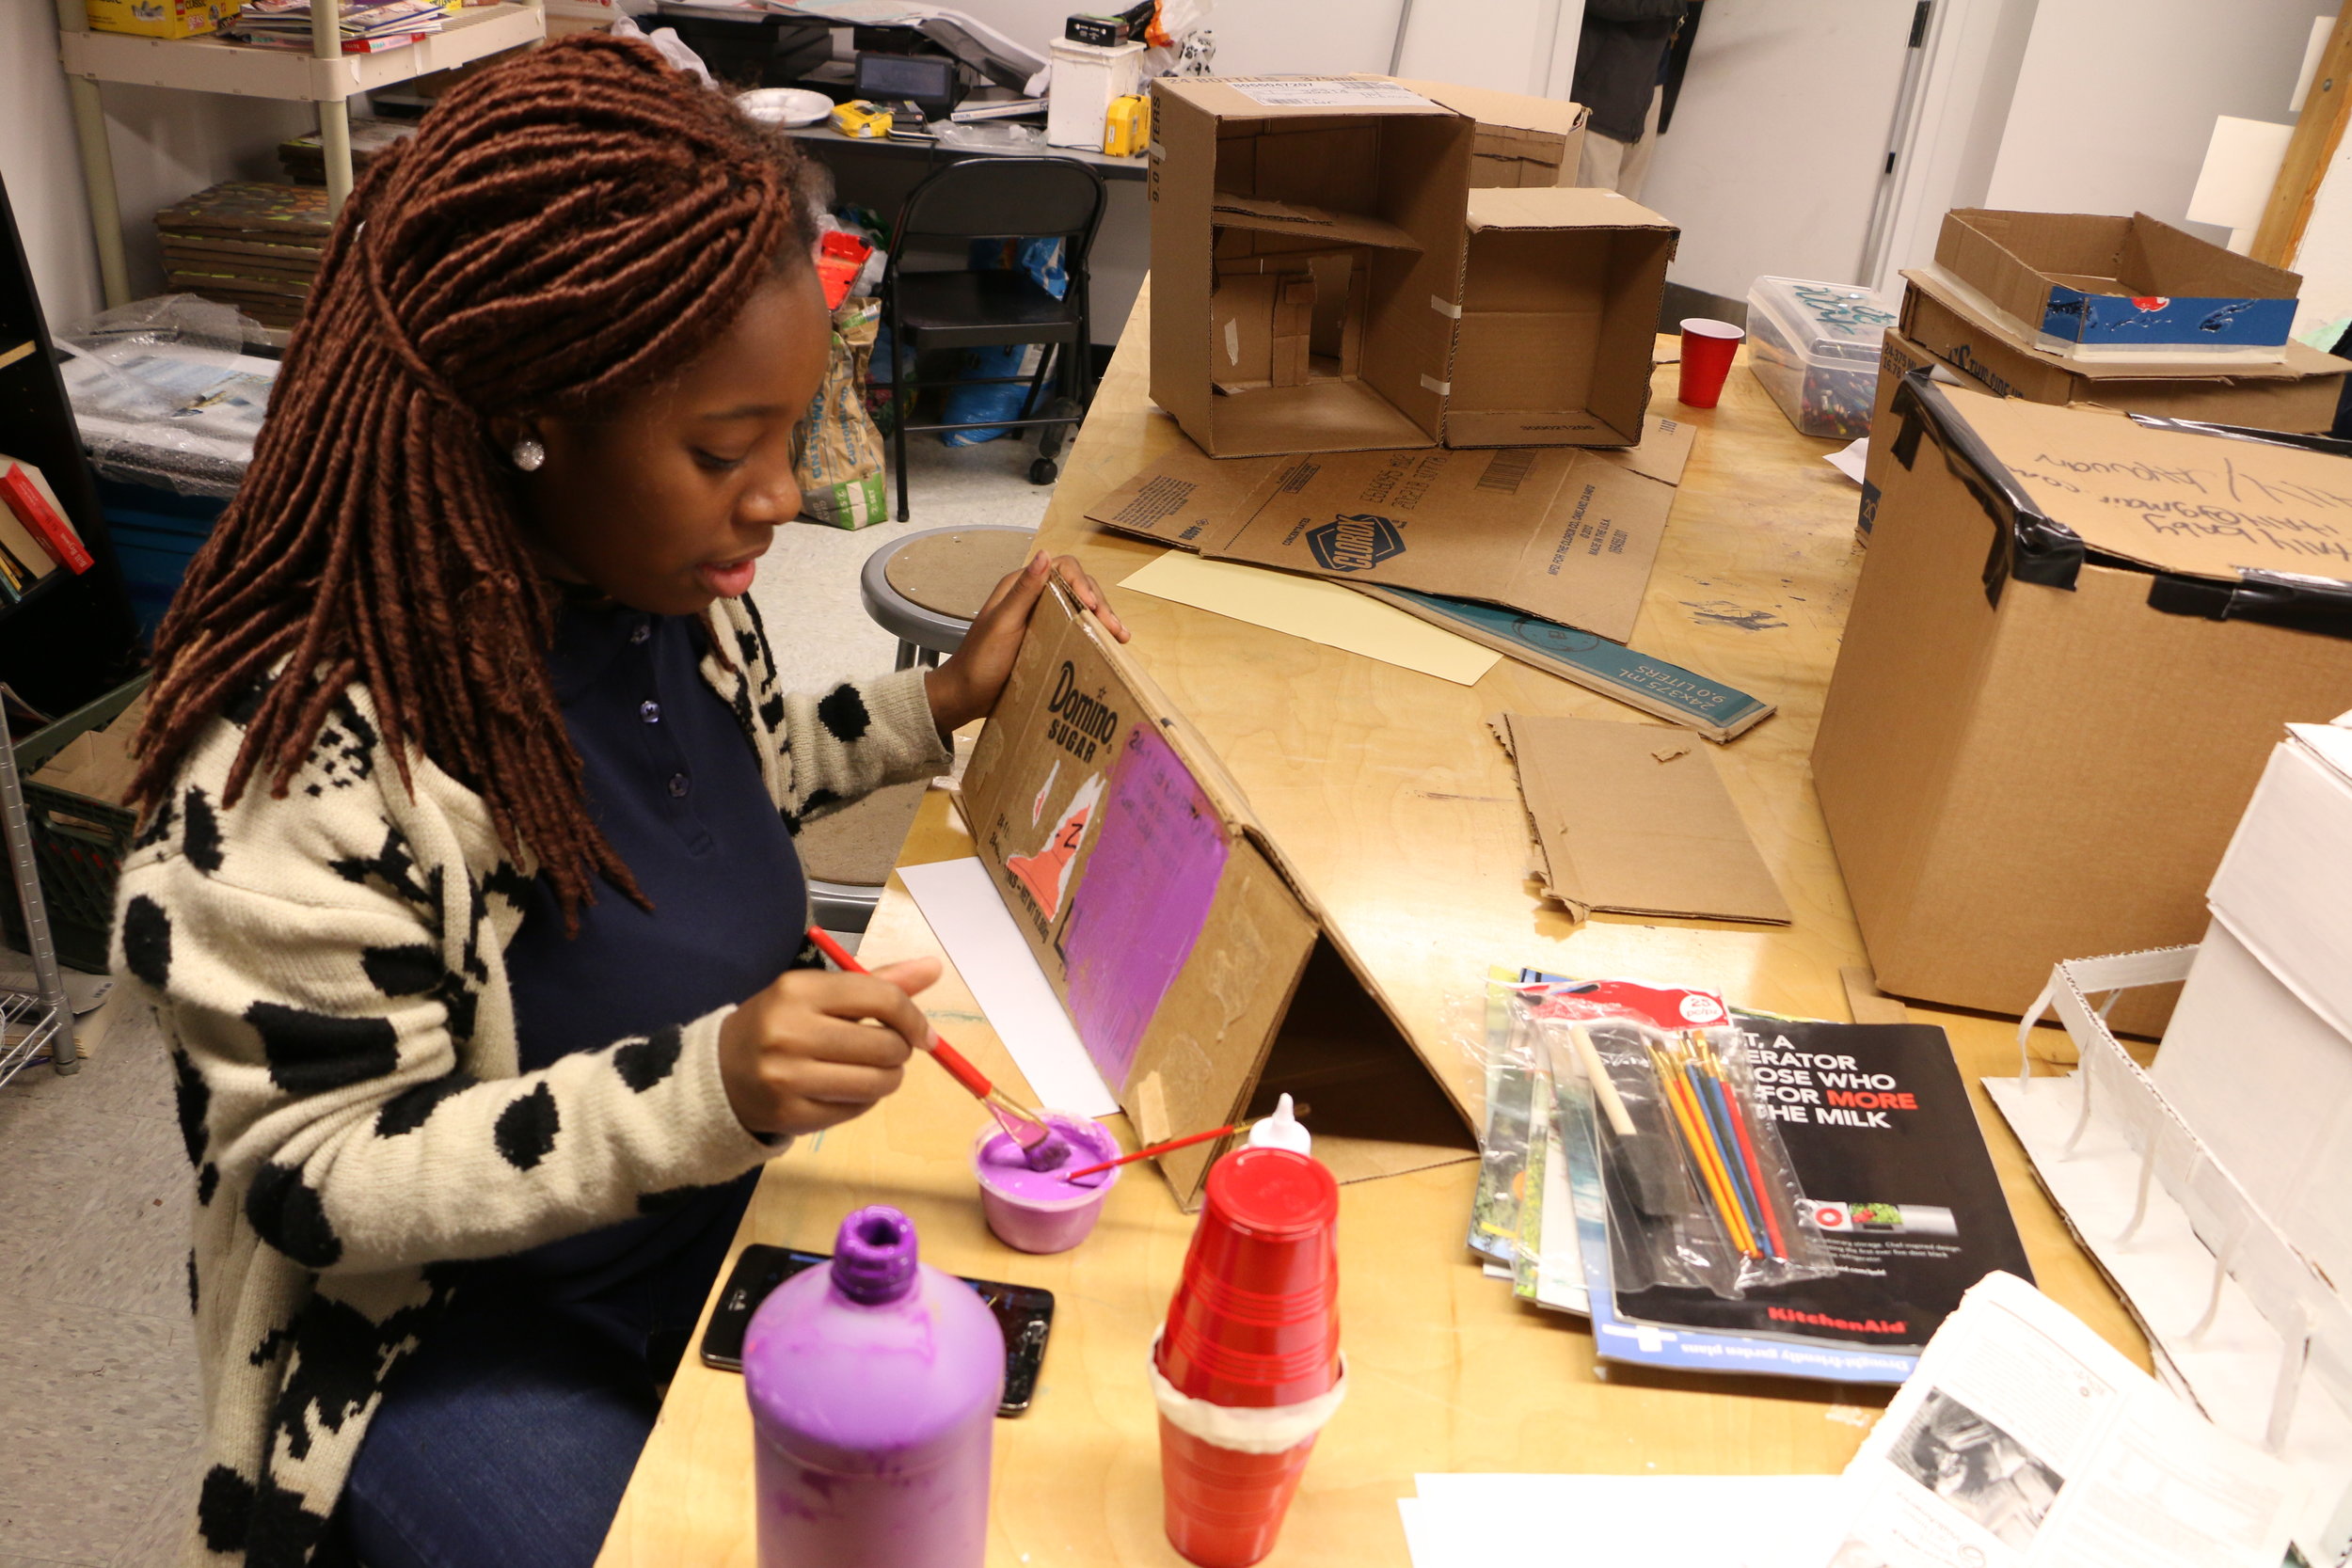
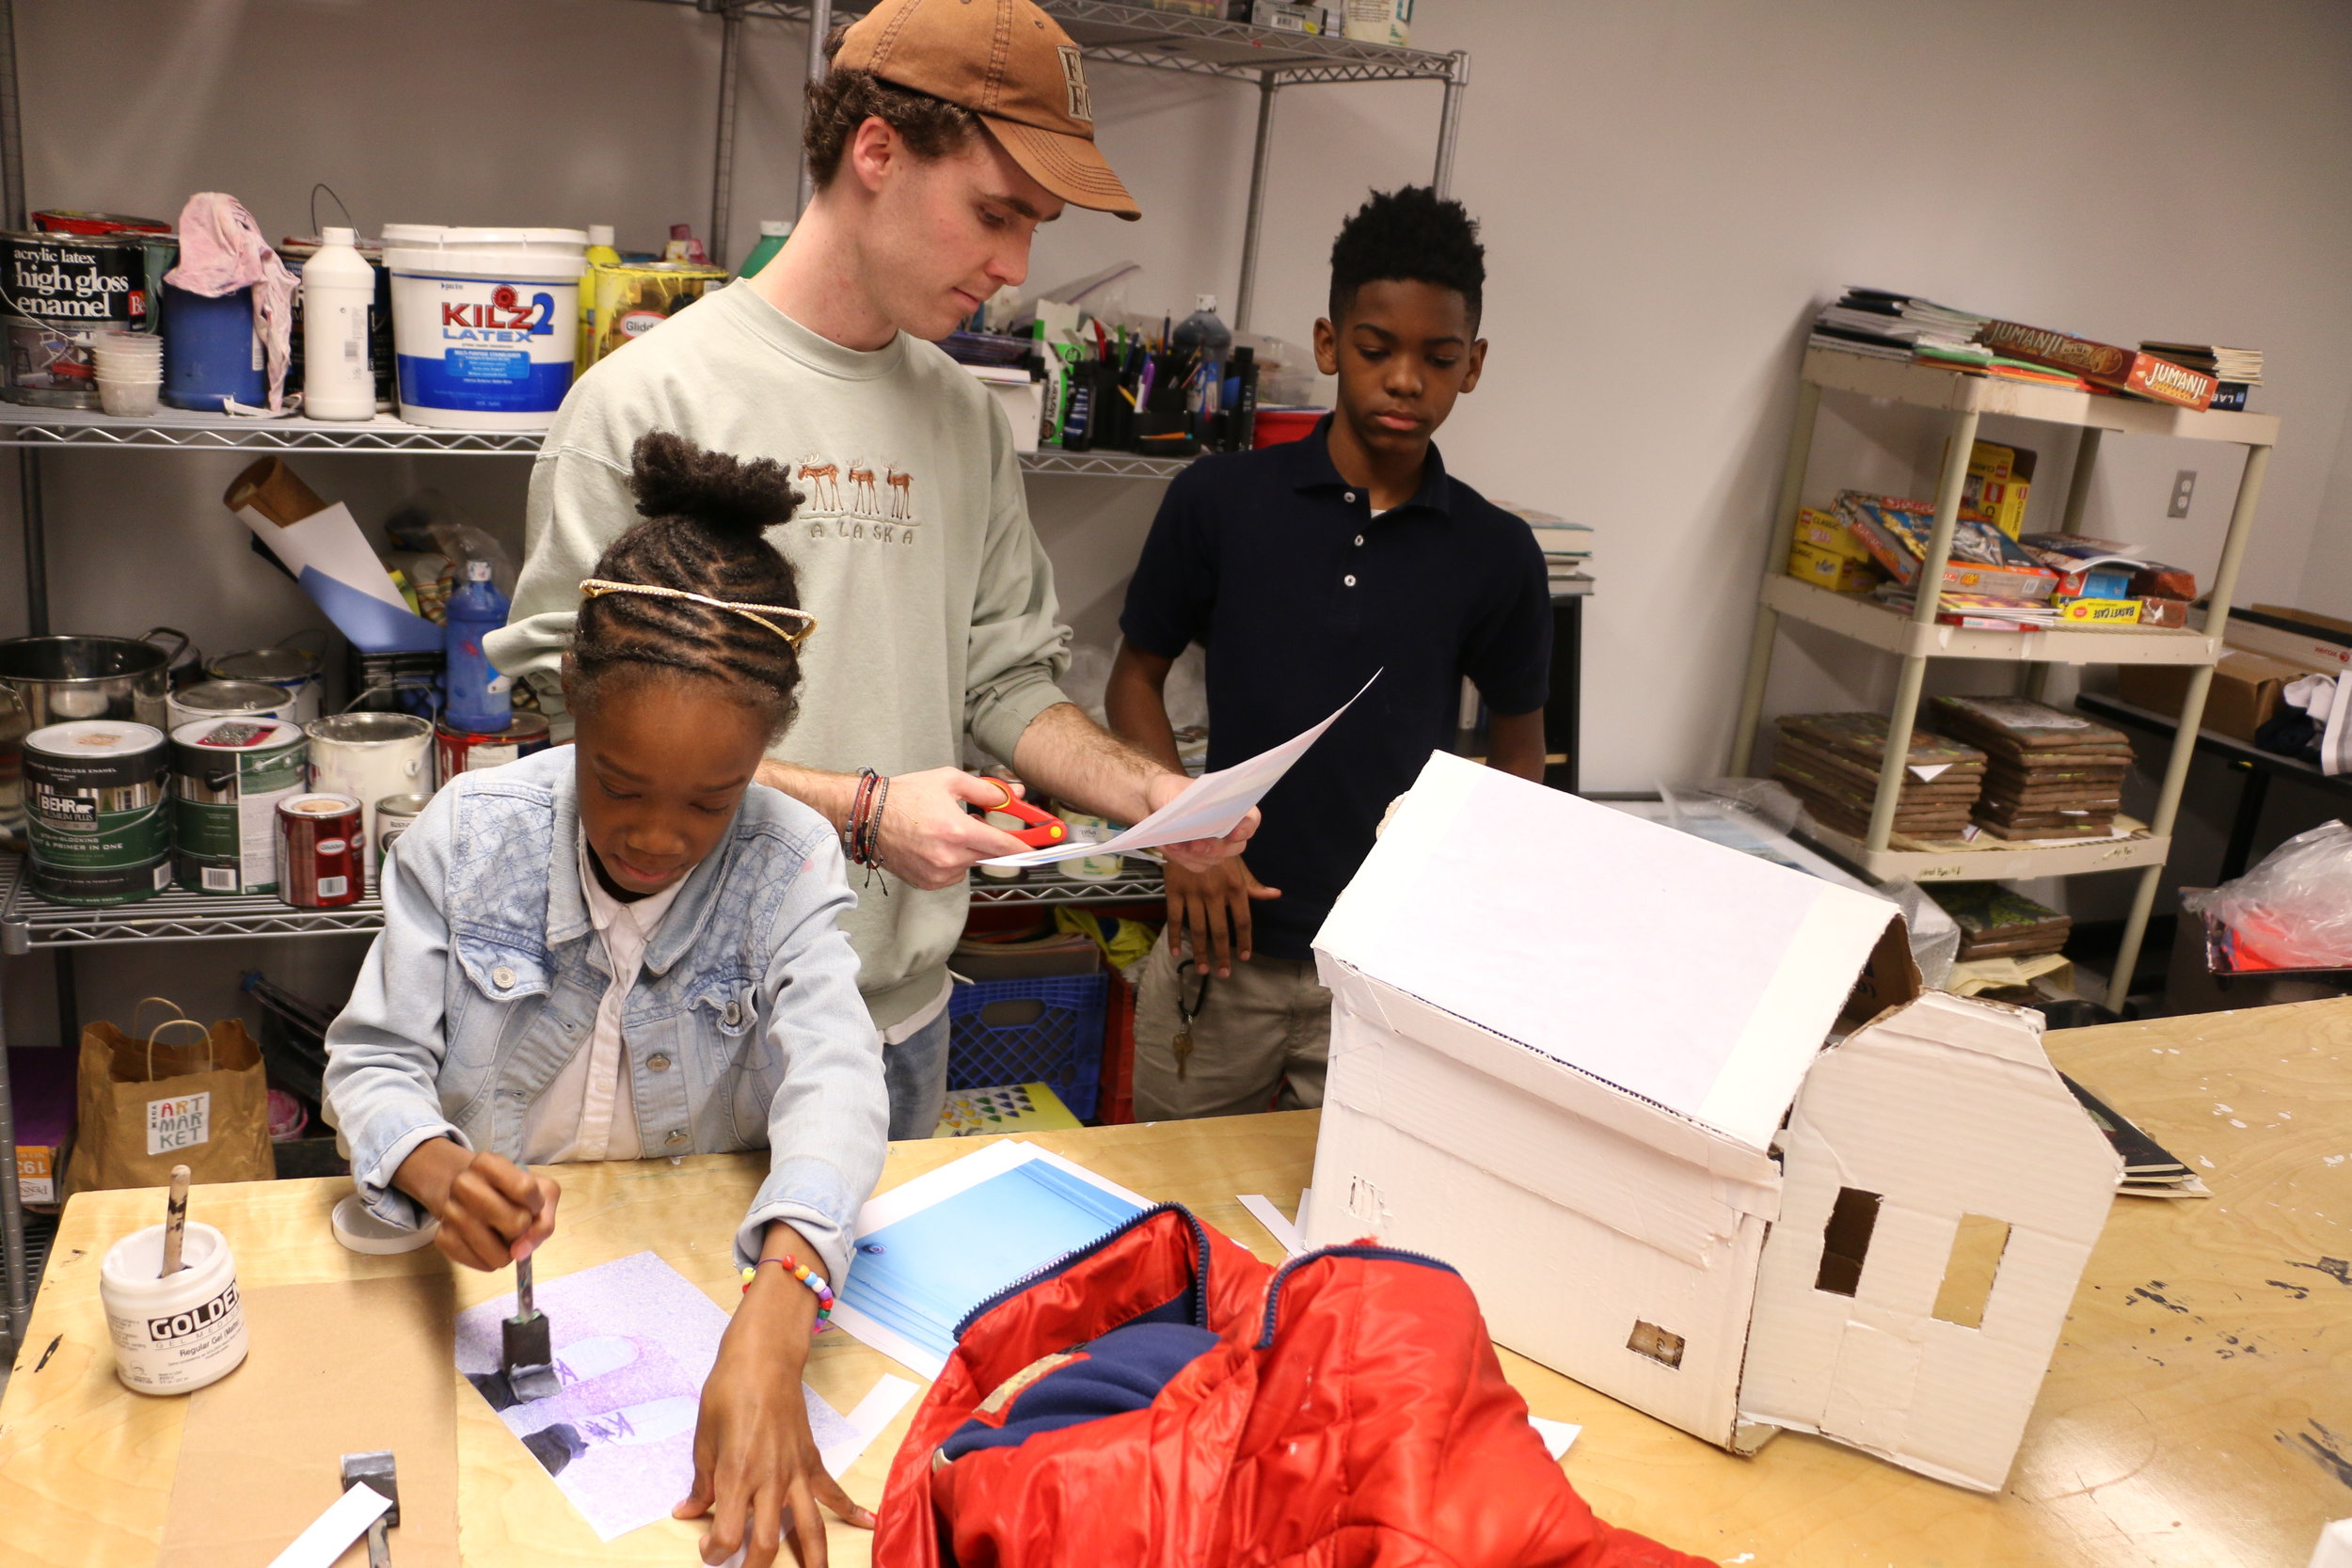
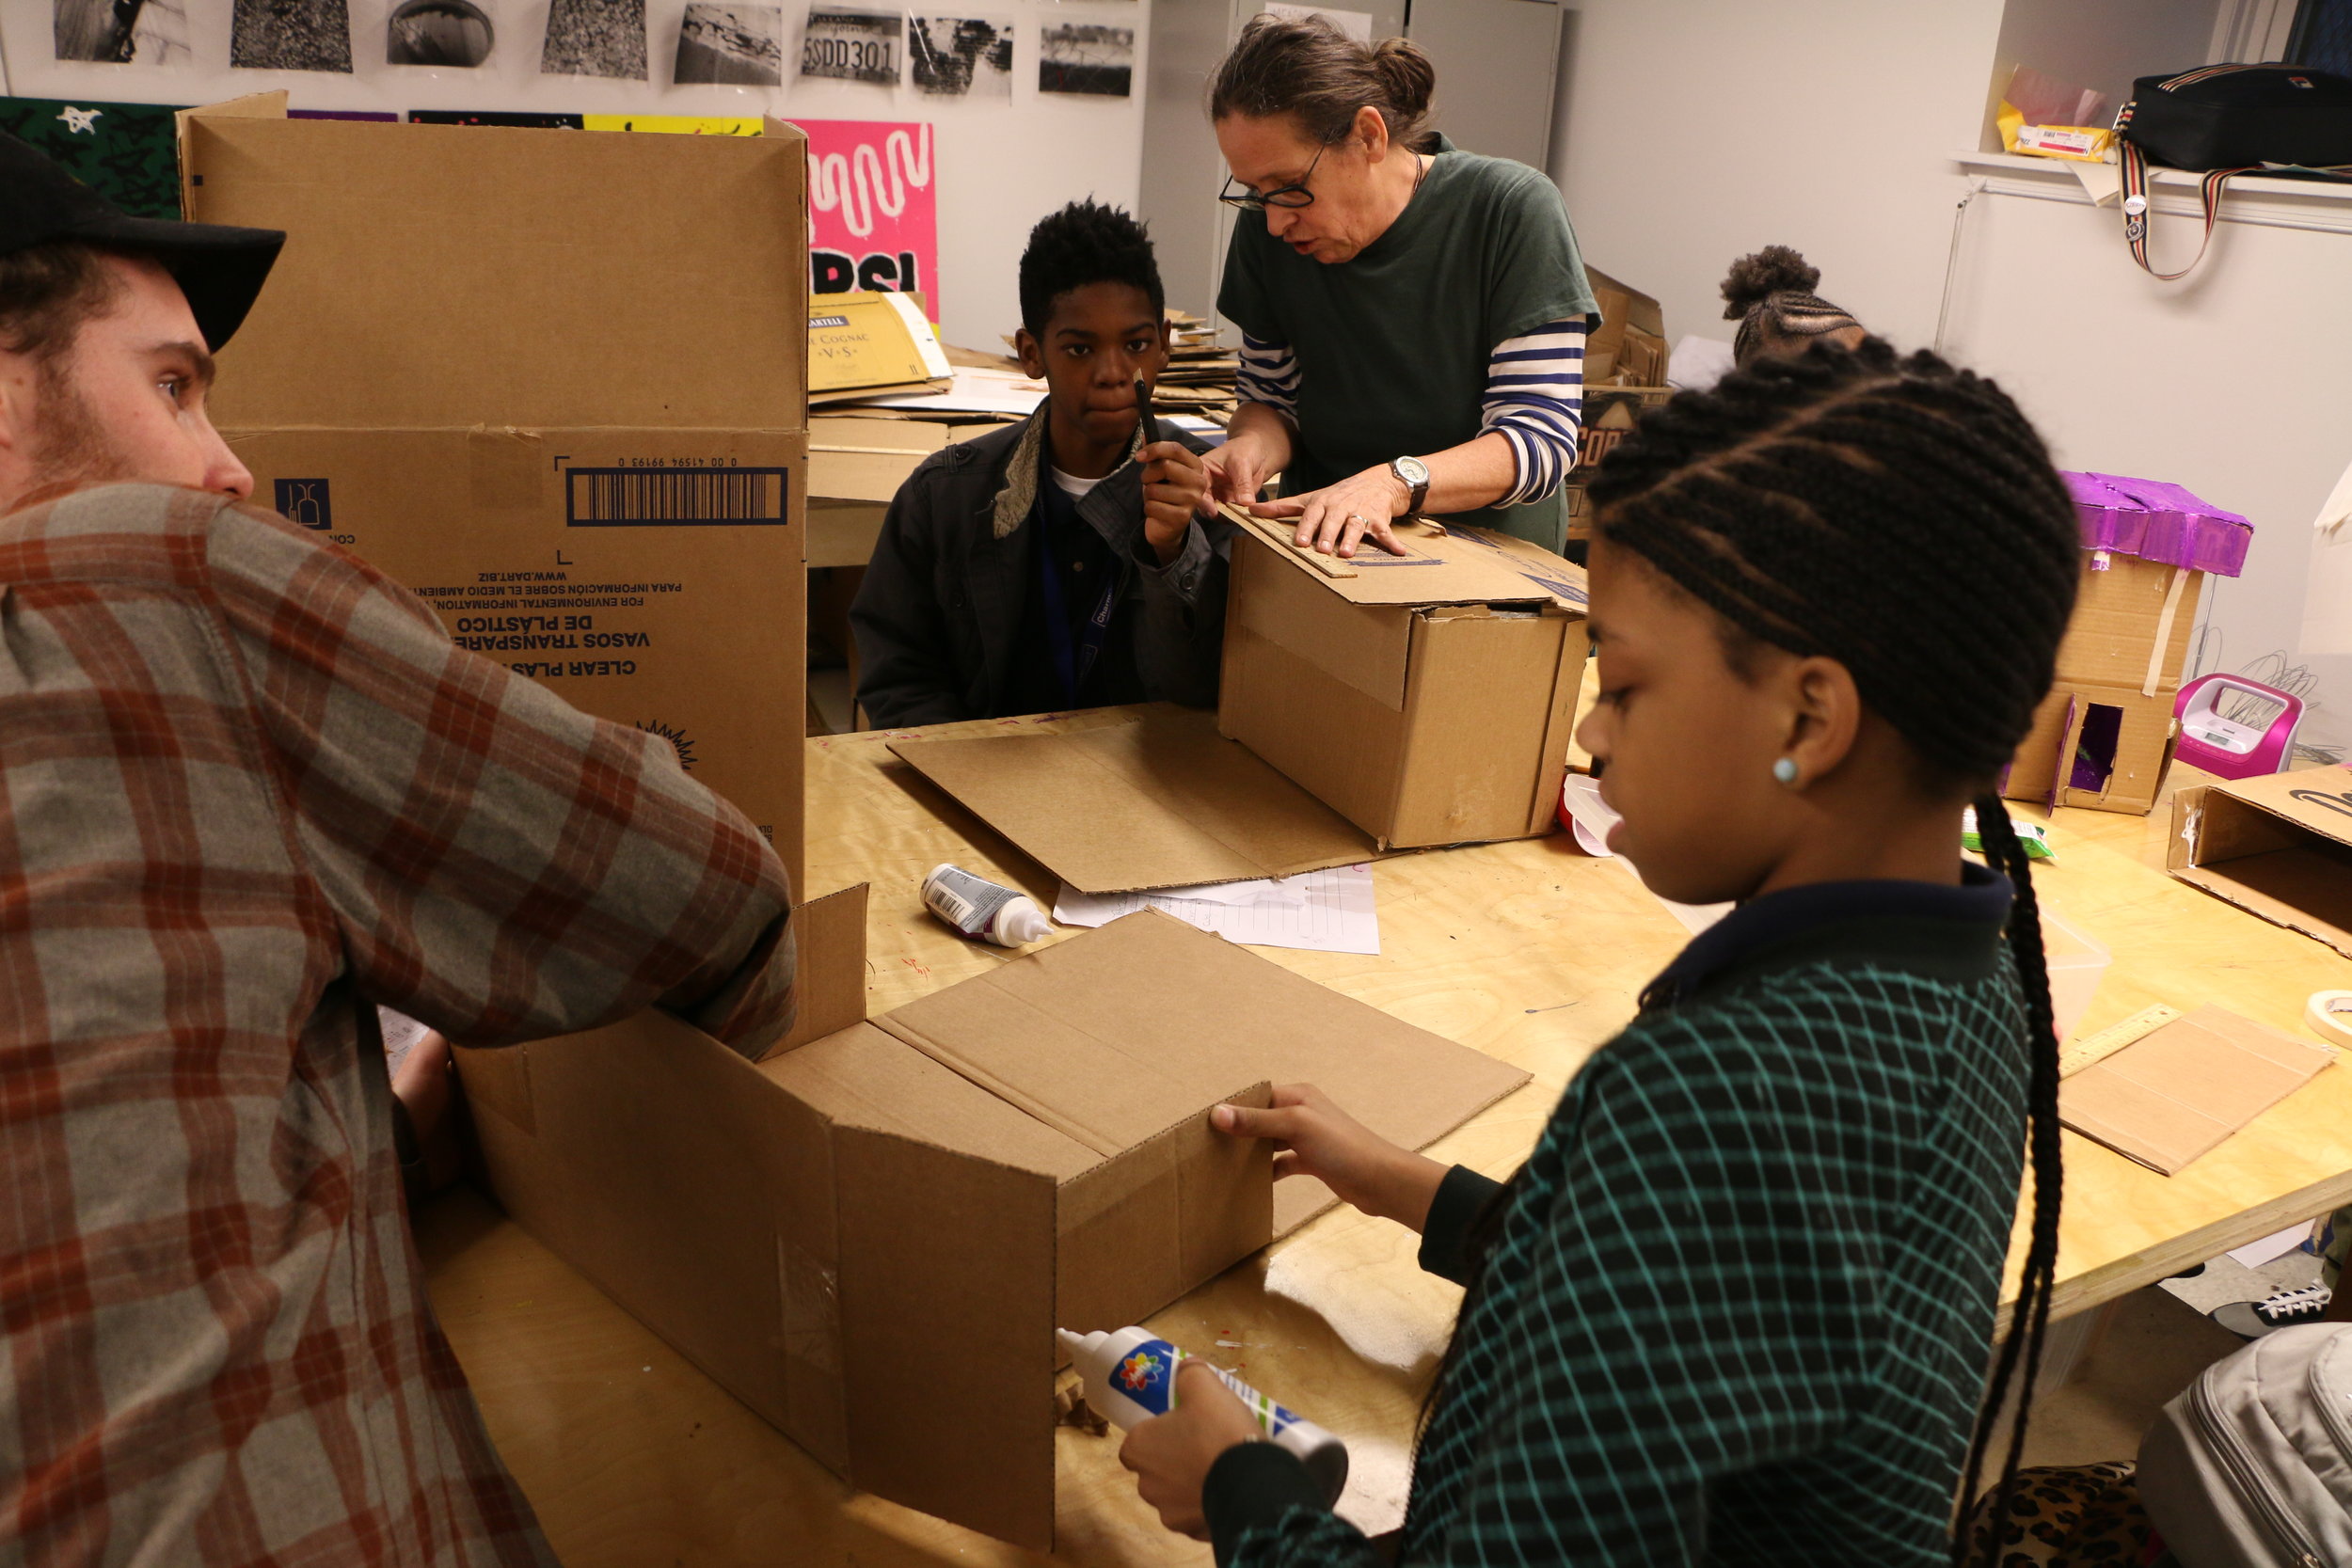
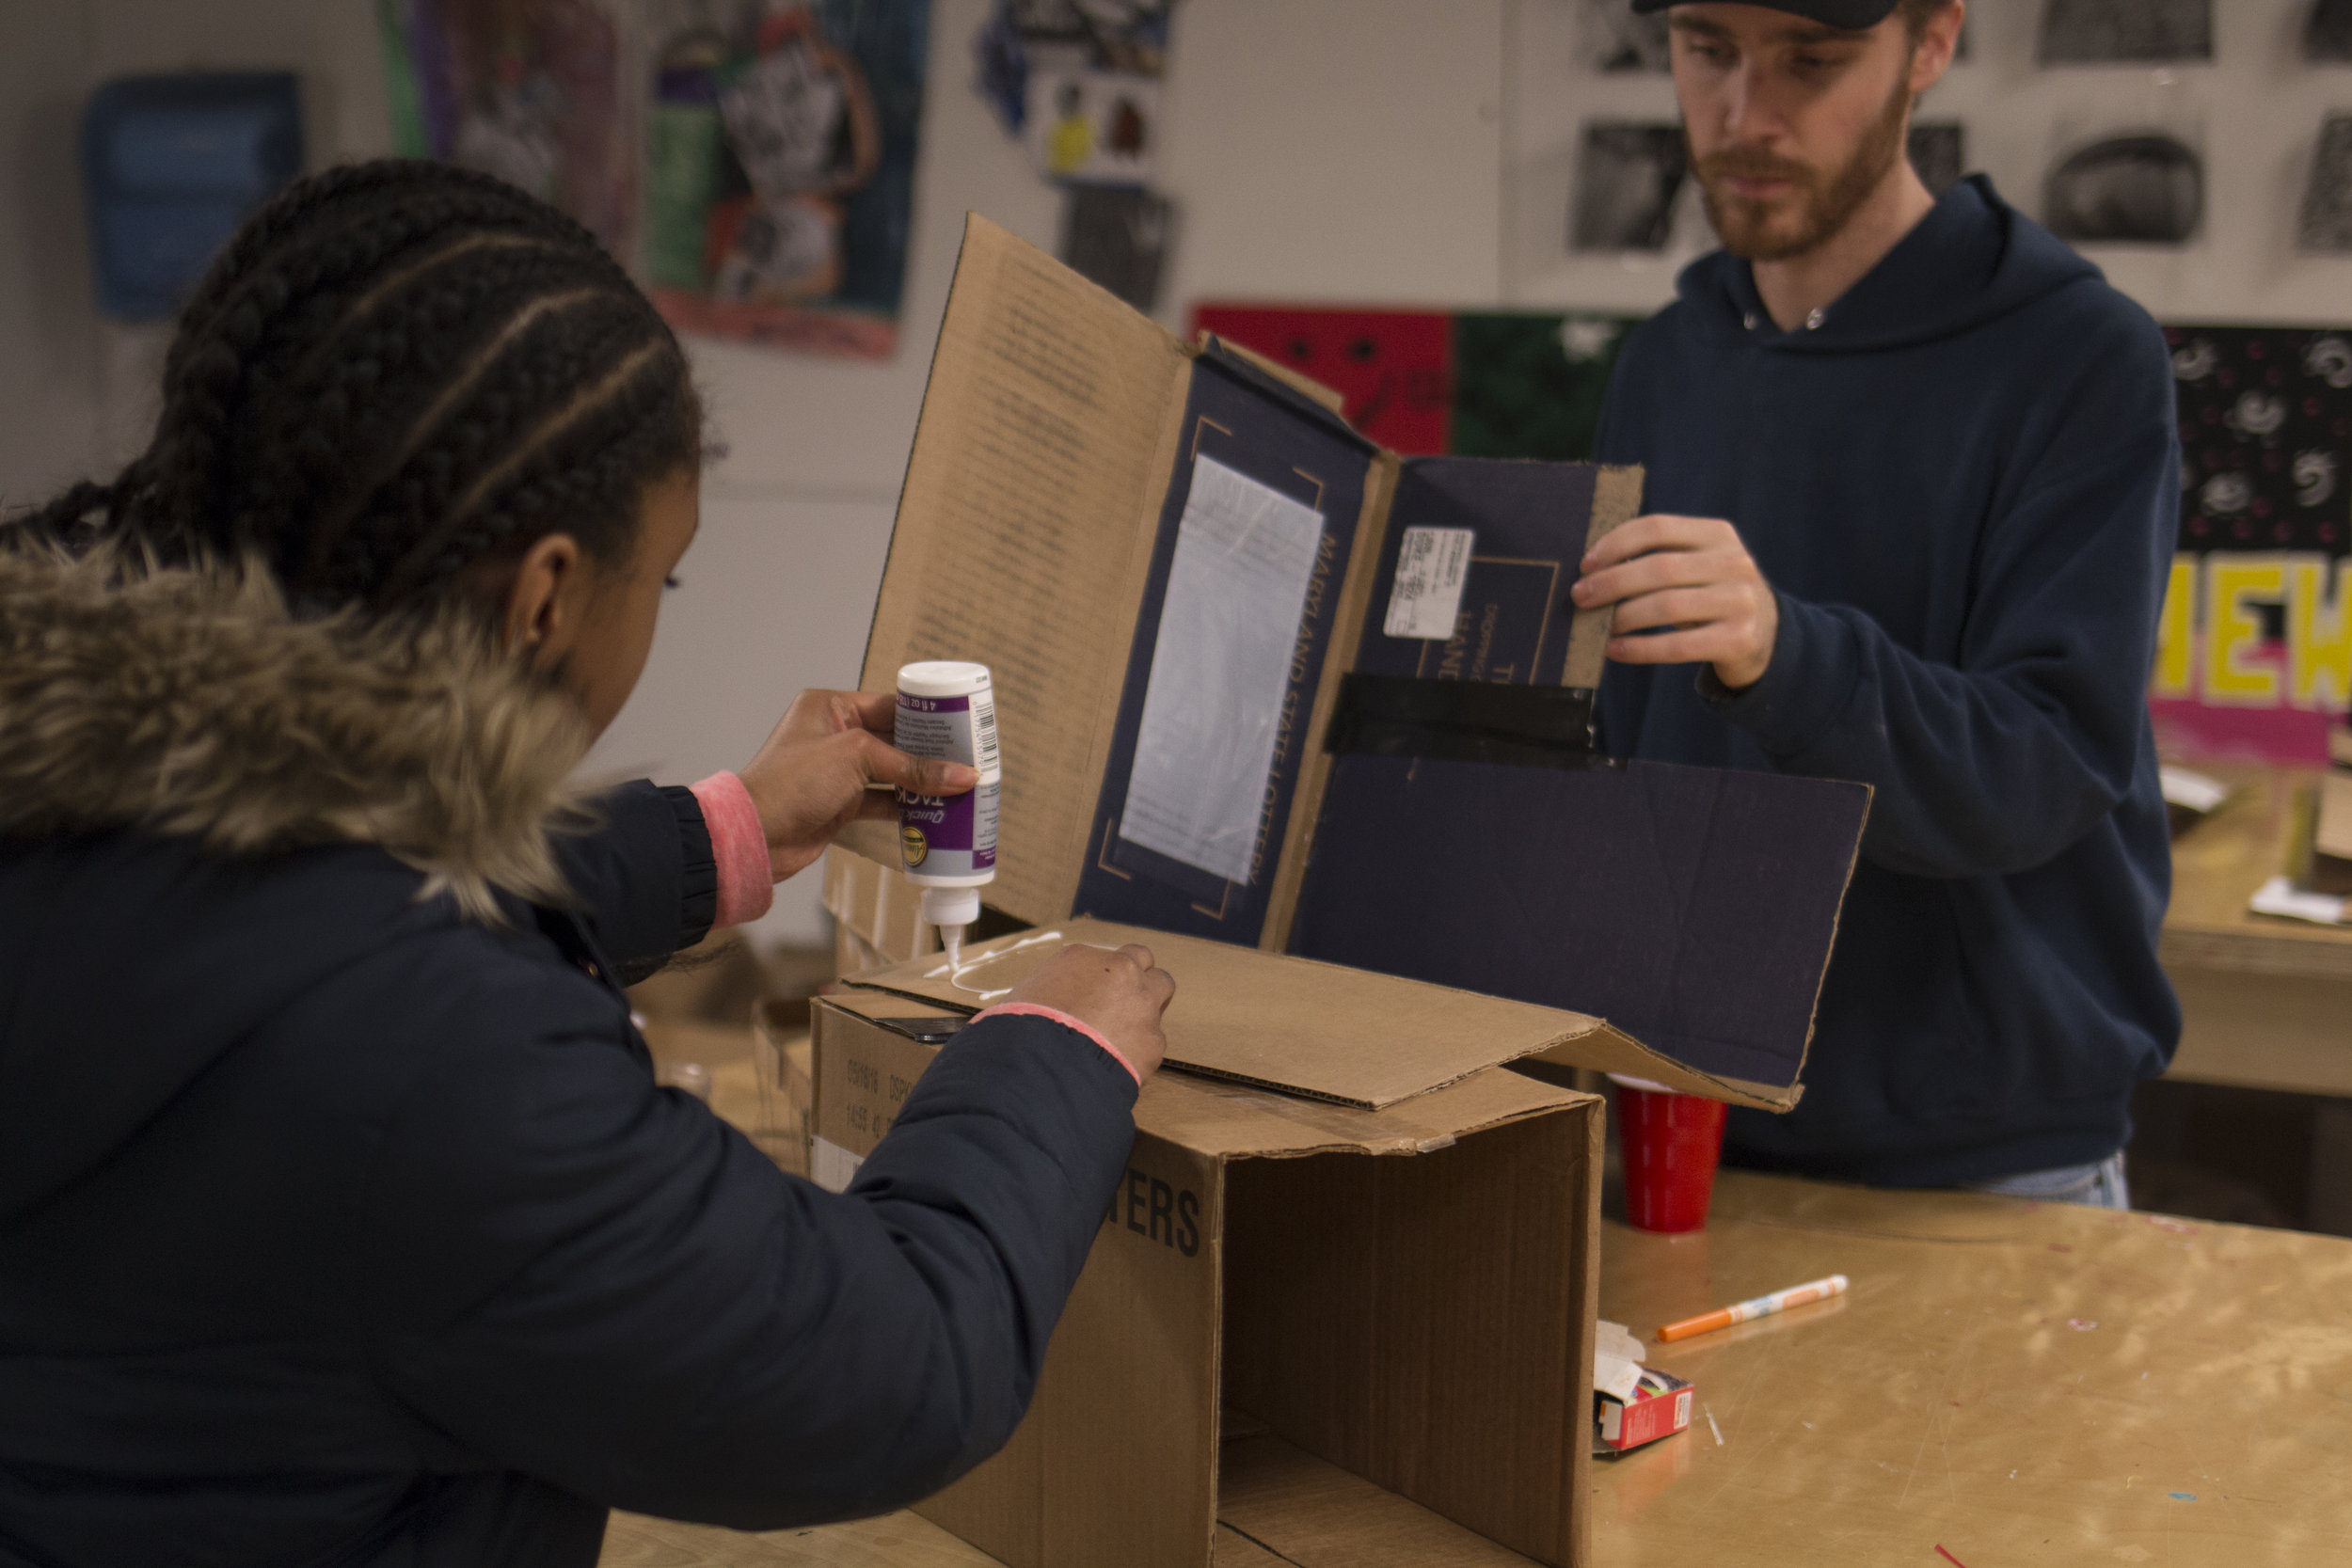
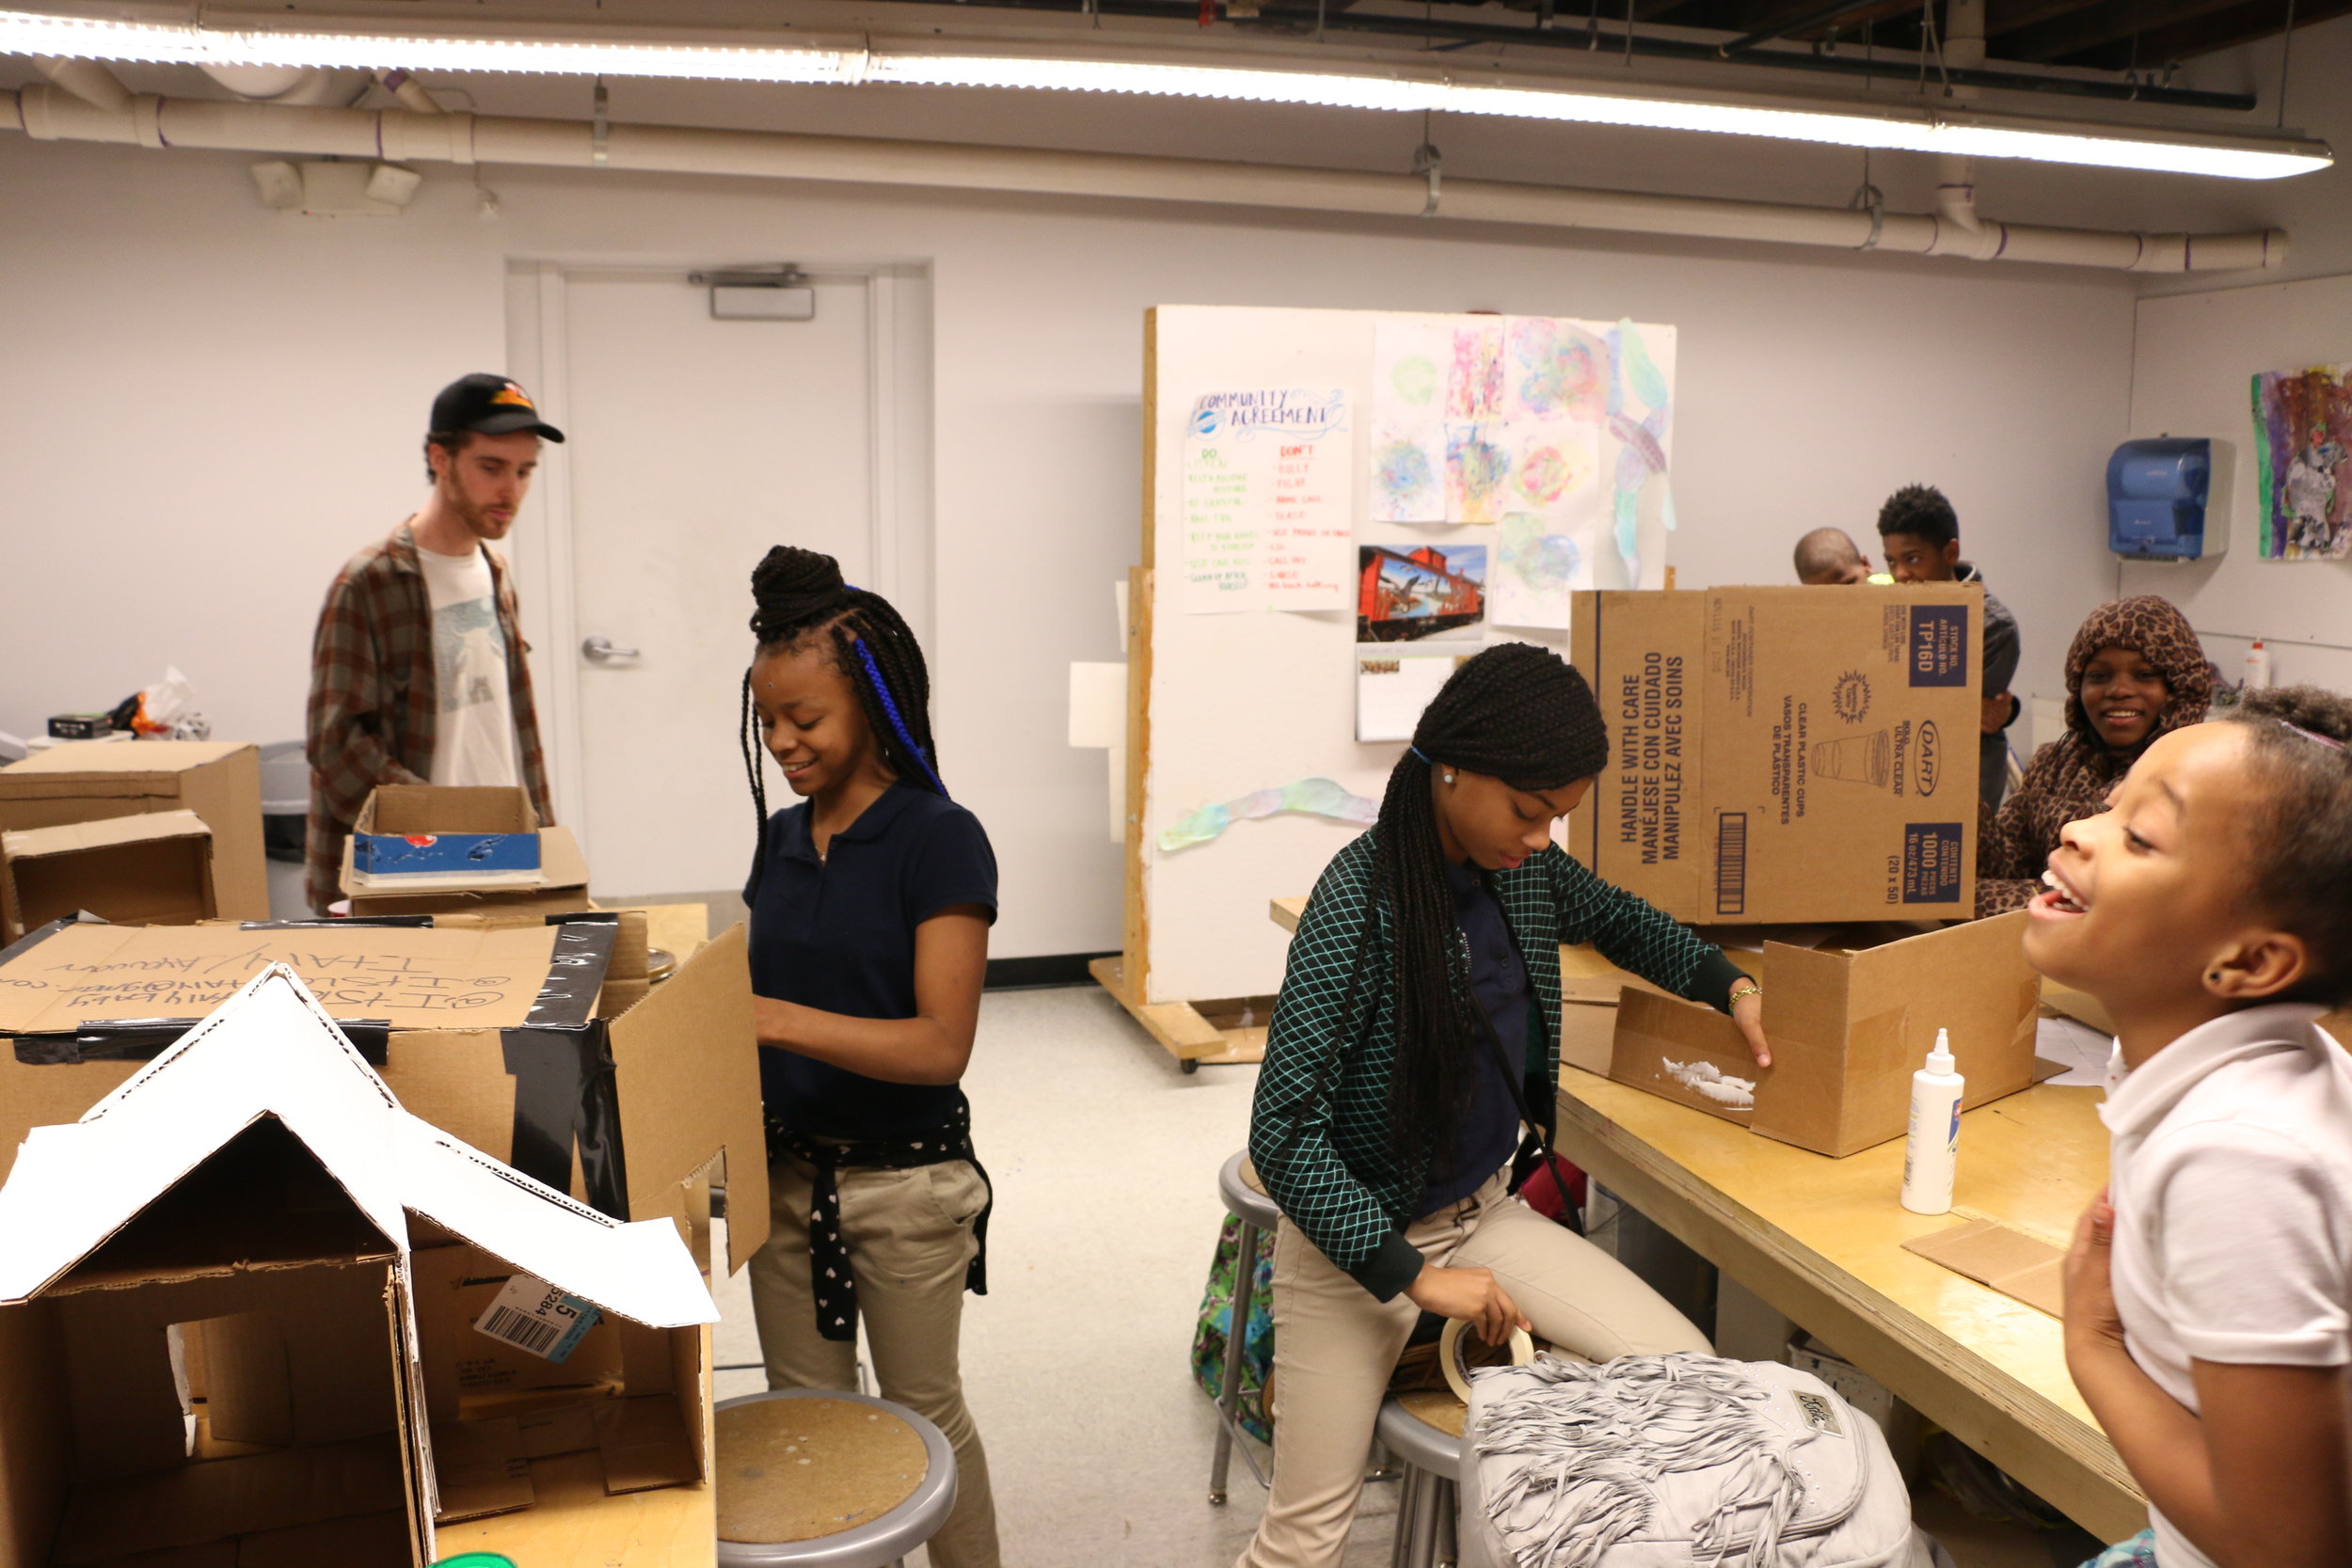
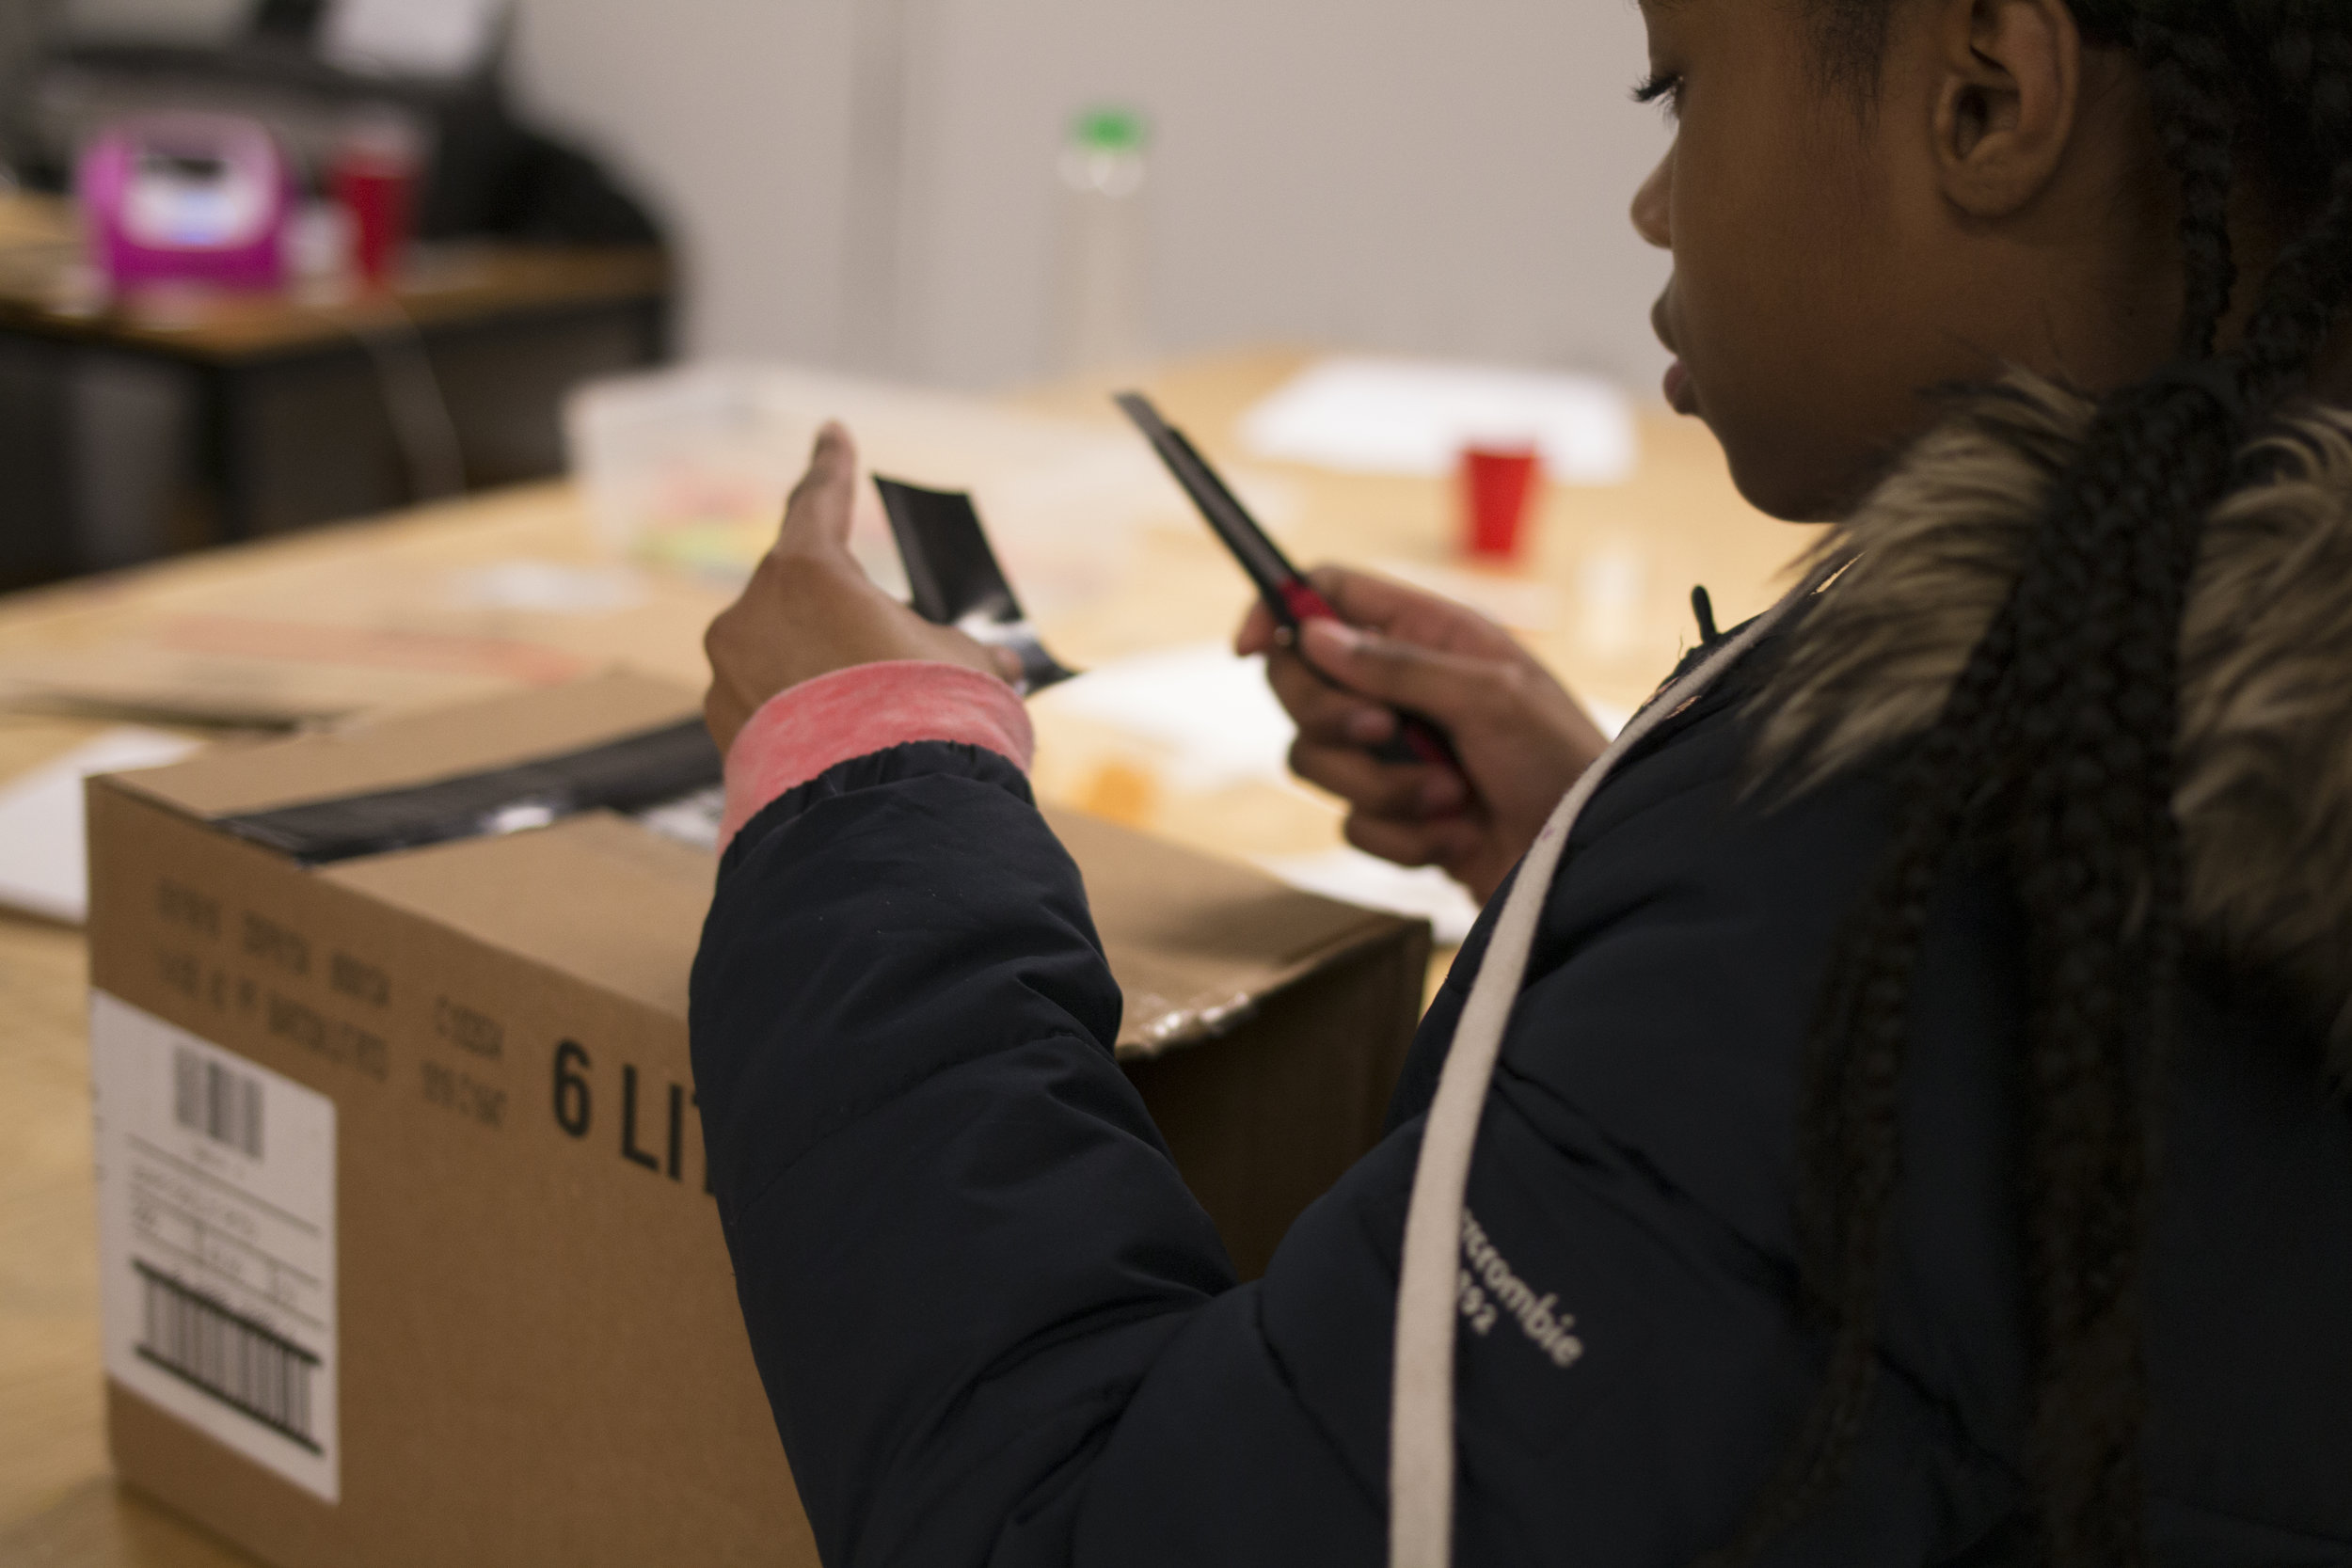
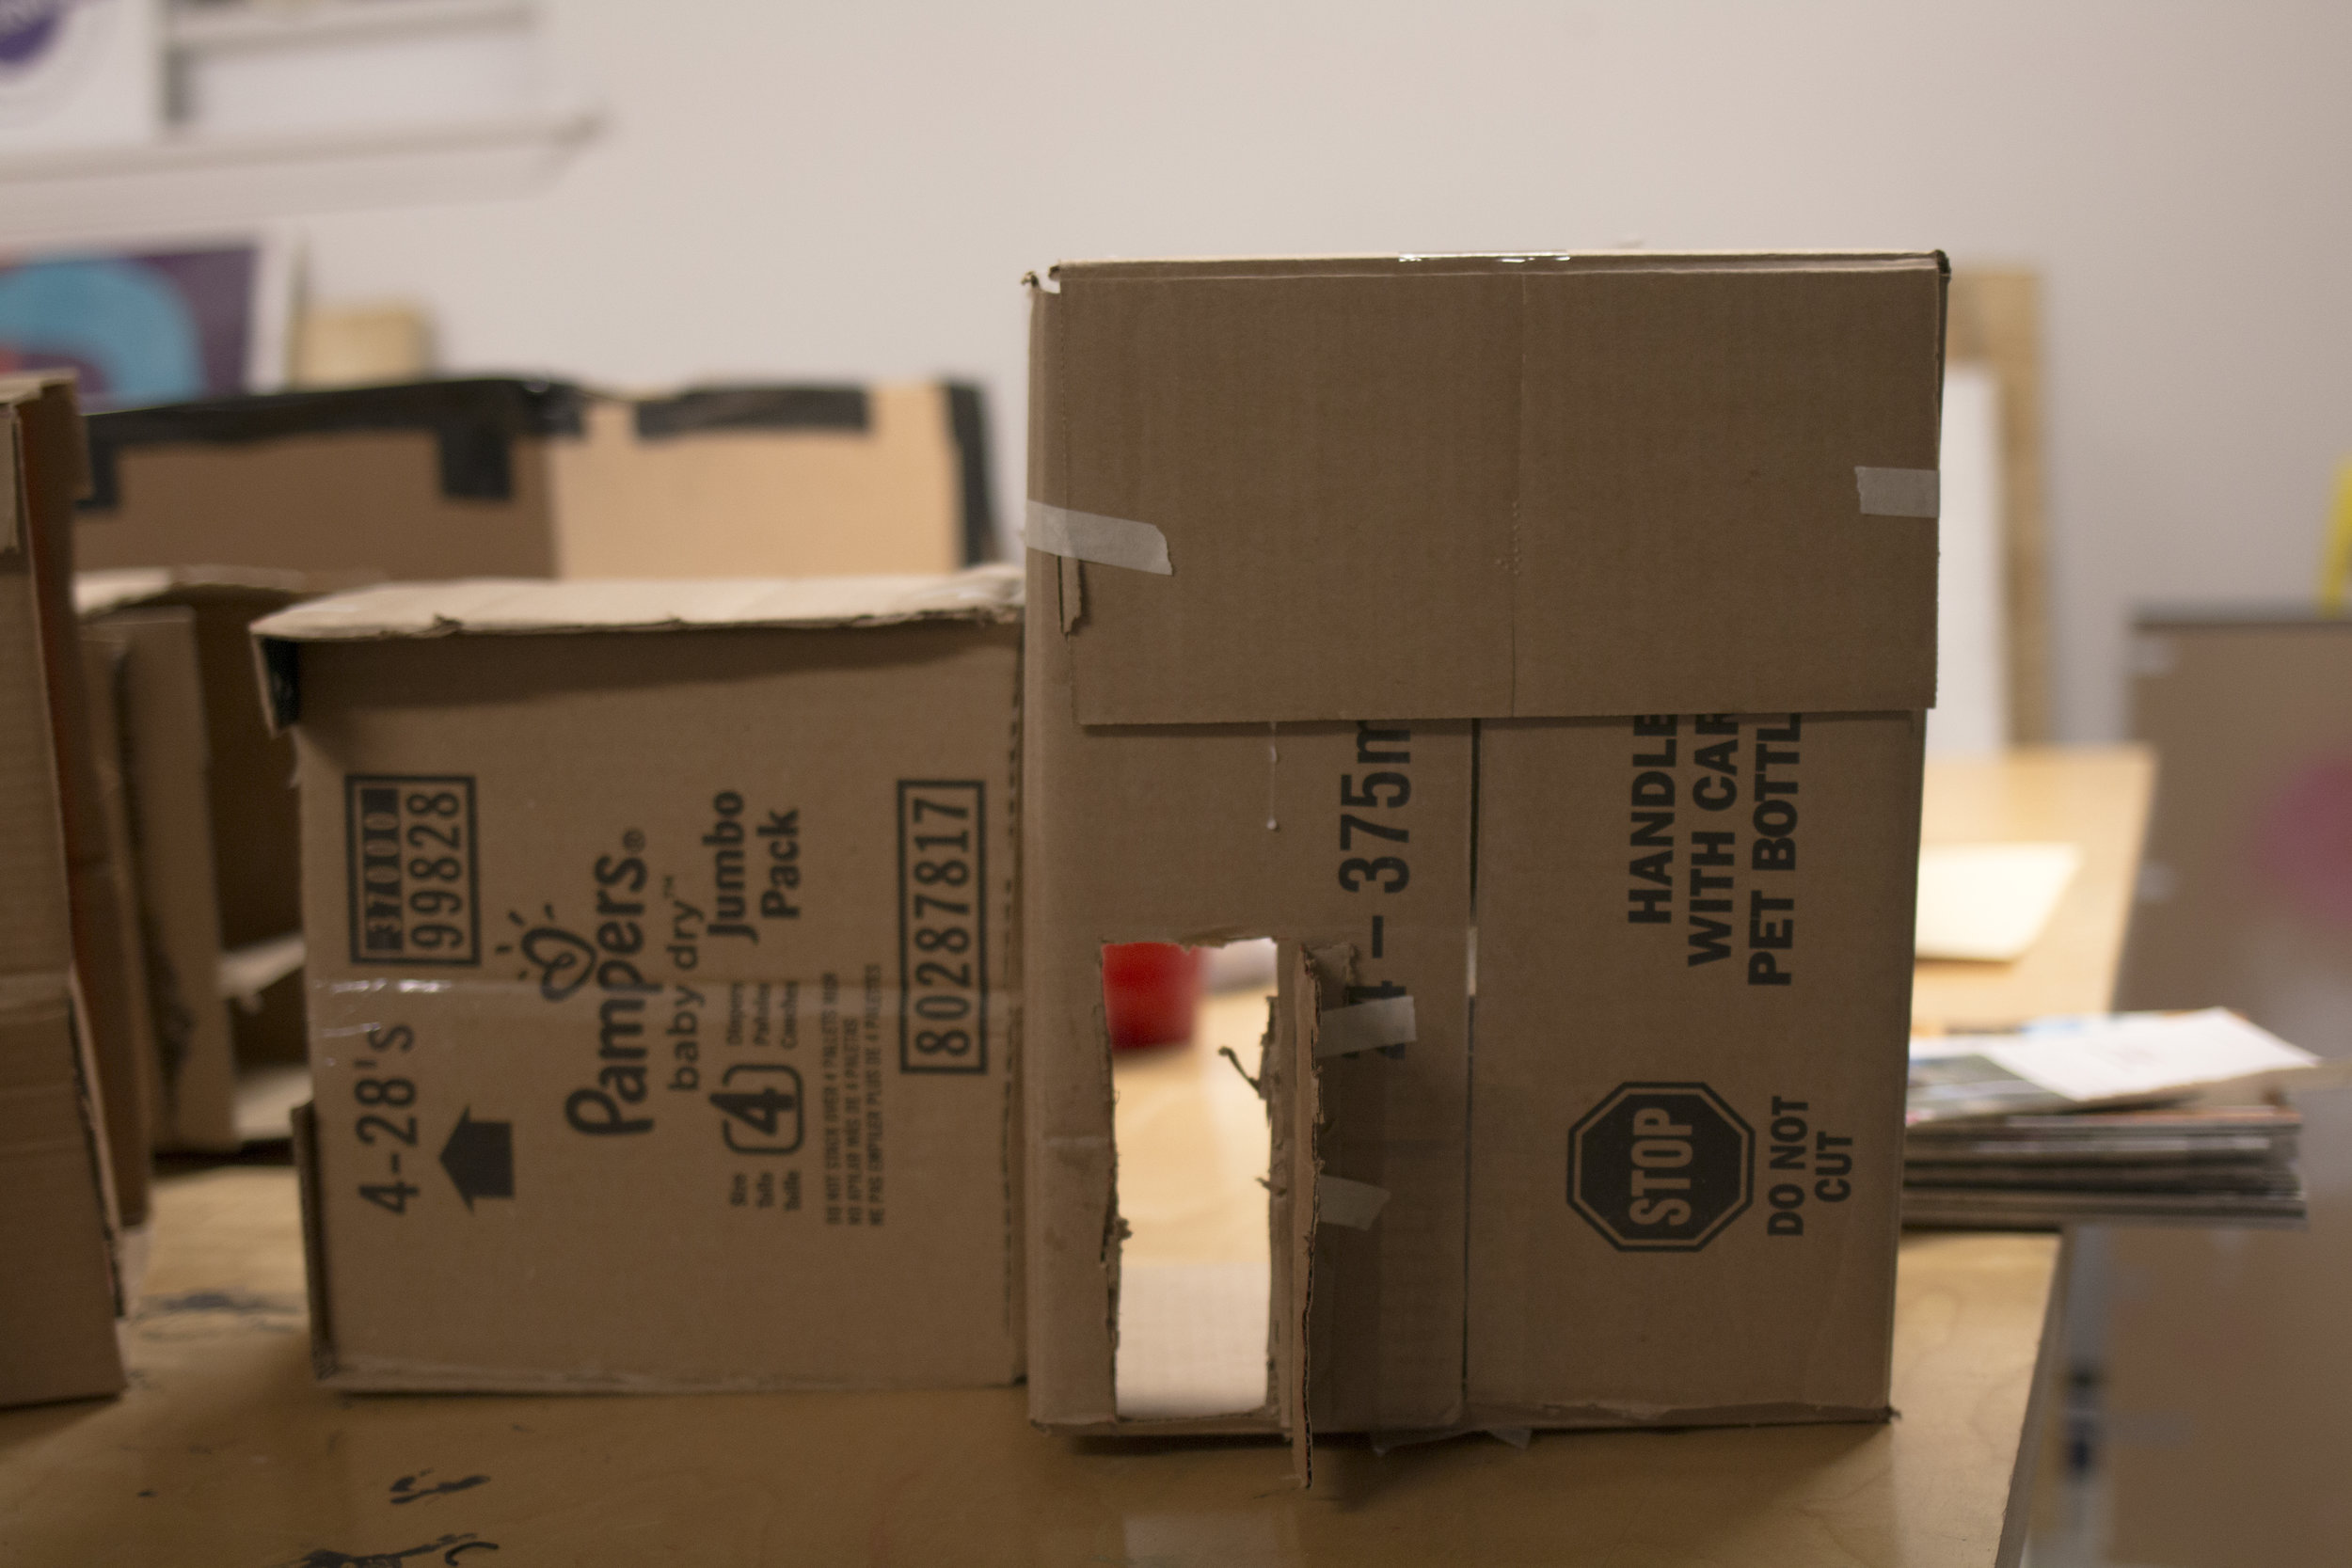
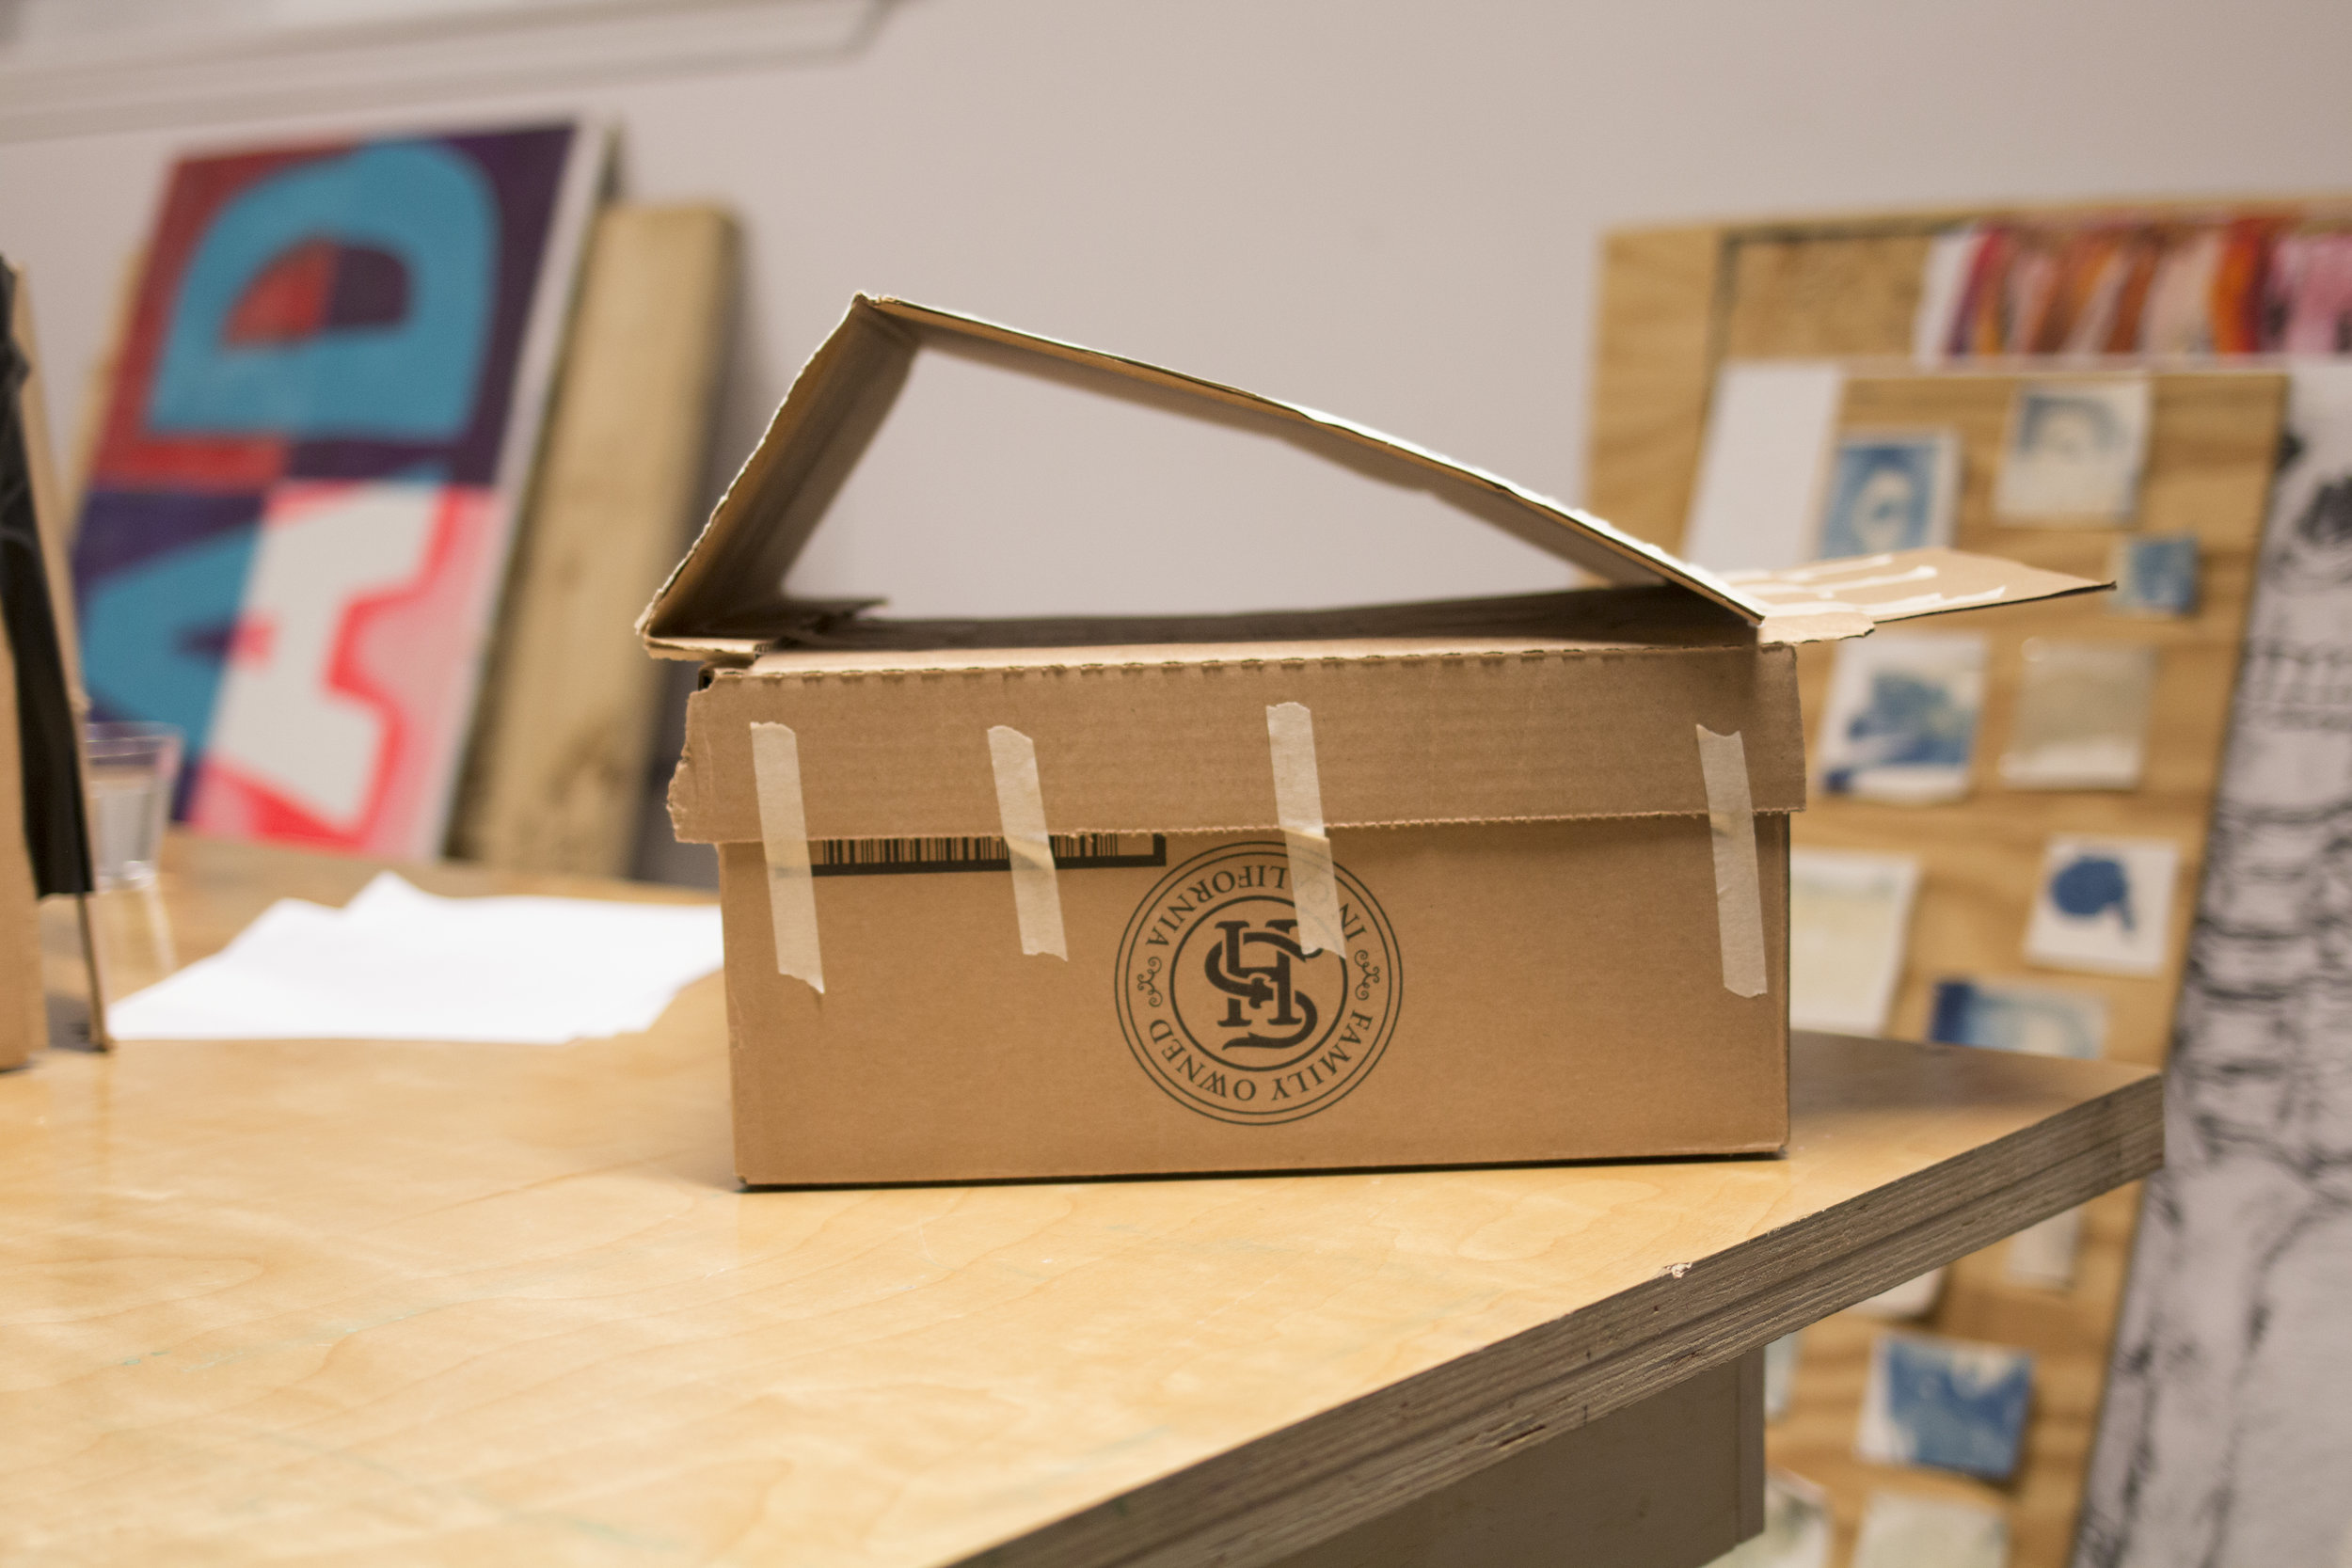
First, as you've hopefully been reading about, the Junior Viewfinders exhibited their homes and neighborhood that they've been built over the last two months. I won't go much deeper into this since you can read a detailed account of the project on this blog. We did have some Junior Viewfinders come out to the event and perform a rap and a dance during the open mic. It was a joy to see them proud of their artwork and sharing their talents on the mic.

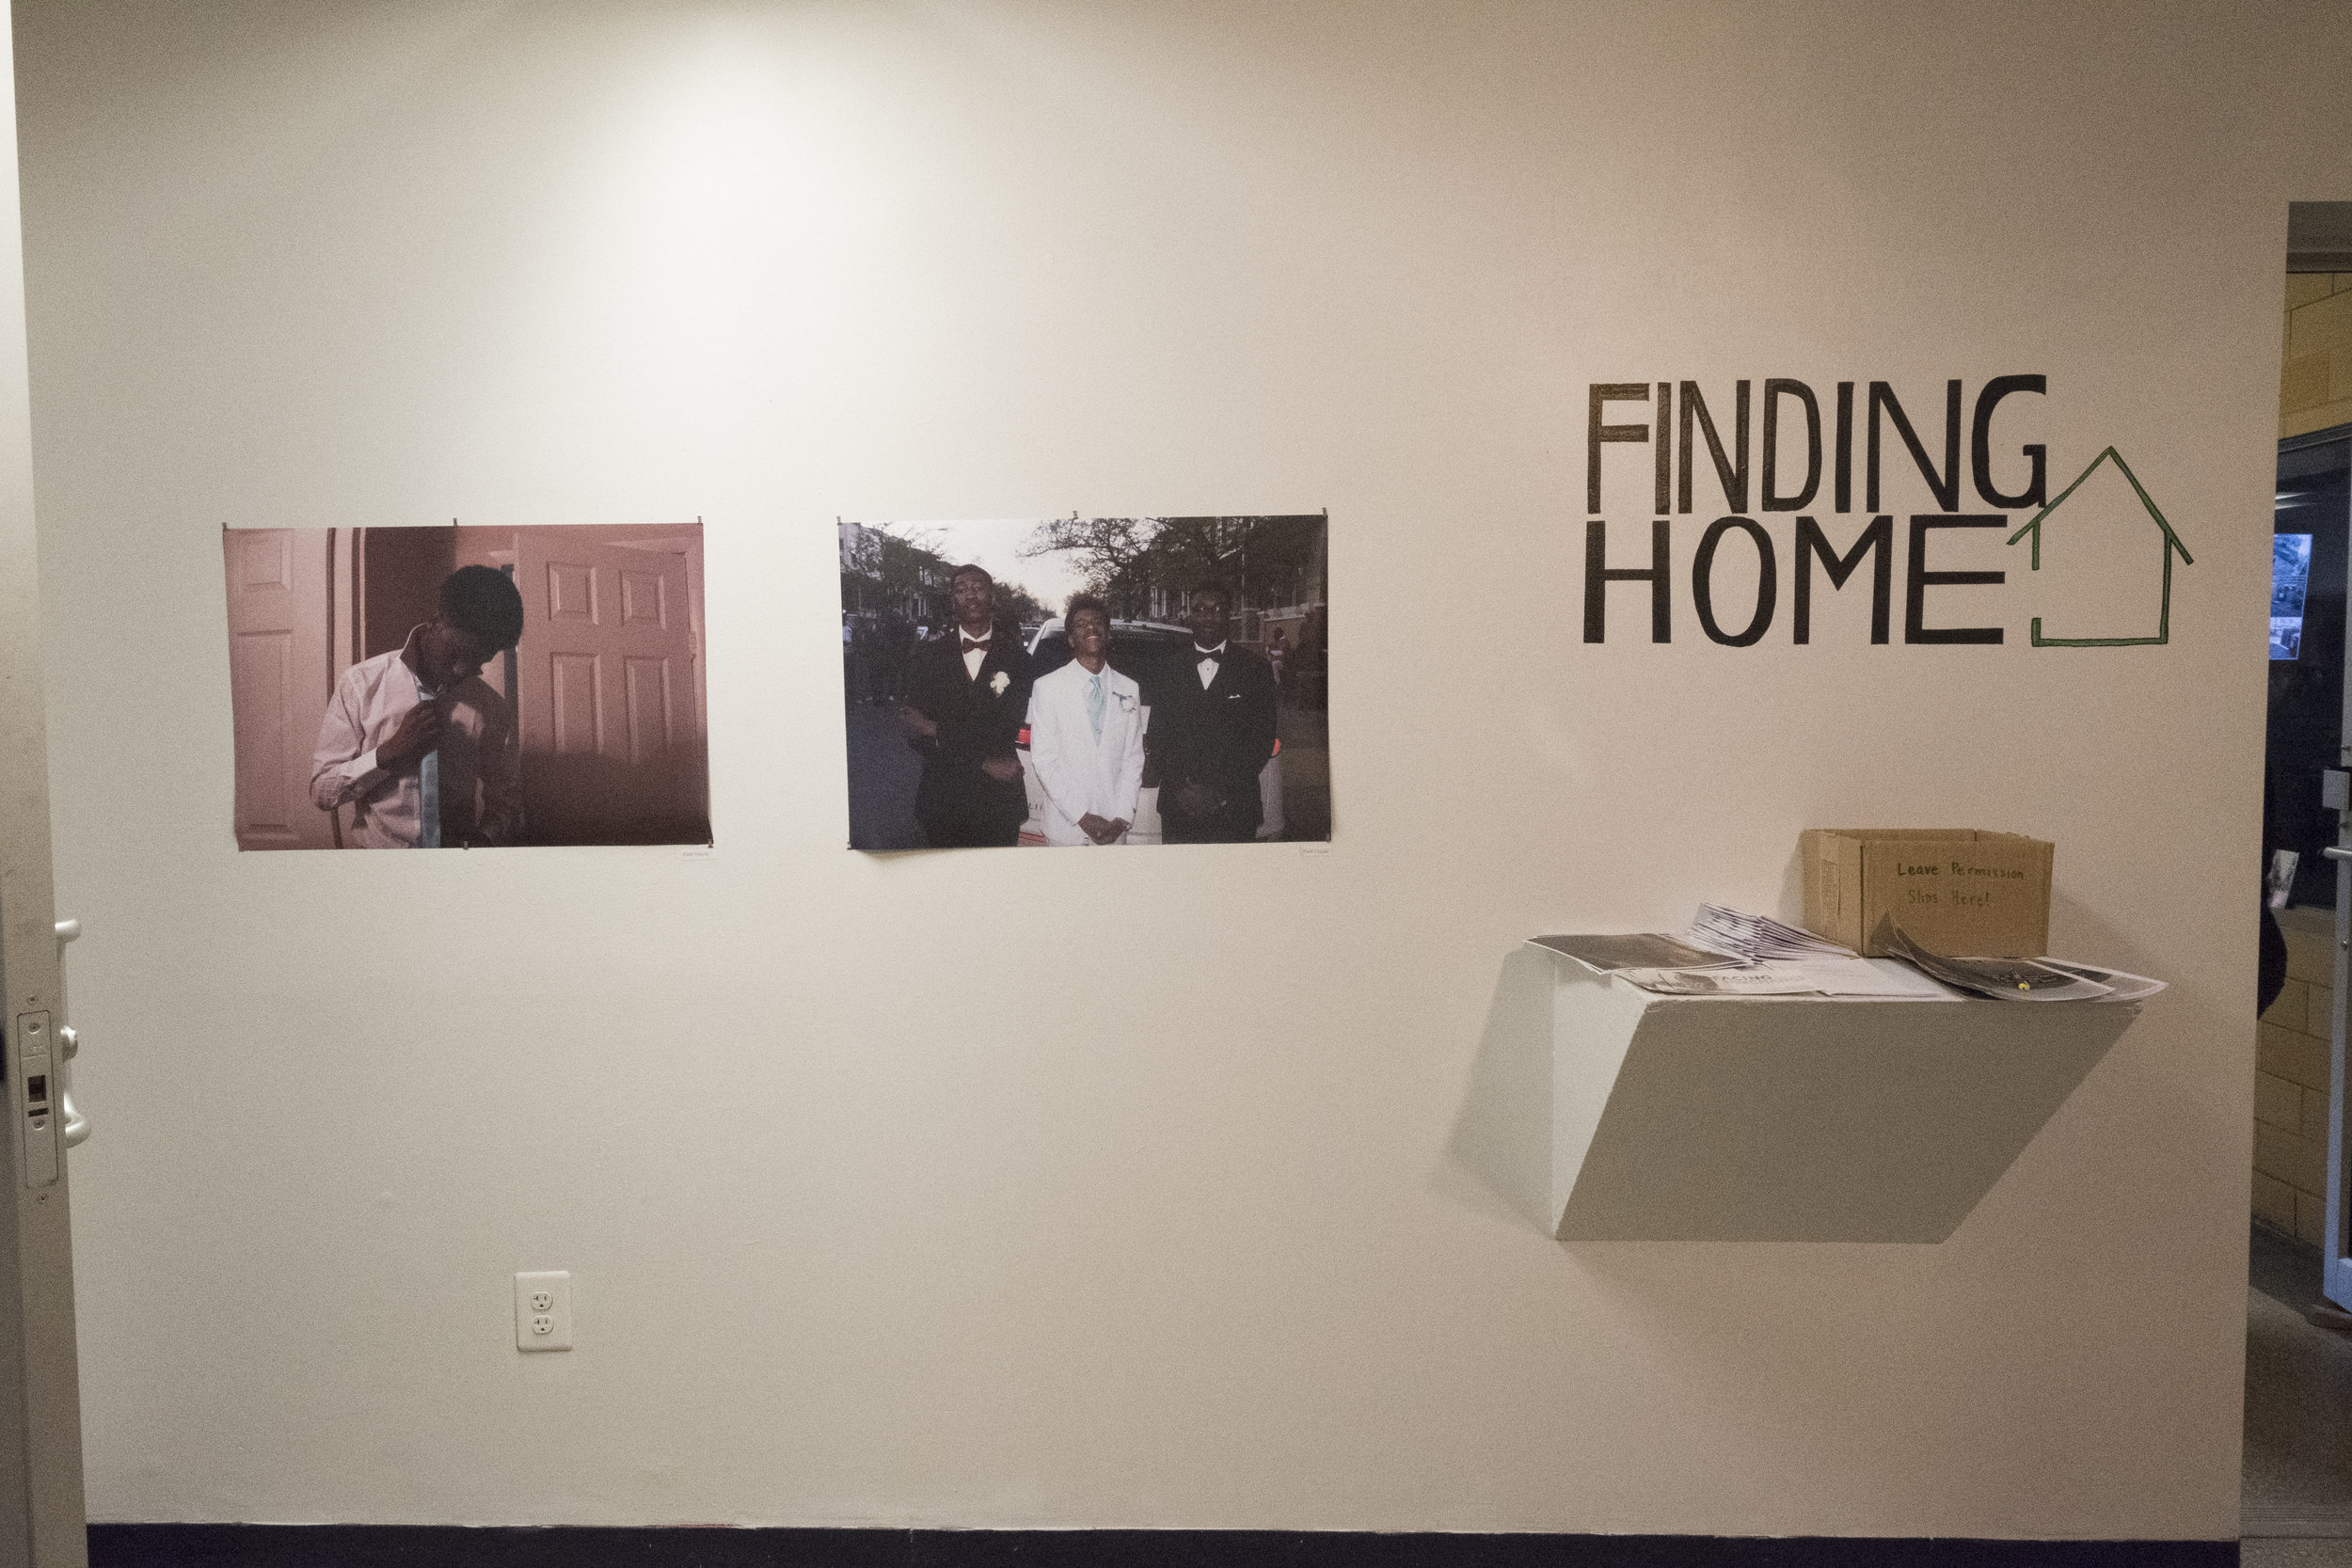
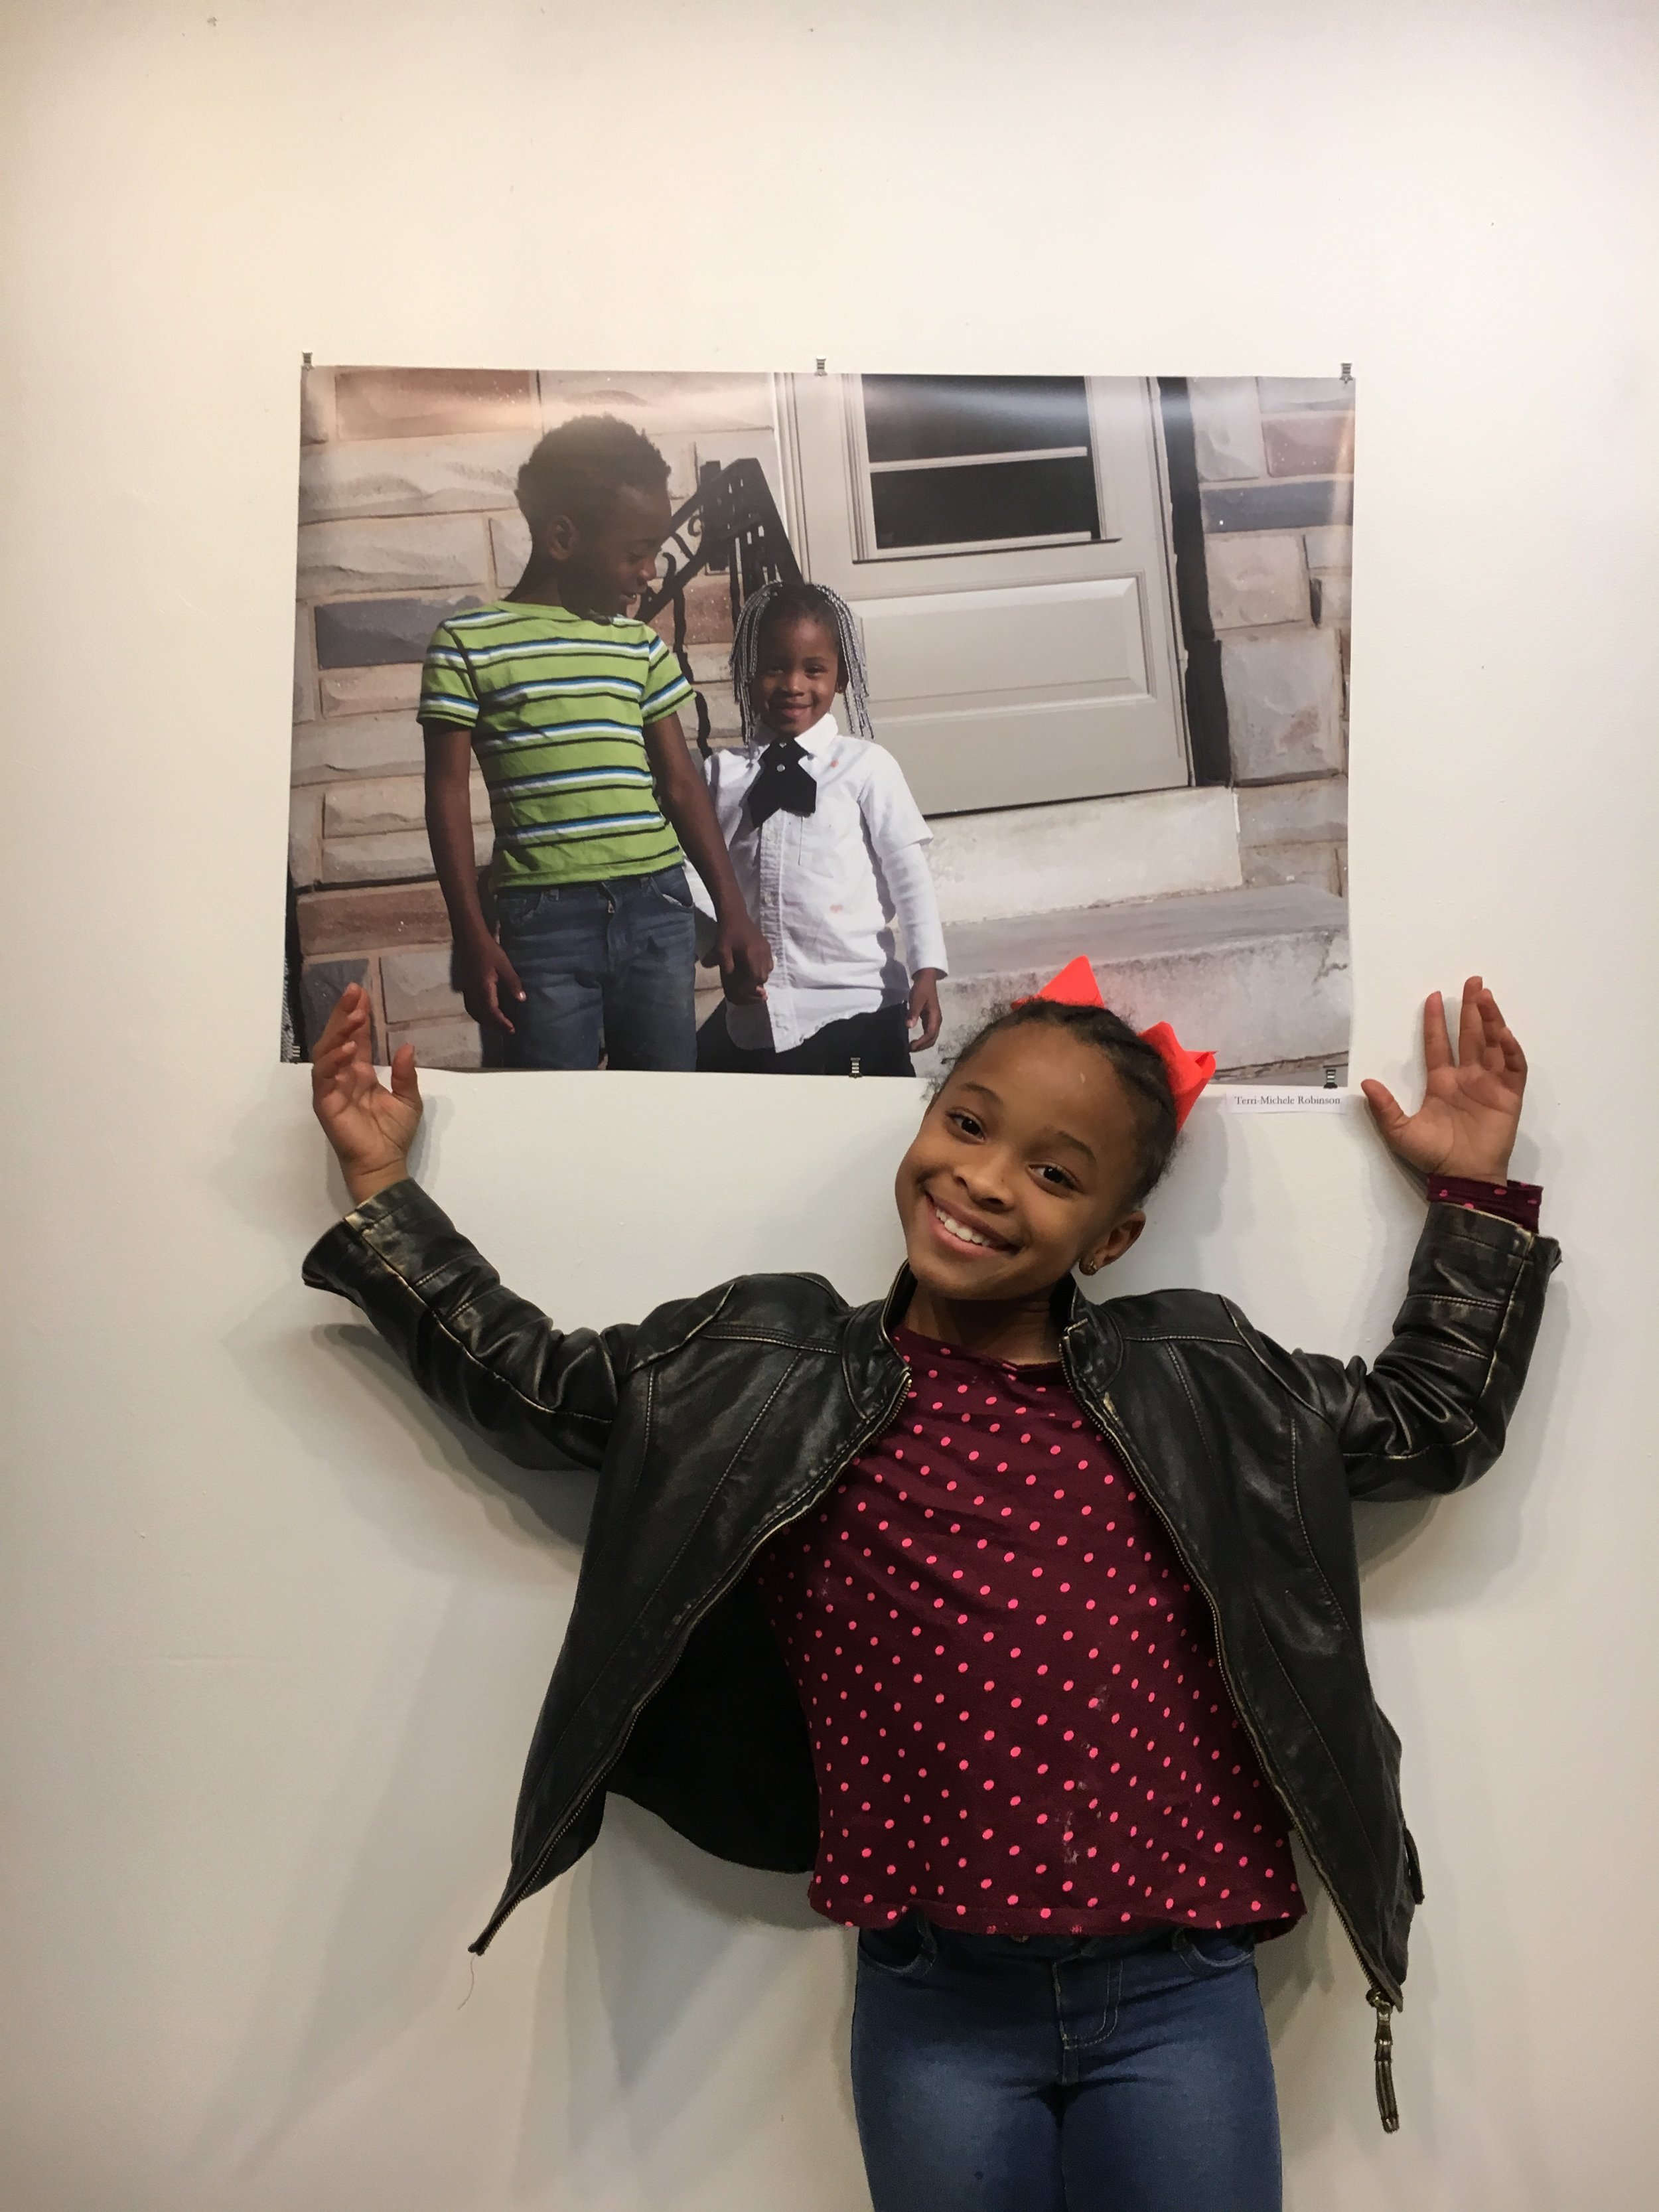
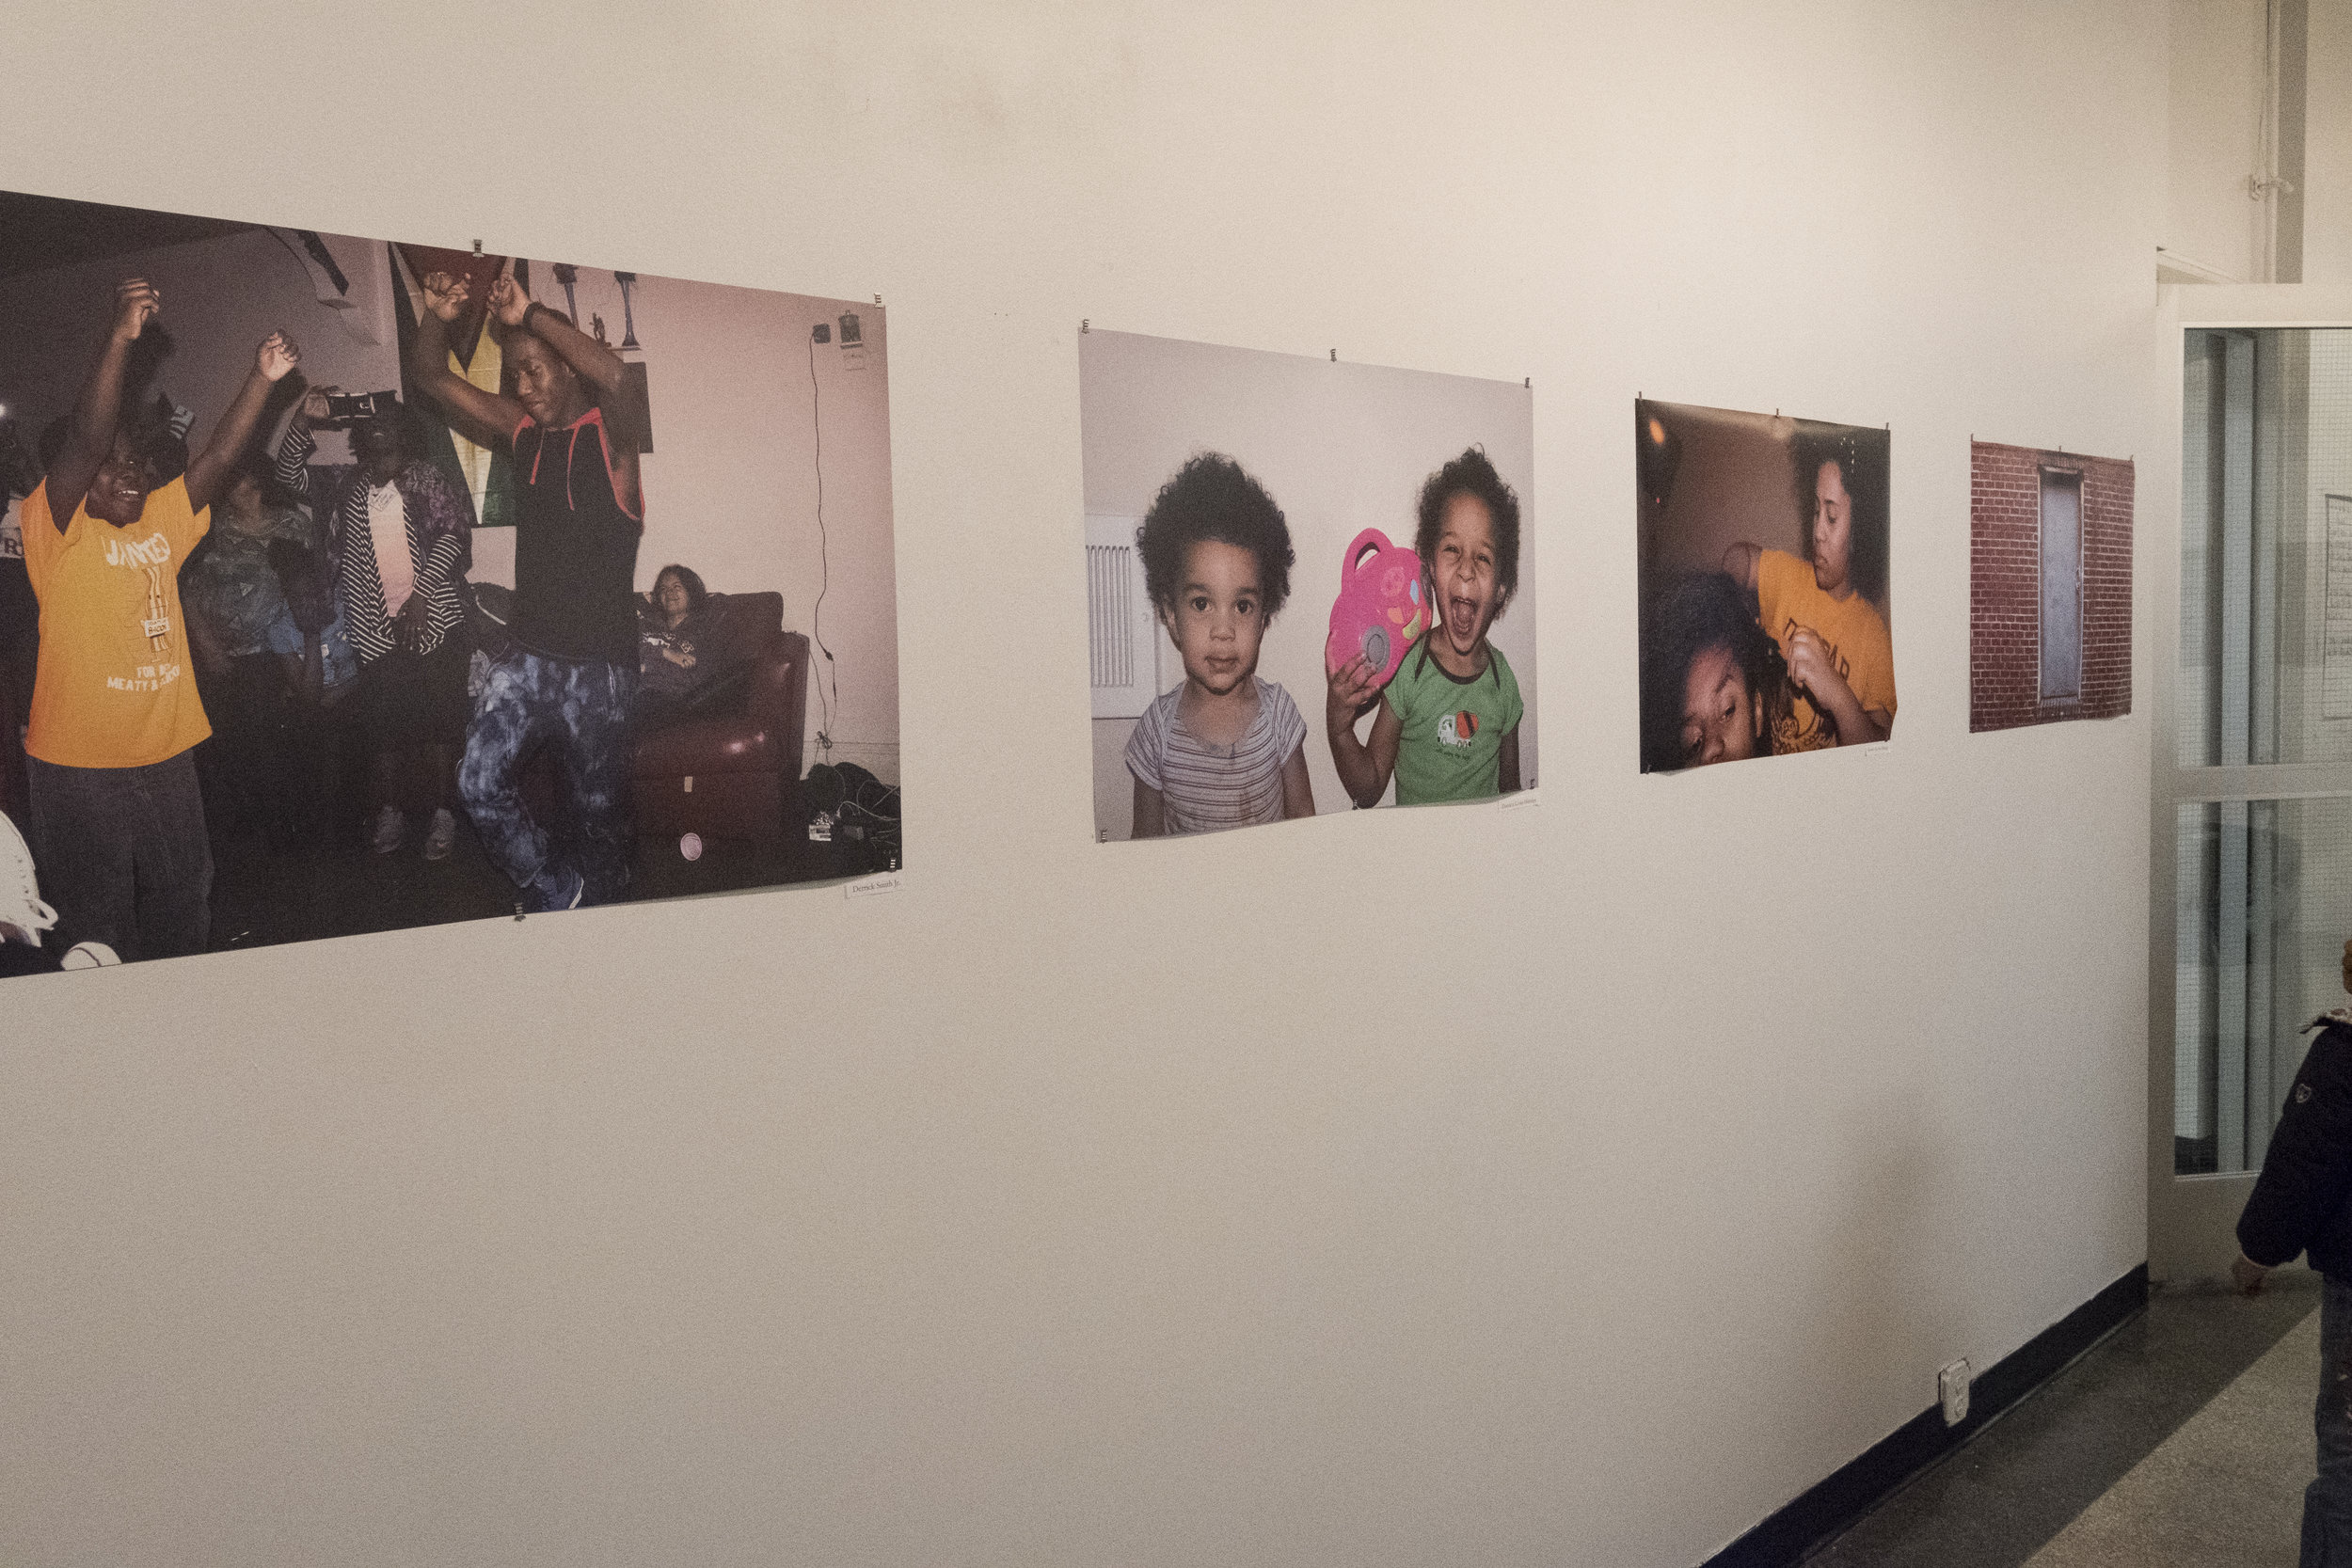
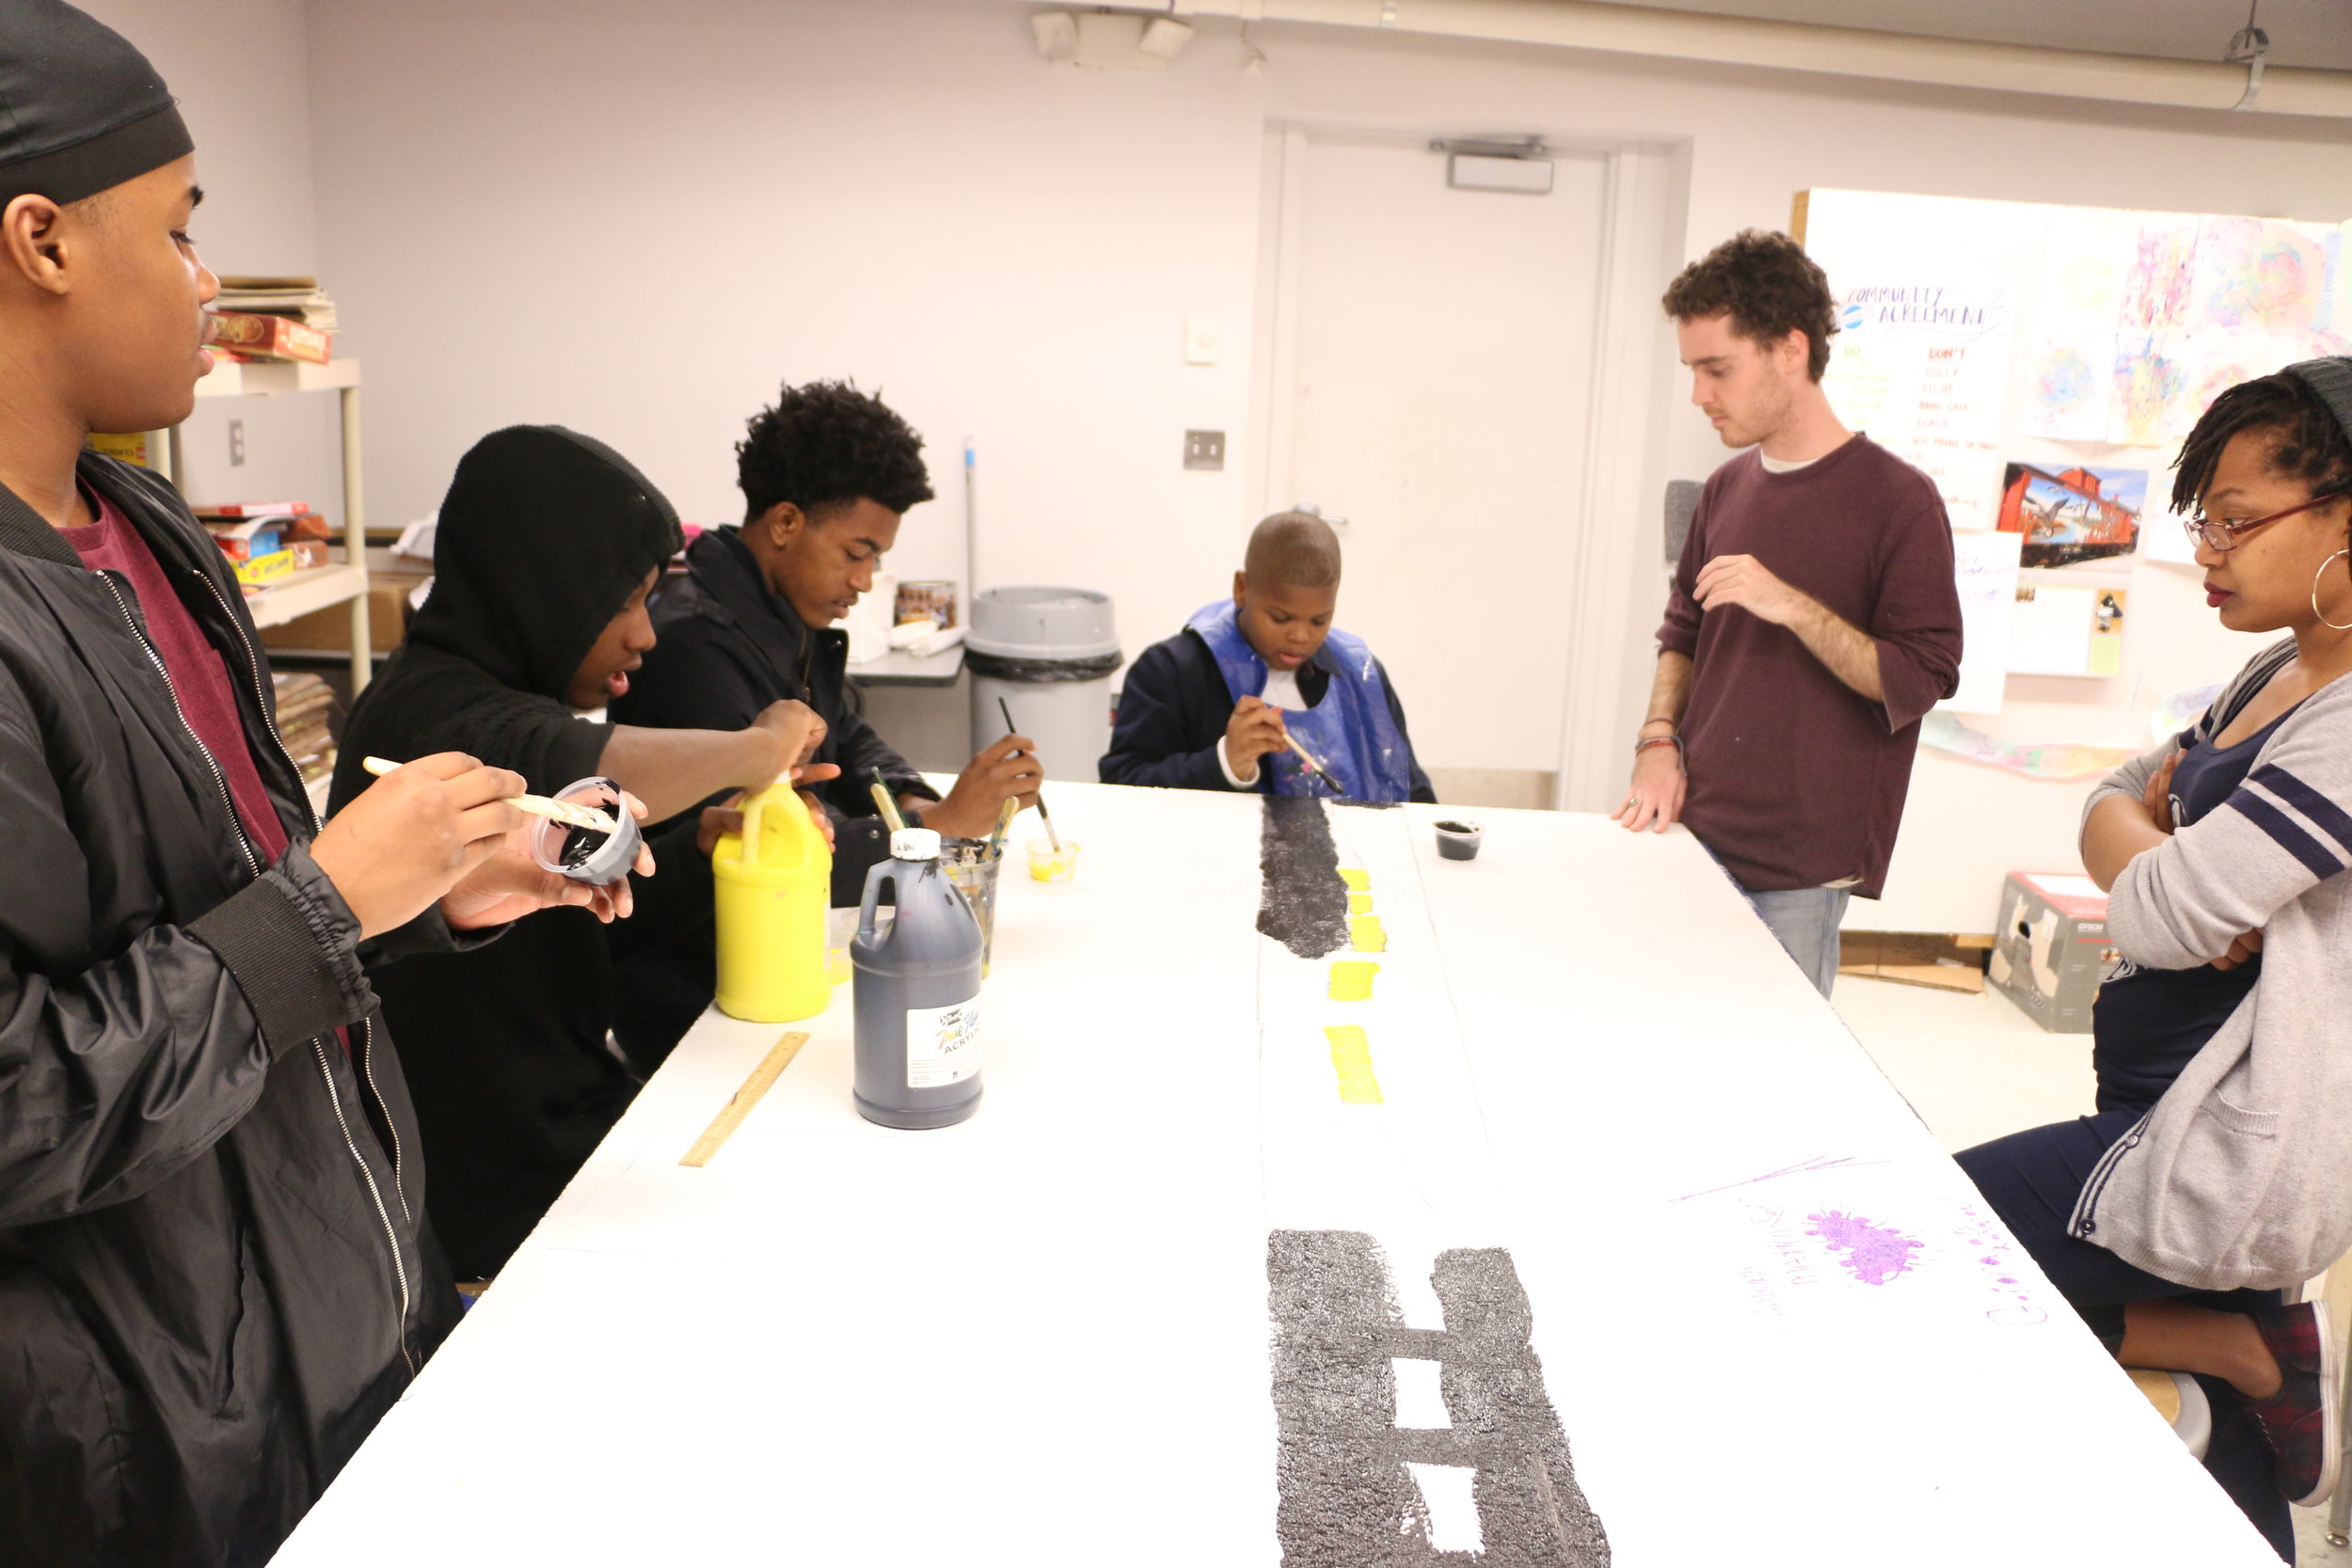
The Senior Viewfinders also exhibited some the photos that they'd taken while working on Eastside Stories III. They had 8 large scale prints of family members dancing, little siblings playing, friends at prom, and much more. We even had one photograph taken by Terri, an 8-year-old Junior Viewfinder.

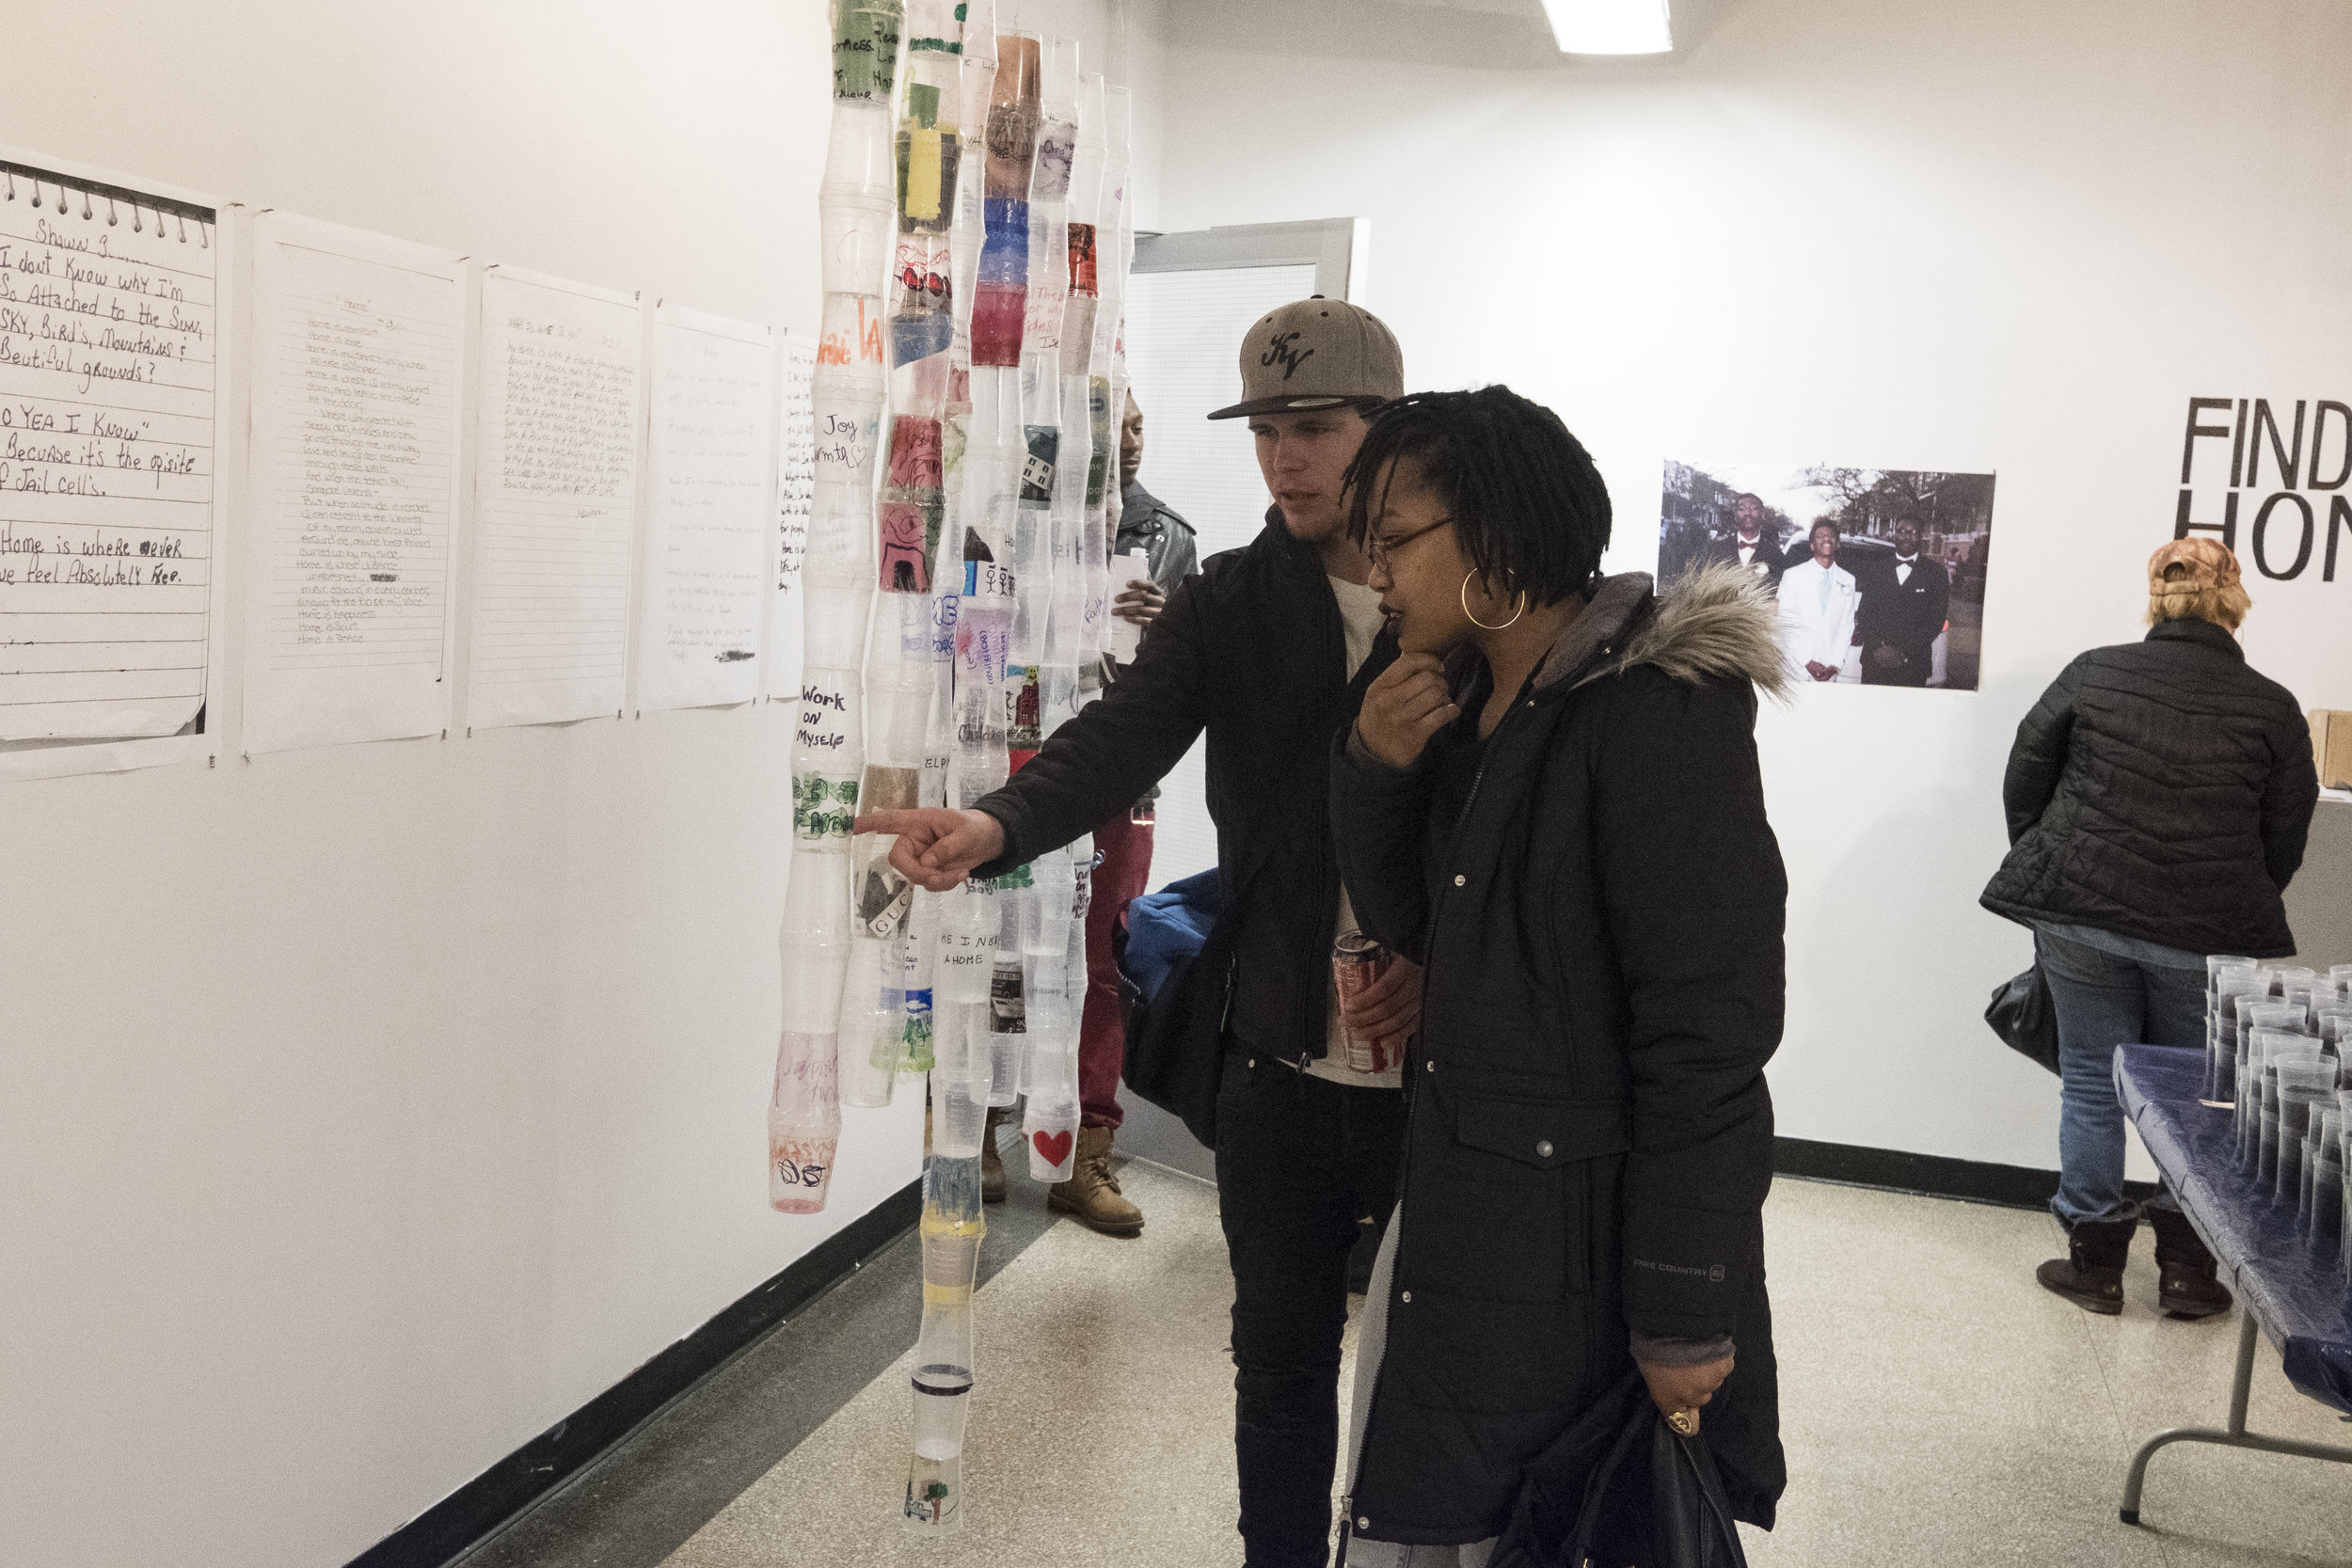
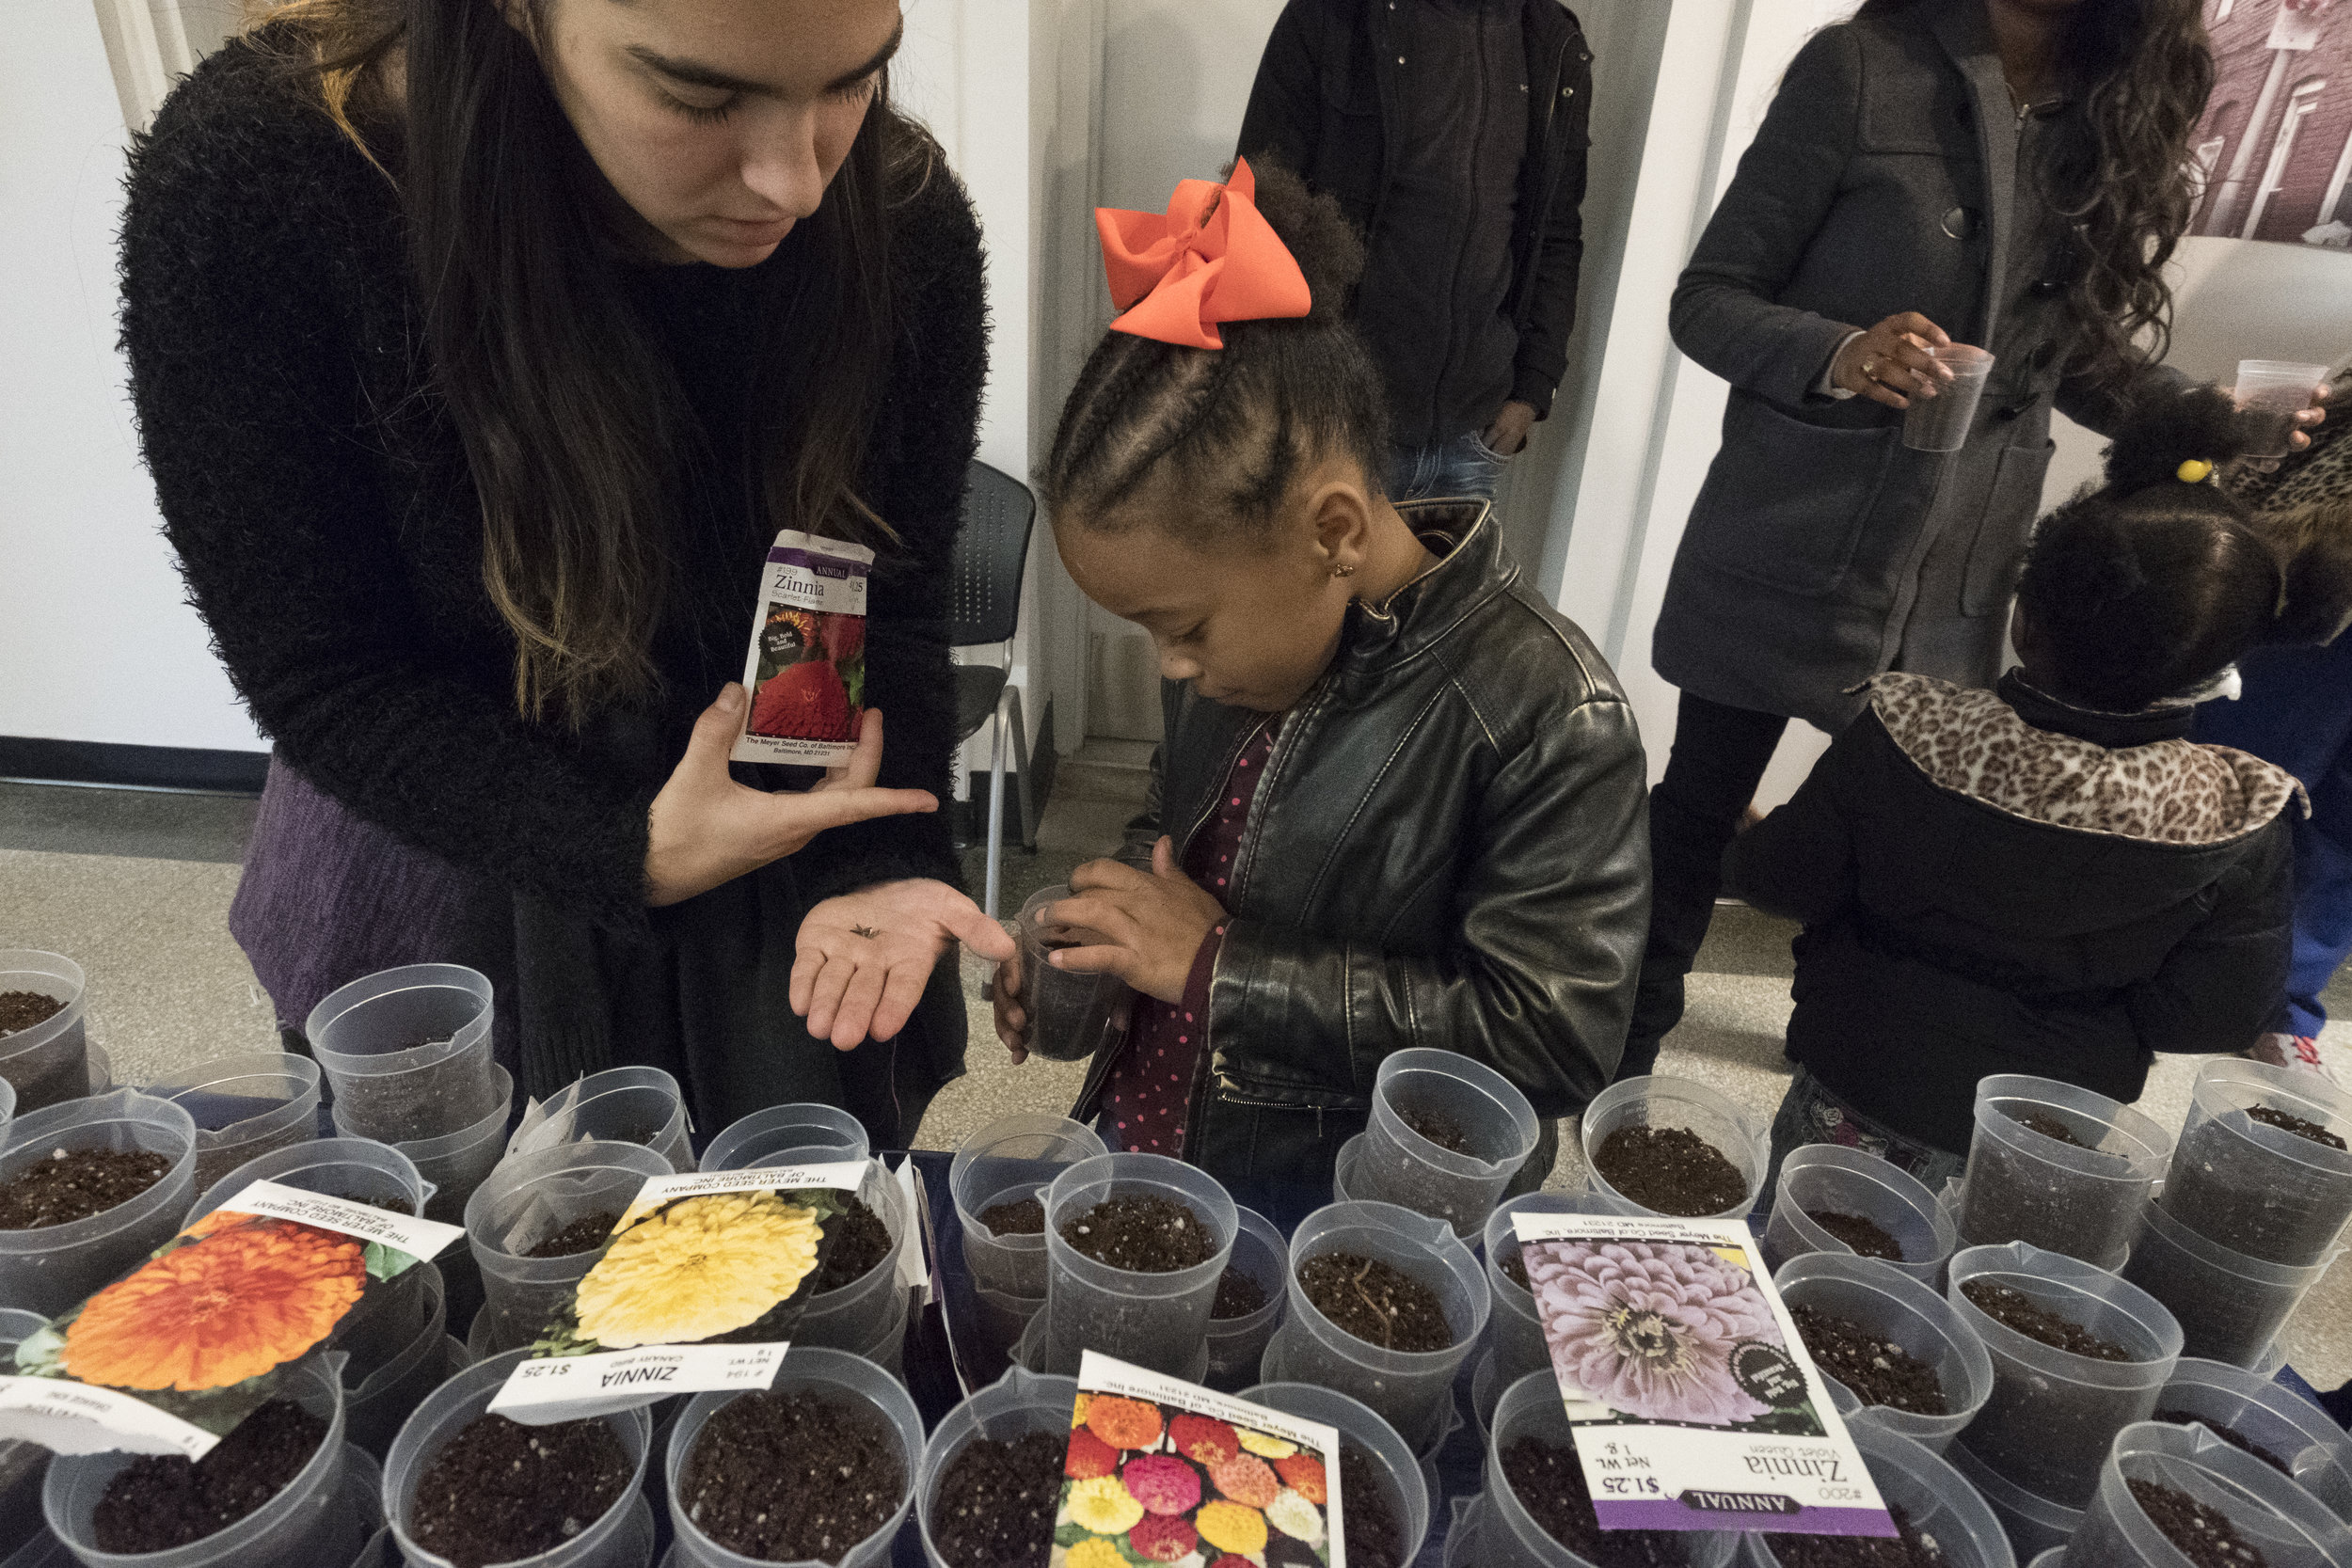
Another part of the exhibition was a collaboration with Powell Recovery Center. Gerad Forte, our executive director, had been teaching storytelling and filmmaking at Powell for several month. However, they designed their own installation during their art class. The theme was what home meant to them, as people who were in treatment and recovering from addiction. They drew and wrote their responses to the meaning of home on urinalysis cup, which they then connected to turn into columns that dangled from the ceiling. They also brought urinalysis cups filled with soil and some flower seeds, inviting attendees to take one home. Finally, they had a zine of writings that were also available for attendees. 

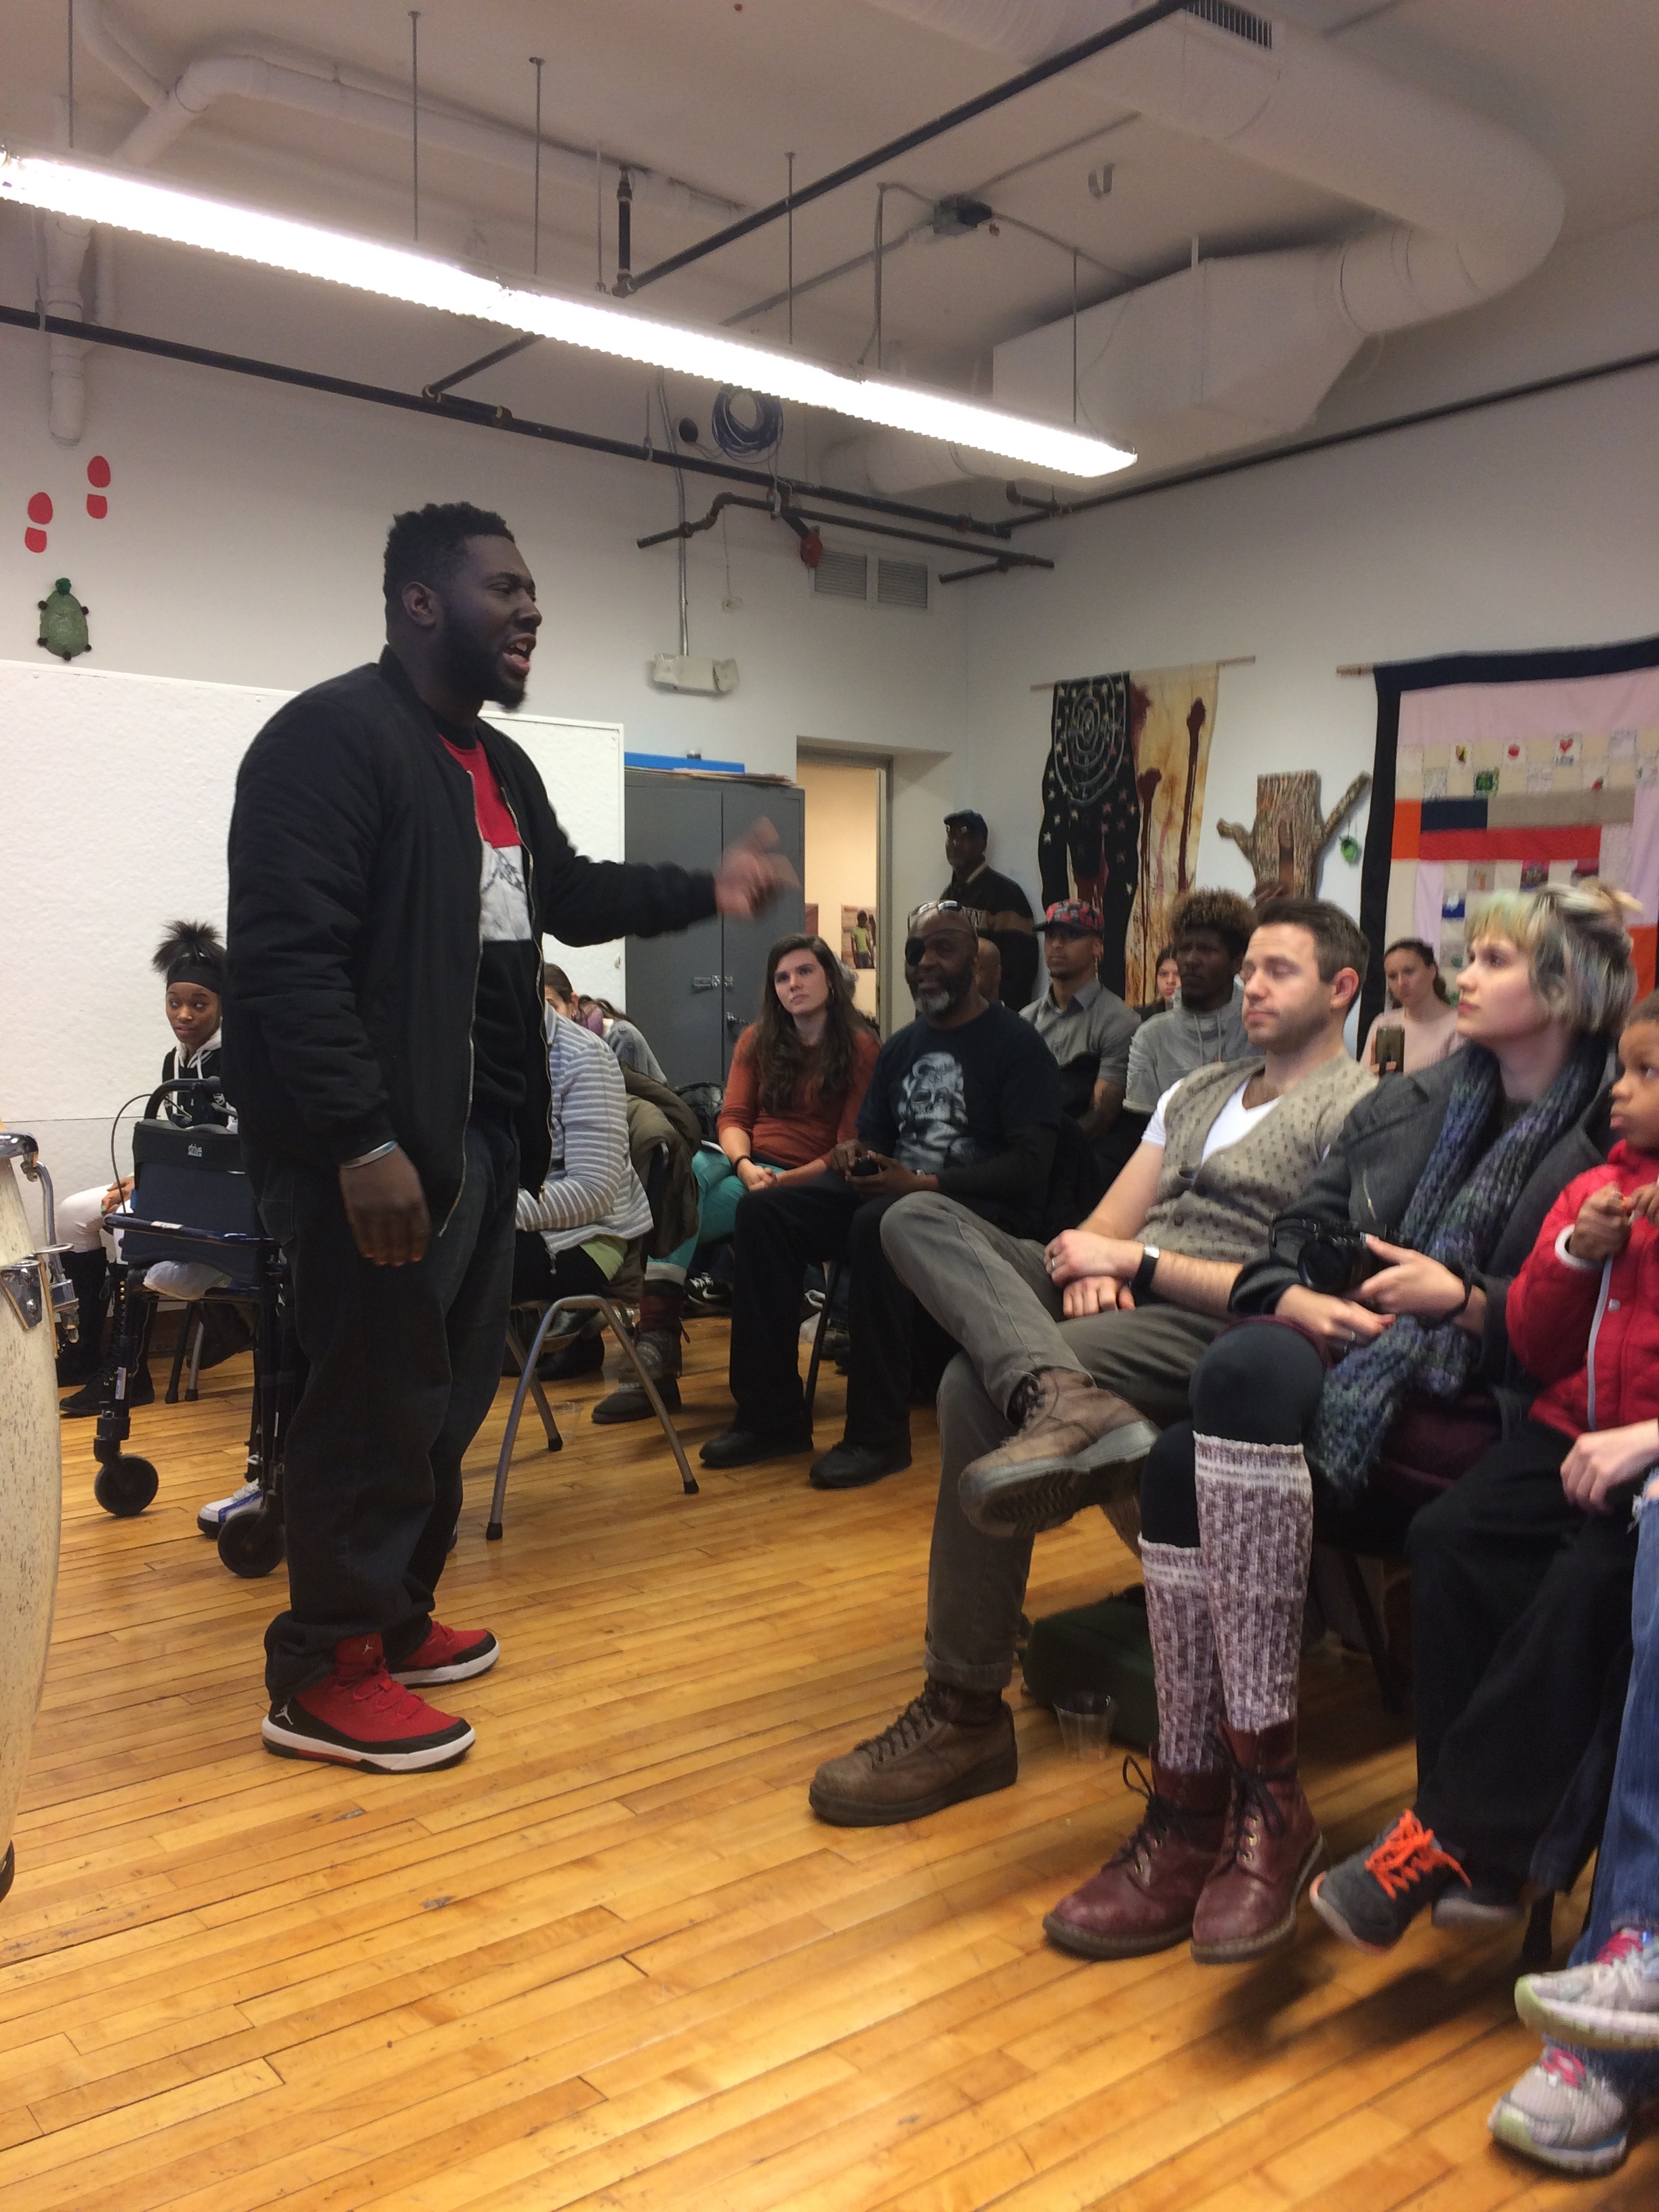
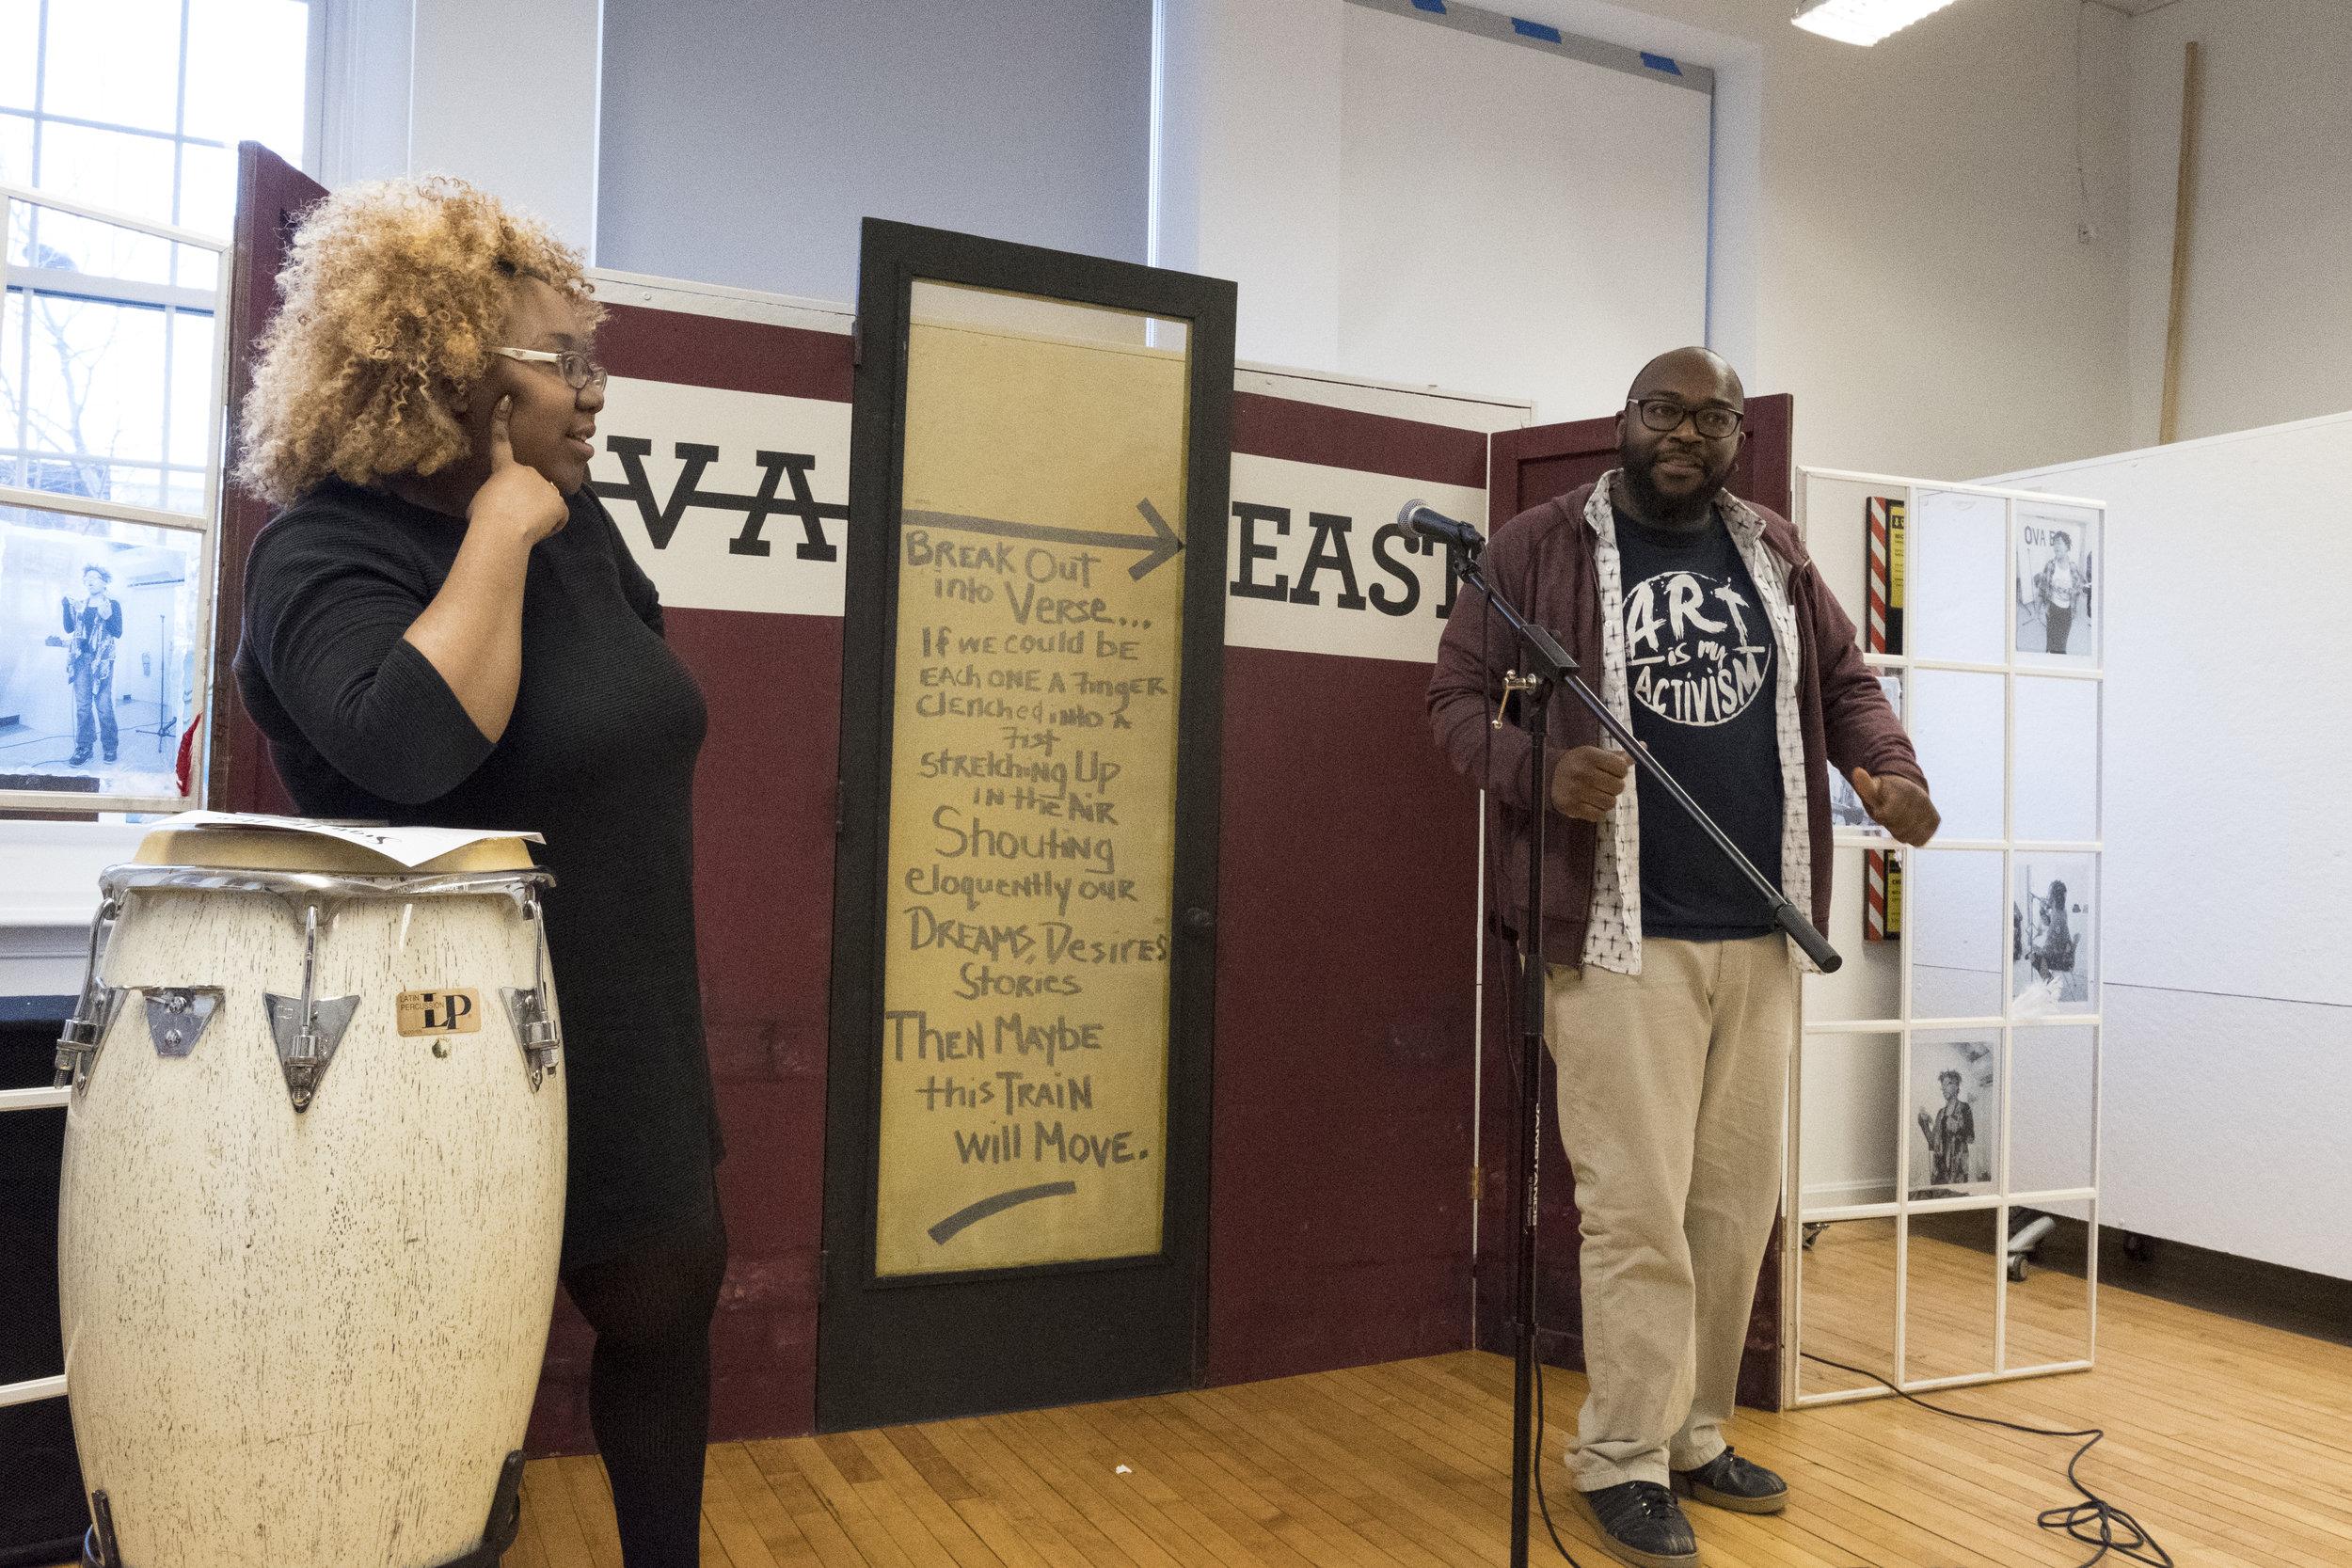
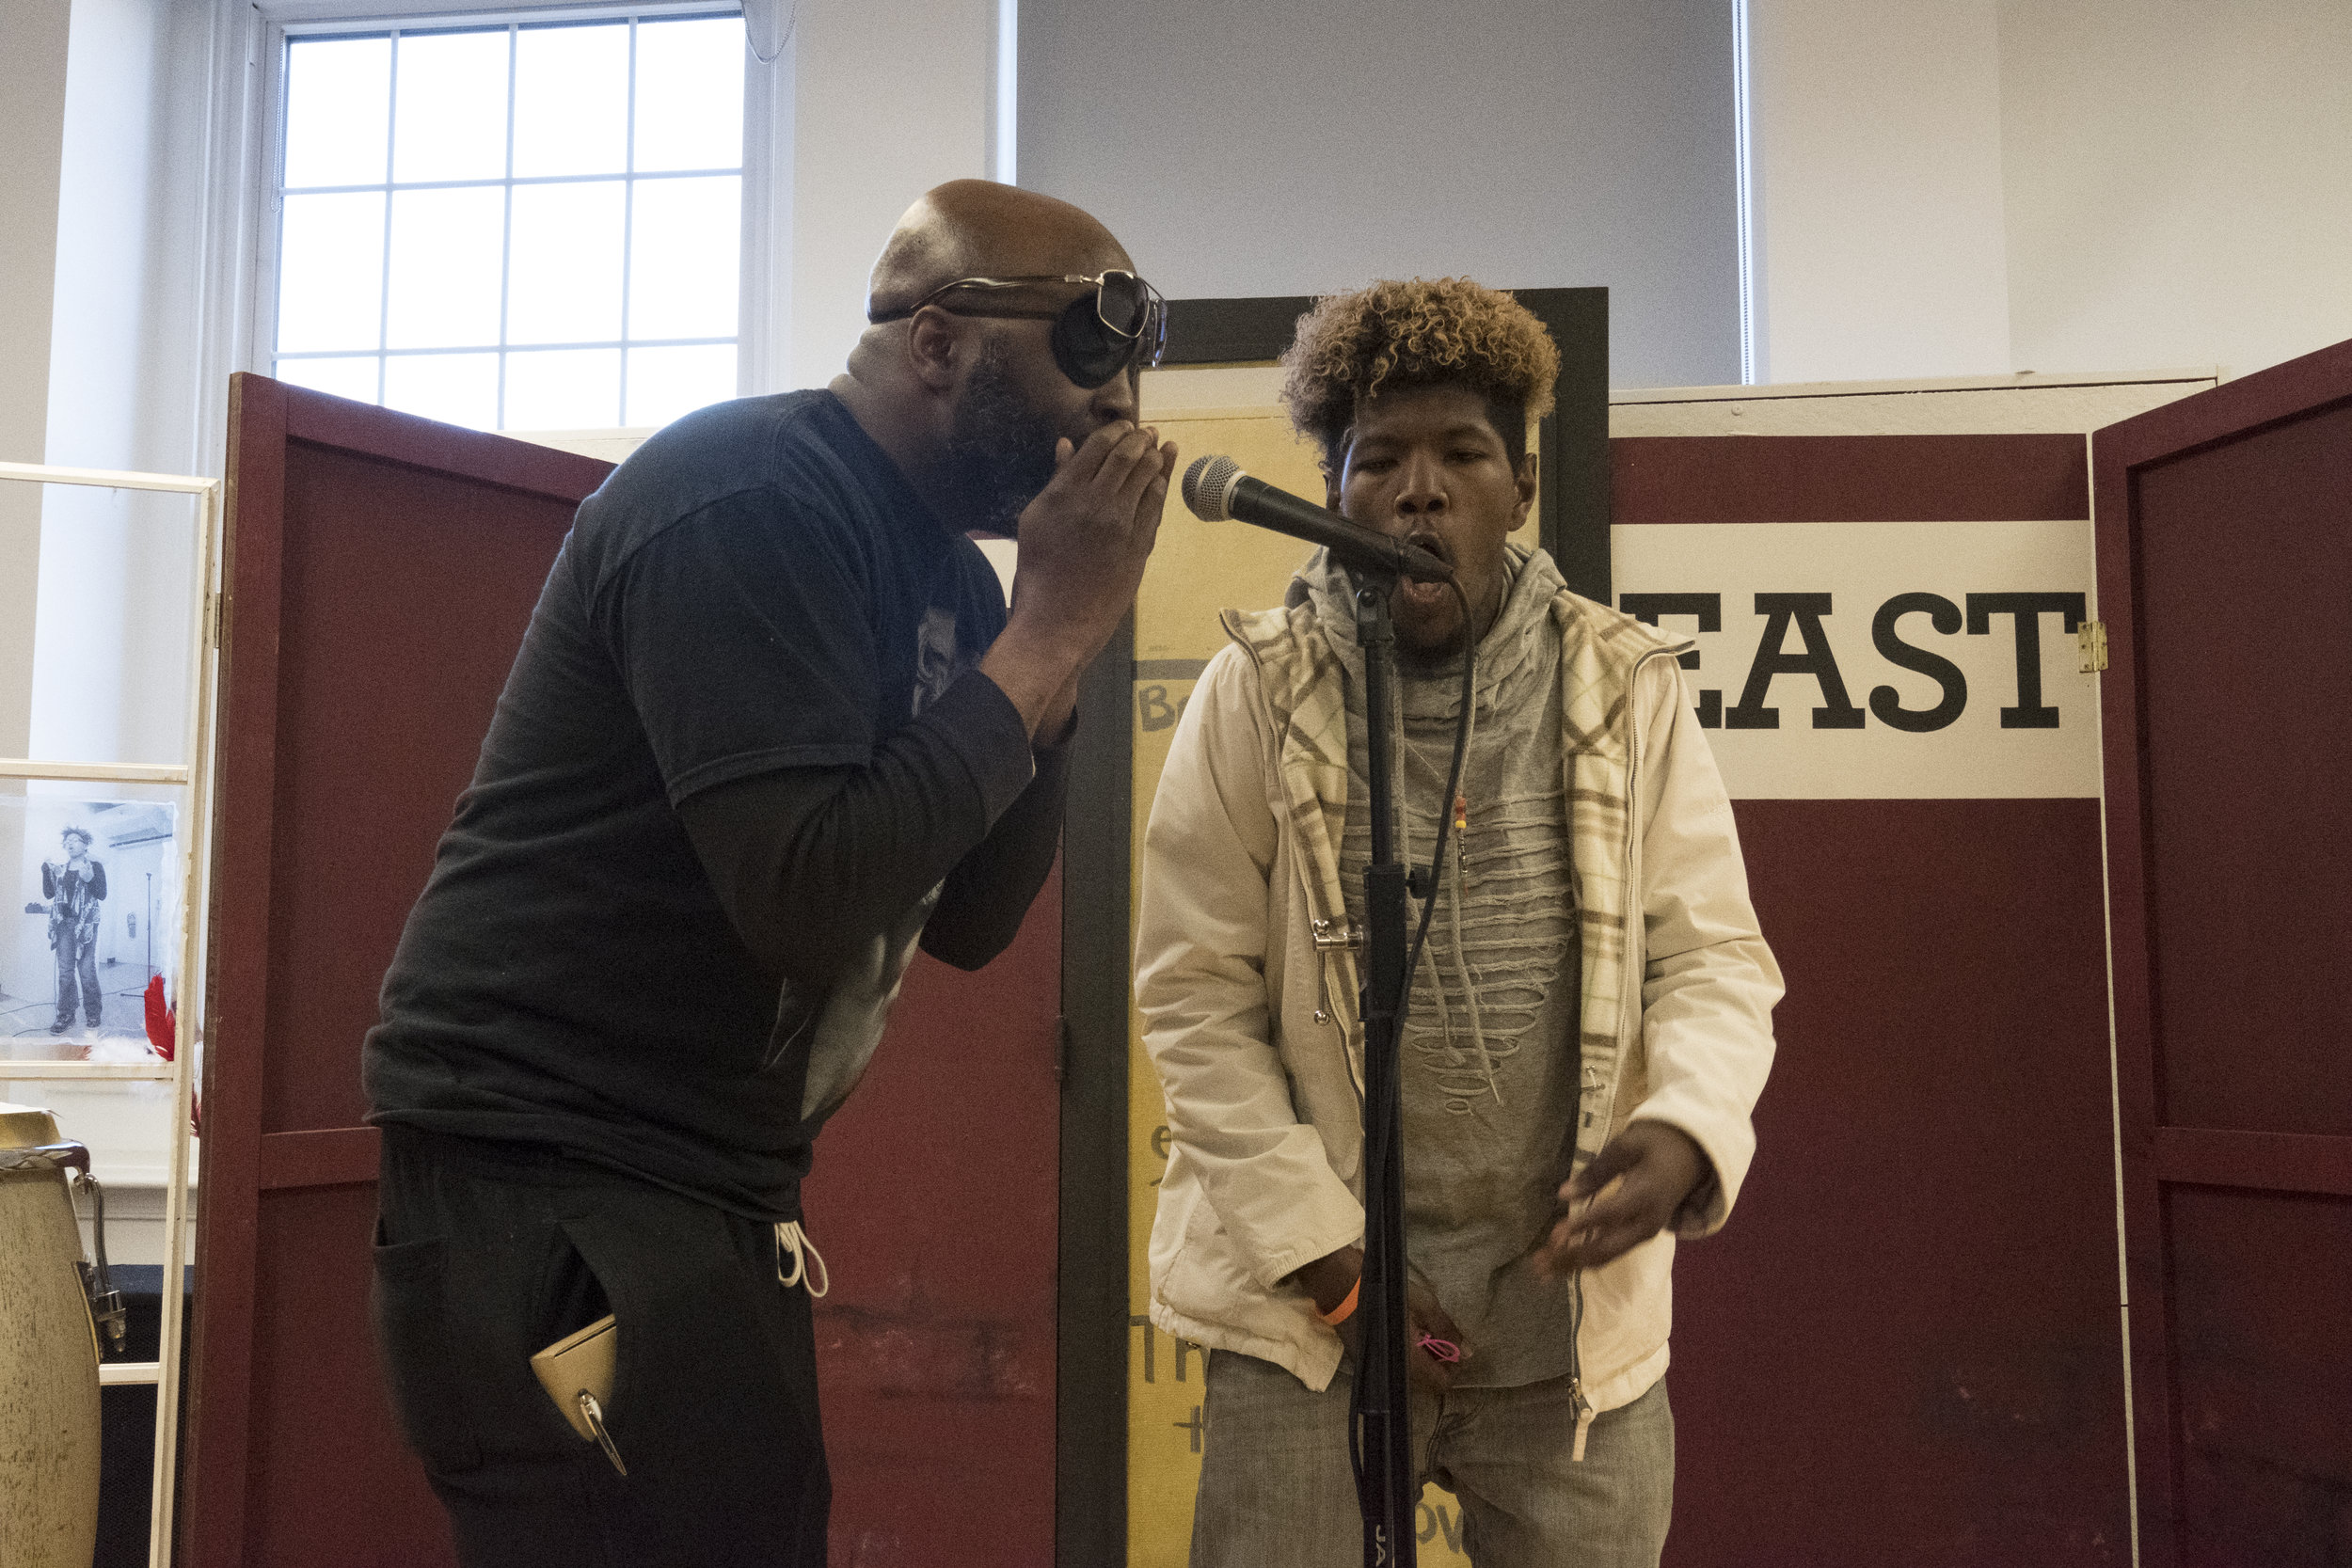
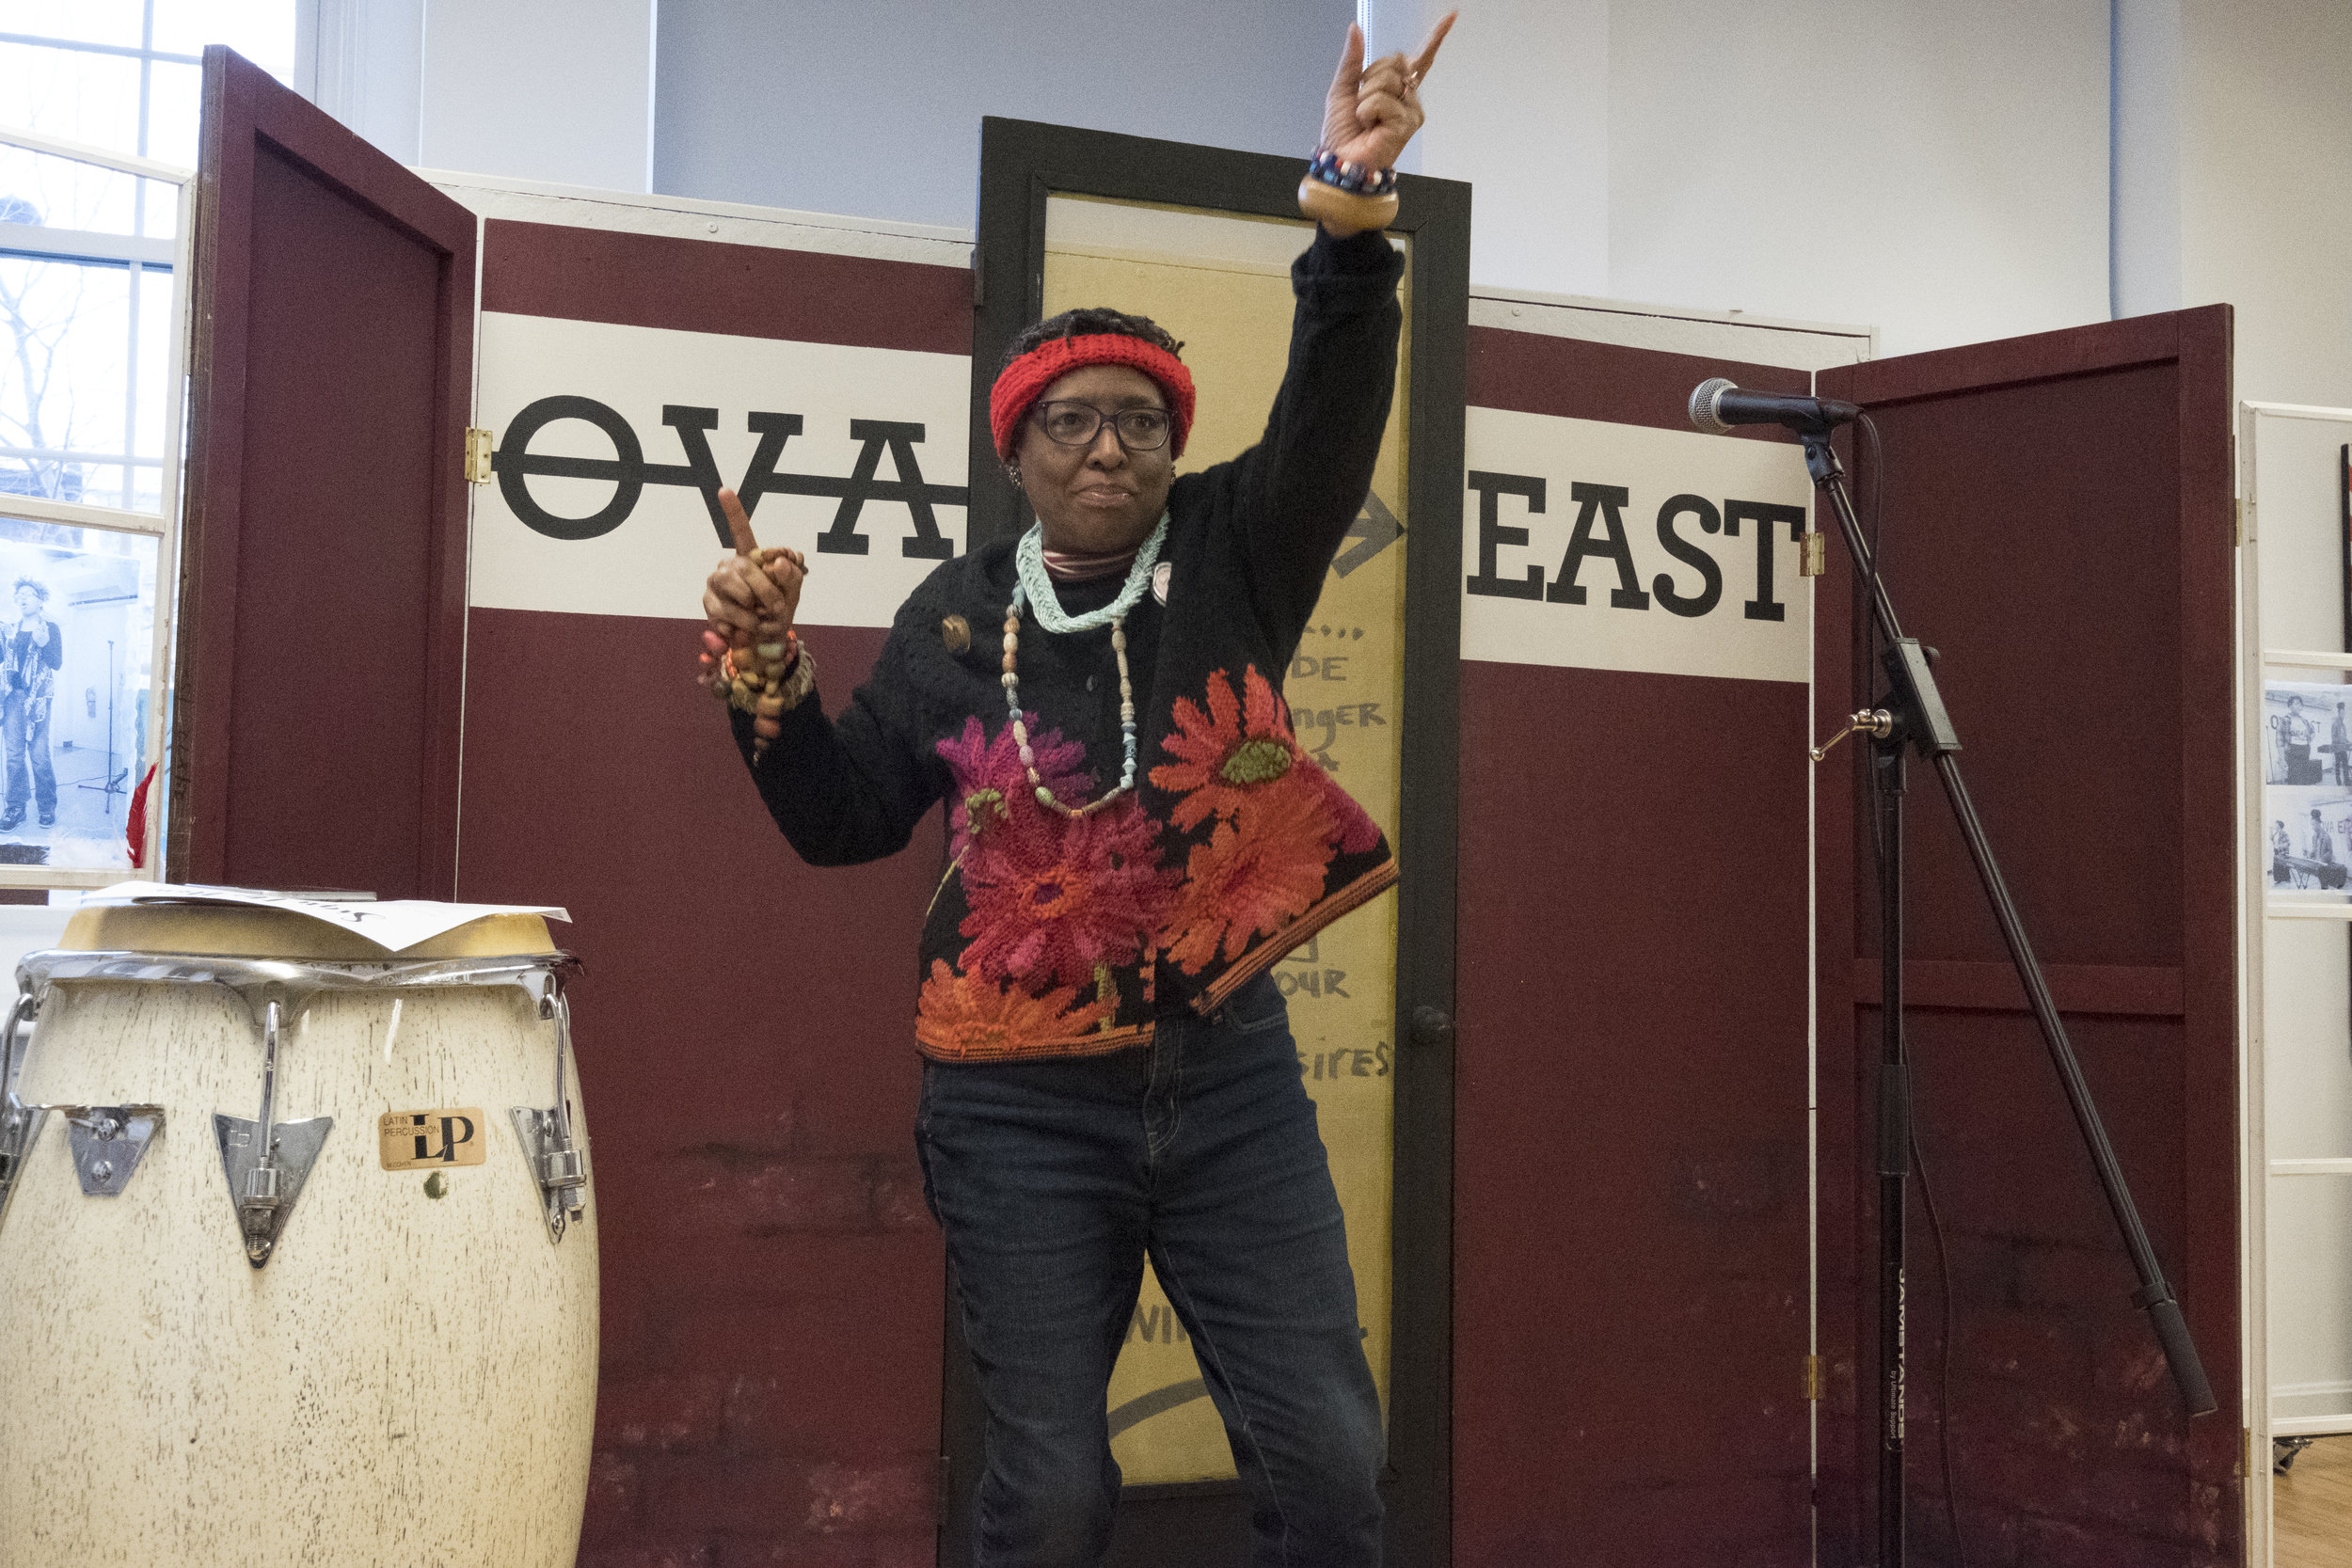
We concluded the event with a performance and open mic. Black Chakra, an incredible local spoken word poet, performed several mesmerizing poems. Definitely check out his work! For the open mic, a lot of the residents from Powell shared what home meant to them--some through song, some through rap, and some simply told their stories. 

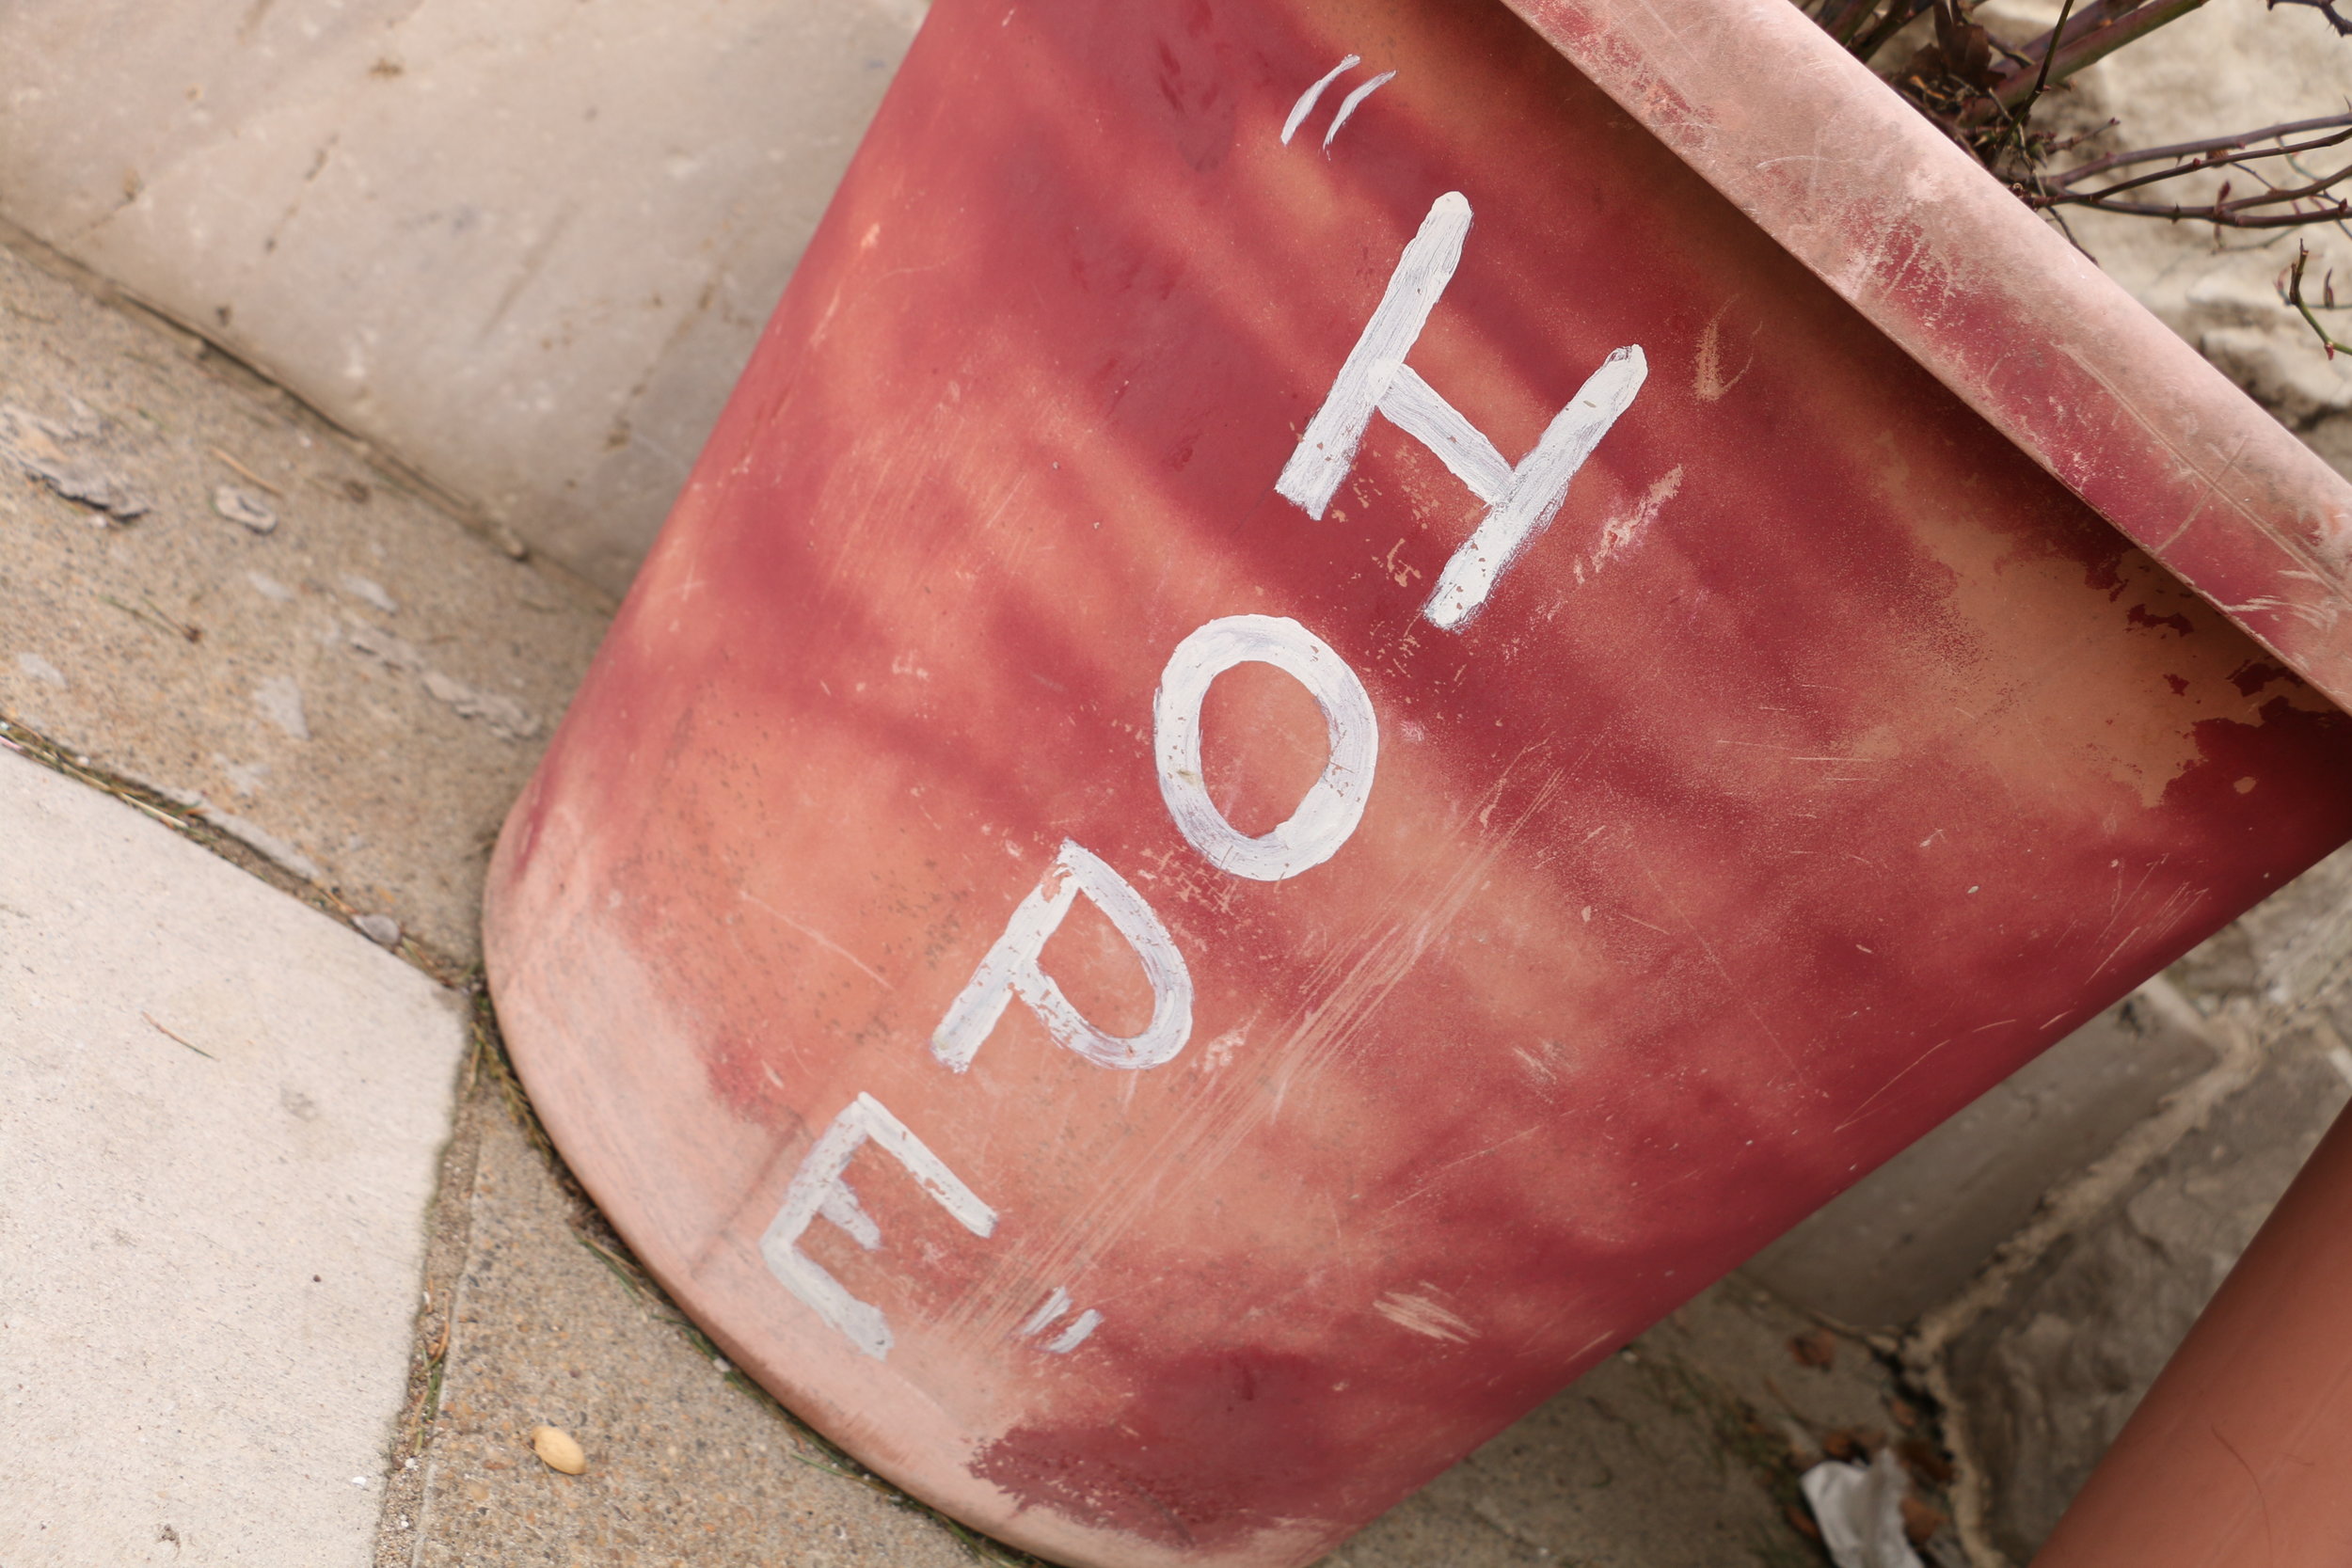
Overall, it was a really powerful event that brought together a number of different communities in Baltimore to share their stories and definitions of home. If anything, it showed just how complex and complicated the idea of home is, which is the very core of the issue we sought to explore in Finding Home. Check out these great photos from the event below!


Building Homes: Interiors and Neighborhood Design

With the exteriors of their homes complete, the Jr. Viewfinders moved on to designing the interiors. The aim was to have the youth return to the poems that they wrote earlier in the project and expand upon some of those ideas. We wanted them to consider what they wanted inside their home structure that they feel truly represented them and their sense of home. So, we used a blueprint template of the interior walls and asked them to sketch out the words and images they wanted to have on those walls. Then, they brought in photos, printed photos, and printed parts of their poems to decorate the interior. 

At this point in the project, we'd been working on these homes for around three or four weeks and we sensed that the youth were losing interest in the project. Particularly when we started the interiors, focus was scattered and the youth seemed bored. So, we came up with an alternate activity. We decided to work on designing a large piece of plywood as a neighborhood for their homes to be in. The whole piece--the plywood with the home structures on them--would then be in our upcoming Finding Home exhibit.

To design the neighborhood, we started by getting the basics down. We drew and painted a street and sidewalk. Then, we decided we wanted a lot of grass and flowers, so we filled the rest of the plywood with lawns and gardens. After that, we got a little more specific. We came up with a long list of things we'd want in the neighborhood: a playground, lemonade stands, benches, trees, and other things. The next day we set about drawing and painting those items onto the plywood. Lastly, we attached the houses onto the plywood to complete the neighborhood. Ultimately, switching the activities up to work on the plywood proved to be quite successful. The youth were much more engaged with working on designing the neighborhood than continuing to work on their homes, and it really helped bring us through the project.


Building Homes: Strengthening and Exteriors

The next step in the process was to strengthen their home structures and design the exteriors. Once they were happy with how their home looked, each Jr. Viewfinder painted a coat of gesso onto the exterior to help fortify the structure. It also created a blank, white layer for them to work with as they started their design process. 

The first step in designing the exteriors was a photo transfer process. We used the texture photos that they took earlier in the project. The youth picked a few of their favorites and then we showed them how to do photo transfer. The way it works is that you print your photo on regular paper and make sure to cut out the part you want to use. Then apply a thin coat of a specific type of gel (a few popular brands are Liquitex and Golden) over the whole image. Next, you place the image, with the gel on it, face down on the part of the structure you want it to be. After that, it has to sit for several hours. So, the next day, you come back and use a wet rag to rub away the paper. Once all the paper is gone, you're left with the image on the home structure. (Tip: if you want to use words, make sure to print the mirror image of the words!)

For us, this process was a mixed bag. It's never going to look perfect--and that's part of the effect, especially when transferring the image onto a material like cardboard. But, some of our youth were expecting it to look perfect, so they weren't so happy with how a few turned out. It also proved to be more time consuming and difficult to rub the paper away than we'd thought, so the youth struggled to stay focused on that rather tedious task. Ultimately, though, their homes looked great with the images, even with rough and torn edges, and most of the youth, enjoyed learning the process. The final step in the exterior design was to paint and draw anything else they wanted onto their homes. A lot of them filled in the blank areas with colors or painted a pattern on a wall. You can see some photos of us at work below!


Building Homes: Plans and Foundations

We are about to get into the heart of the Finding Home project: building model homes. We wanted the heart of this project be hands-on art making, and we wanted the activity to be challenging, exciting, and fun for the youth. So, for a project about home, we decided that building homes out of cardboard would fit those goals. 

We started by thinking about how to design a home. We looked at examples that focused on Baltimore specific types of homes that the youth could relate to, but we did also show some more extravagant examples of architecture. We wanted the youth to go deep into their imaginations to come up with a house structure that they really loved and wanted to build. However, building a home out of cardboard isn't always easy, so we showed some examples of cardboard homes to help show some of the limitations of working with cardboard.

Next, the youth drew sketches of the house that they wanted to build. They added details about decoration that won't come into play until later in the design process. Most importantly, they all had foundation of their structures figured out. Then, we dove straight into the building process. We demonstrated certain techniques in working with cardboard, like how to make a corner and effective ways to attach two pieces together. While there had been some reticence about the project during the planning phase, the first day of building was probably one our most focused day of programming all year. The youth were super focused on getting the base and foundation of their structure sturdy. They improvised and problem solved together to figure it out. Overall, it was awesome to see how the youth really enjoyed working with their hands to make the homes. Check out some process pictures below.


Texture Photography

This week, we stuck to a focus on photography and using cameras. We wanted to zoom in and have the youth focus on specific aspect of composition: texture. You don't always think about texture when you think about photography, so we wanted to challenge the youth to think outside of the box. We started by looking a close-up photos of various textured images: rope, fences, trees, strawberries, and more (you can check out the handout in our curriculum for this project). The youth had to guess what the images were of, and some proved pretty difficult to figure out. Then, we had a discussion about how there's unique and cool textures everywhere and about different ways to capture those through photos. 

Next, we did a quick refresher and overview of camera settings like ISO, aperture, and shutter speed. This part of the activity was a struggle. Having them sit and listen, while they had they cameras in hand was nearly impossible. We realized later that the best way for the youth to learn how to adjust those settings is to have them learn as they do. In other words, let them play around and experiment with the settings, and then when we're looking at the photos later, we can point out how those setting affected the image. With cameras in hand, the youth went out to take their own texture photos.

The next part of this process was to do cyanotype prints of their photos. Cyanotype is a process where you apply a specific type of ink to cotton paper and that ink changes color when exposed to the sun. We printed the youth's texture photos onto transparent papers. Then, we had the youth attach those photos on transparencies to a clear, plastic board. Next, they covered their paper with the ink and put the paper beneath their photos on the other side of the plastic board. Then, as a group we carried the board outside into the sun. Unfortunately, it was January and we only got the board out as the sun was setting. So, when we brought it back in about 30 minutes later, the cyanotype prints were blurred and didn't really come through. A tip: cyanotype needs to be done with lots of strong sunlight! Still, here are some of those great texture photos they took.


Turning Poems Into Videos

This week we took the poems that the Jr. Viewfinders wrote and turned them into videos. We wanted the the youth to get some practice operating a camera for video and doing a little bit of video editing. We started by having everyone record their poems. Youth took turns operating the camera, setting up the shot, and reading their poems. A lot of youth in our program are really interested in cameras, both photo and video. They're already using Instagram all the time--taking pictures, recording themselves, going live. So, rather than resist their interest (and sometimes obsession) with their phones, we try to use what we know they like to make engaging lesson plans. It worked out well in this case with the youth being excited about using the cameras for video and enjoying being recorded.

After they recorded their poems, the youth looked on the internet for photos that represented what they said home was for them. We also had asked them to bring in photos or videos that fit into their poems, but only a few youth actually did that, so we turned to the internet. Luckily, a lot of them used some images from their social media accounts, along with images they found on the internet. 

We had planned to do a shared screencast, so that we could do a video editing tutorial on Adobe Premiere. We thought it would help for them to see how it worked on their individual computer screens. Unfortunately, as often happens with after school programming, it didn't go exactly as planned and the screencast didn't happen. Instead, we offered one-on-one help and support to the youth on how to do video editing. While this wasn't very efficient, it did result in some awesome videos! Also, we did instill the basics of Premiere and video editing, which was a huge plus. Check out some examples below.


Introducing Finding Home

With a new year, we started a new project with the Jr. Viewfinders. With the Sr. Viewfinders focusing on the theme of home for Eastside Stories III, we thought it would be good for the Jr. Viewfinders to focus on home, too. However, instead of looking outward to get others' perspectives on home, Finding Home will allow the Jr. Viewfinders to focus on what home means to them. 

In this project, the Jr. Viewfinders will engage with the complicated and multifaceted concept of home through an array of artistic mediums. Using writing, photography, videography, and sculptural design, participants will explore home as more than just the place they live, but also as a feeling, a sensation, an activity, a person, or a community. They will consider questions like: Who makes me feel at home? What is a place of comfort and safety for me? What objects do I carry with me? What memories do I connect to home?

At a time when the youth in our program are experiencing change in the way they see the world, this project aims to allow youth to develop their own definition and image of home. Ultimately, this project asks the youth to forge their own path and shape the project in ways that they feel best apply to their personal experience of home. So, please follow along and see how this project progresses!