February 2017

Building Homes: Interiors and Neighborhood Design

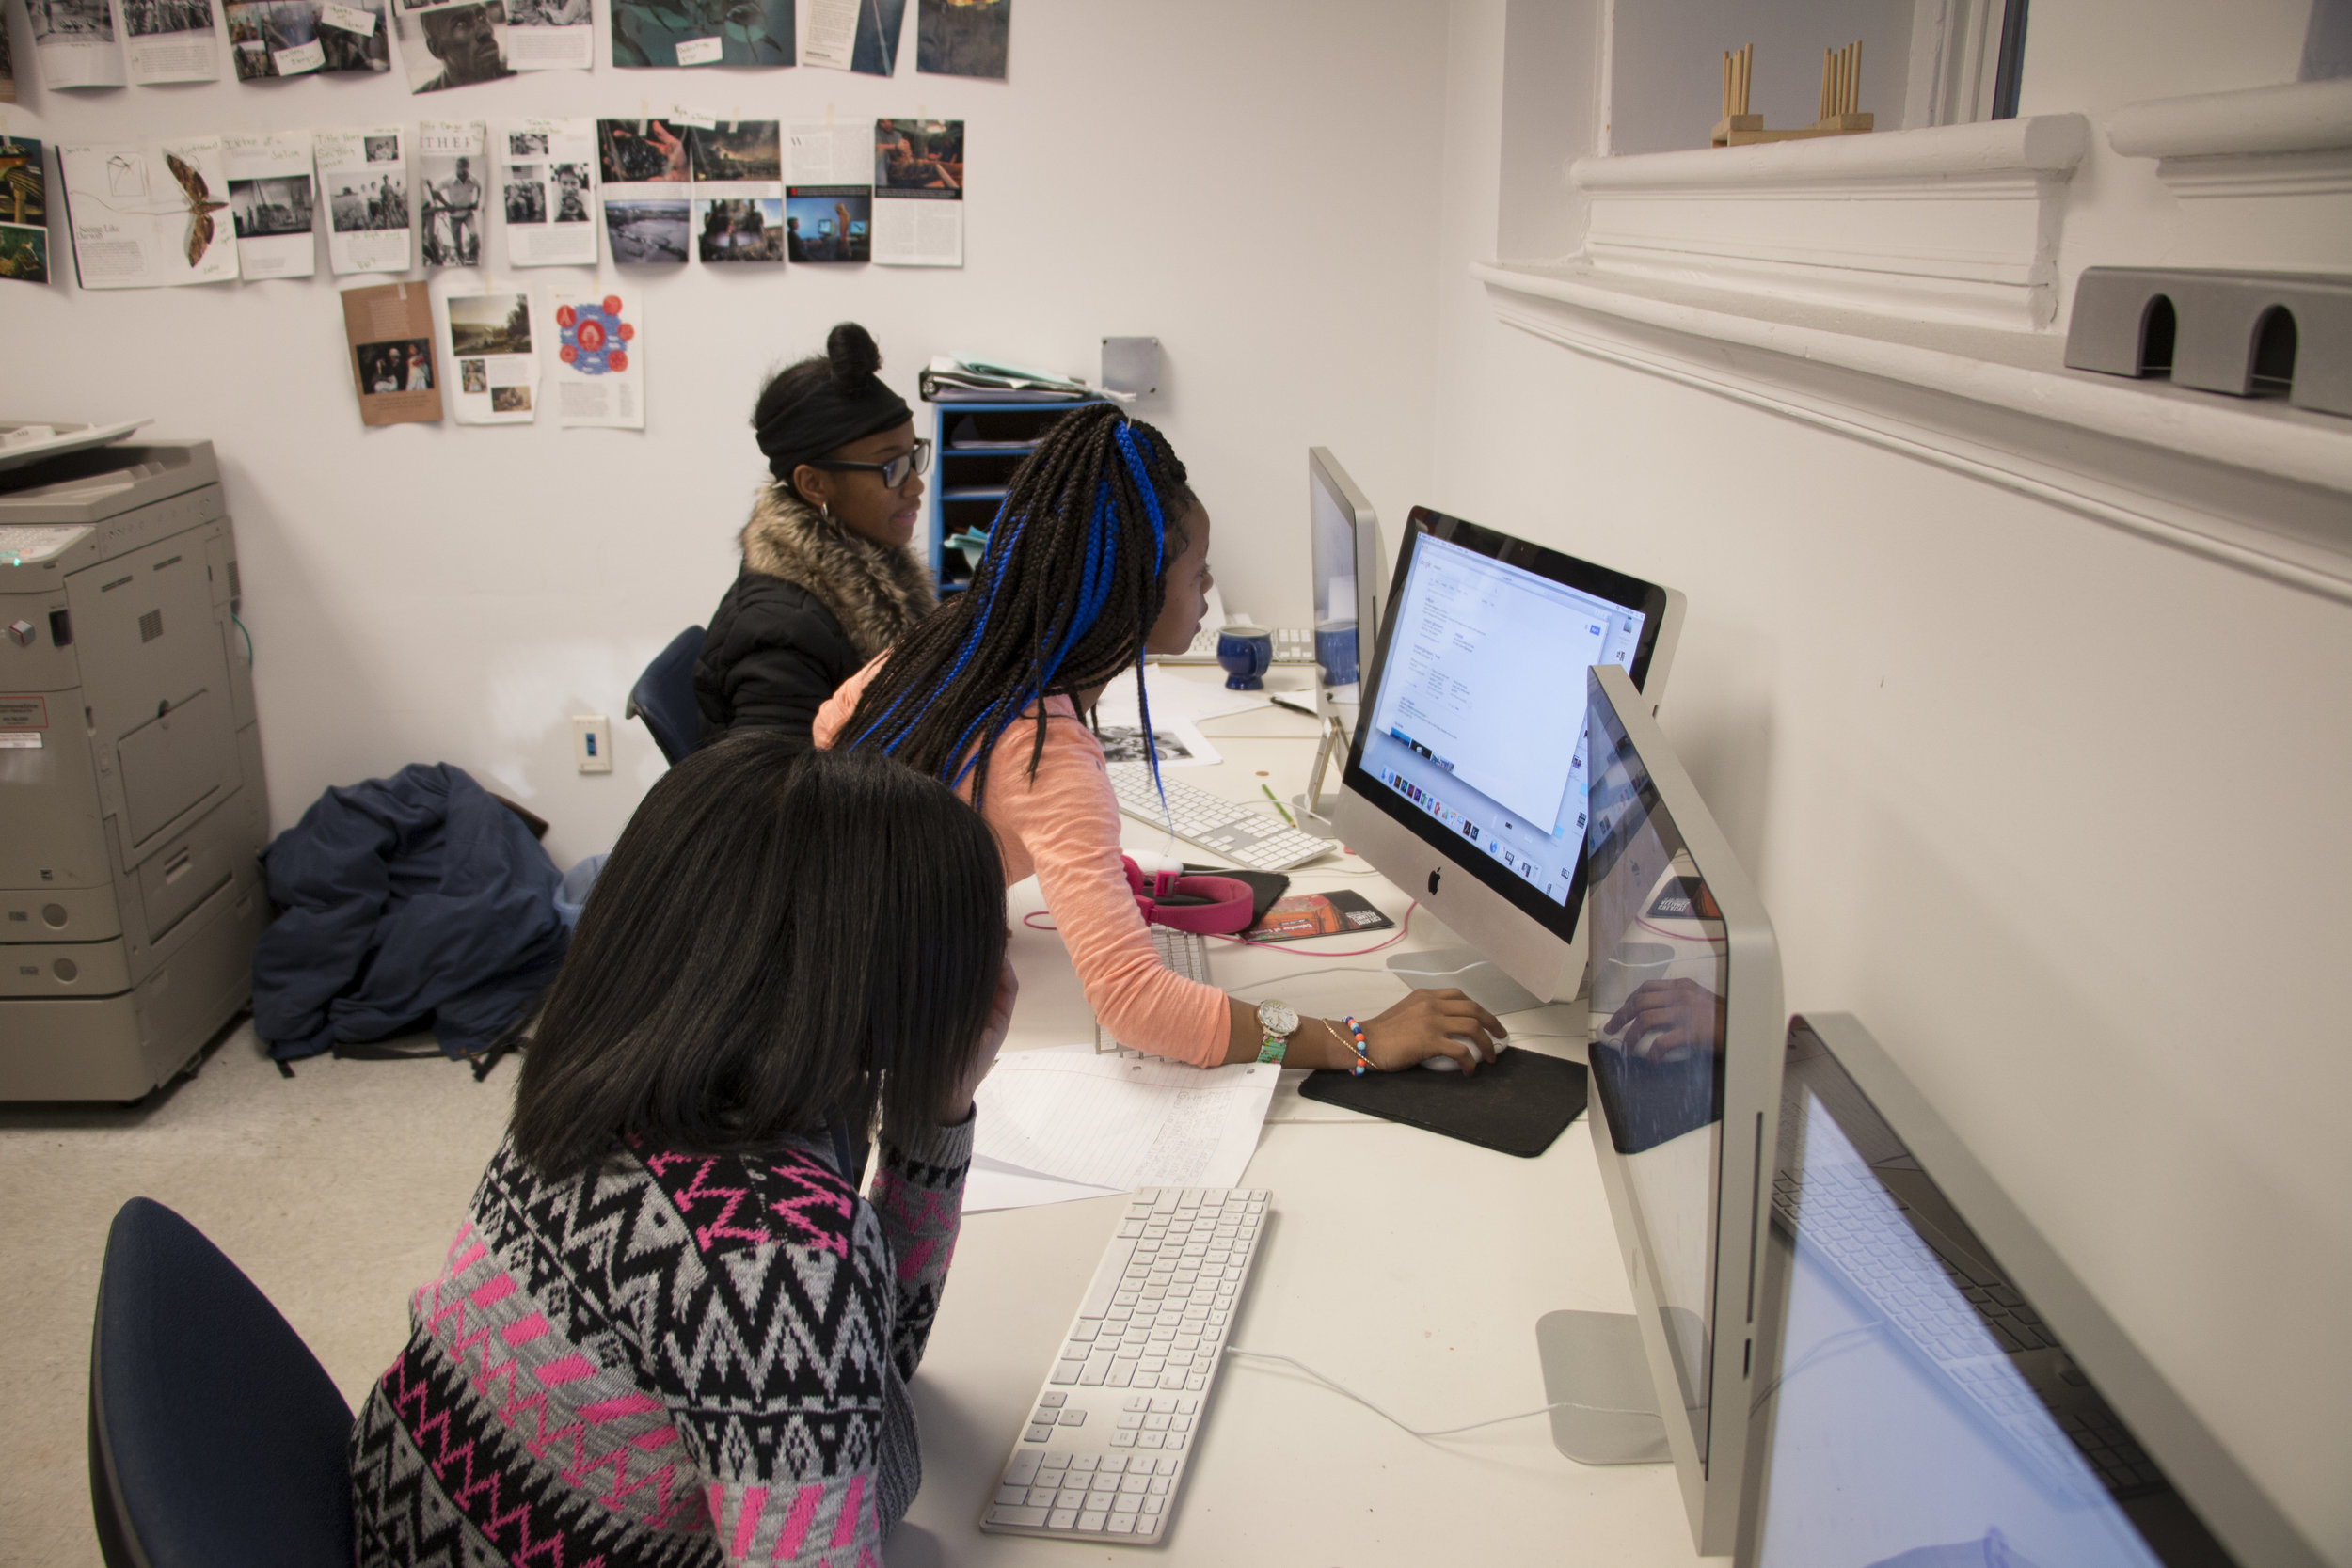
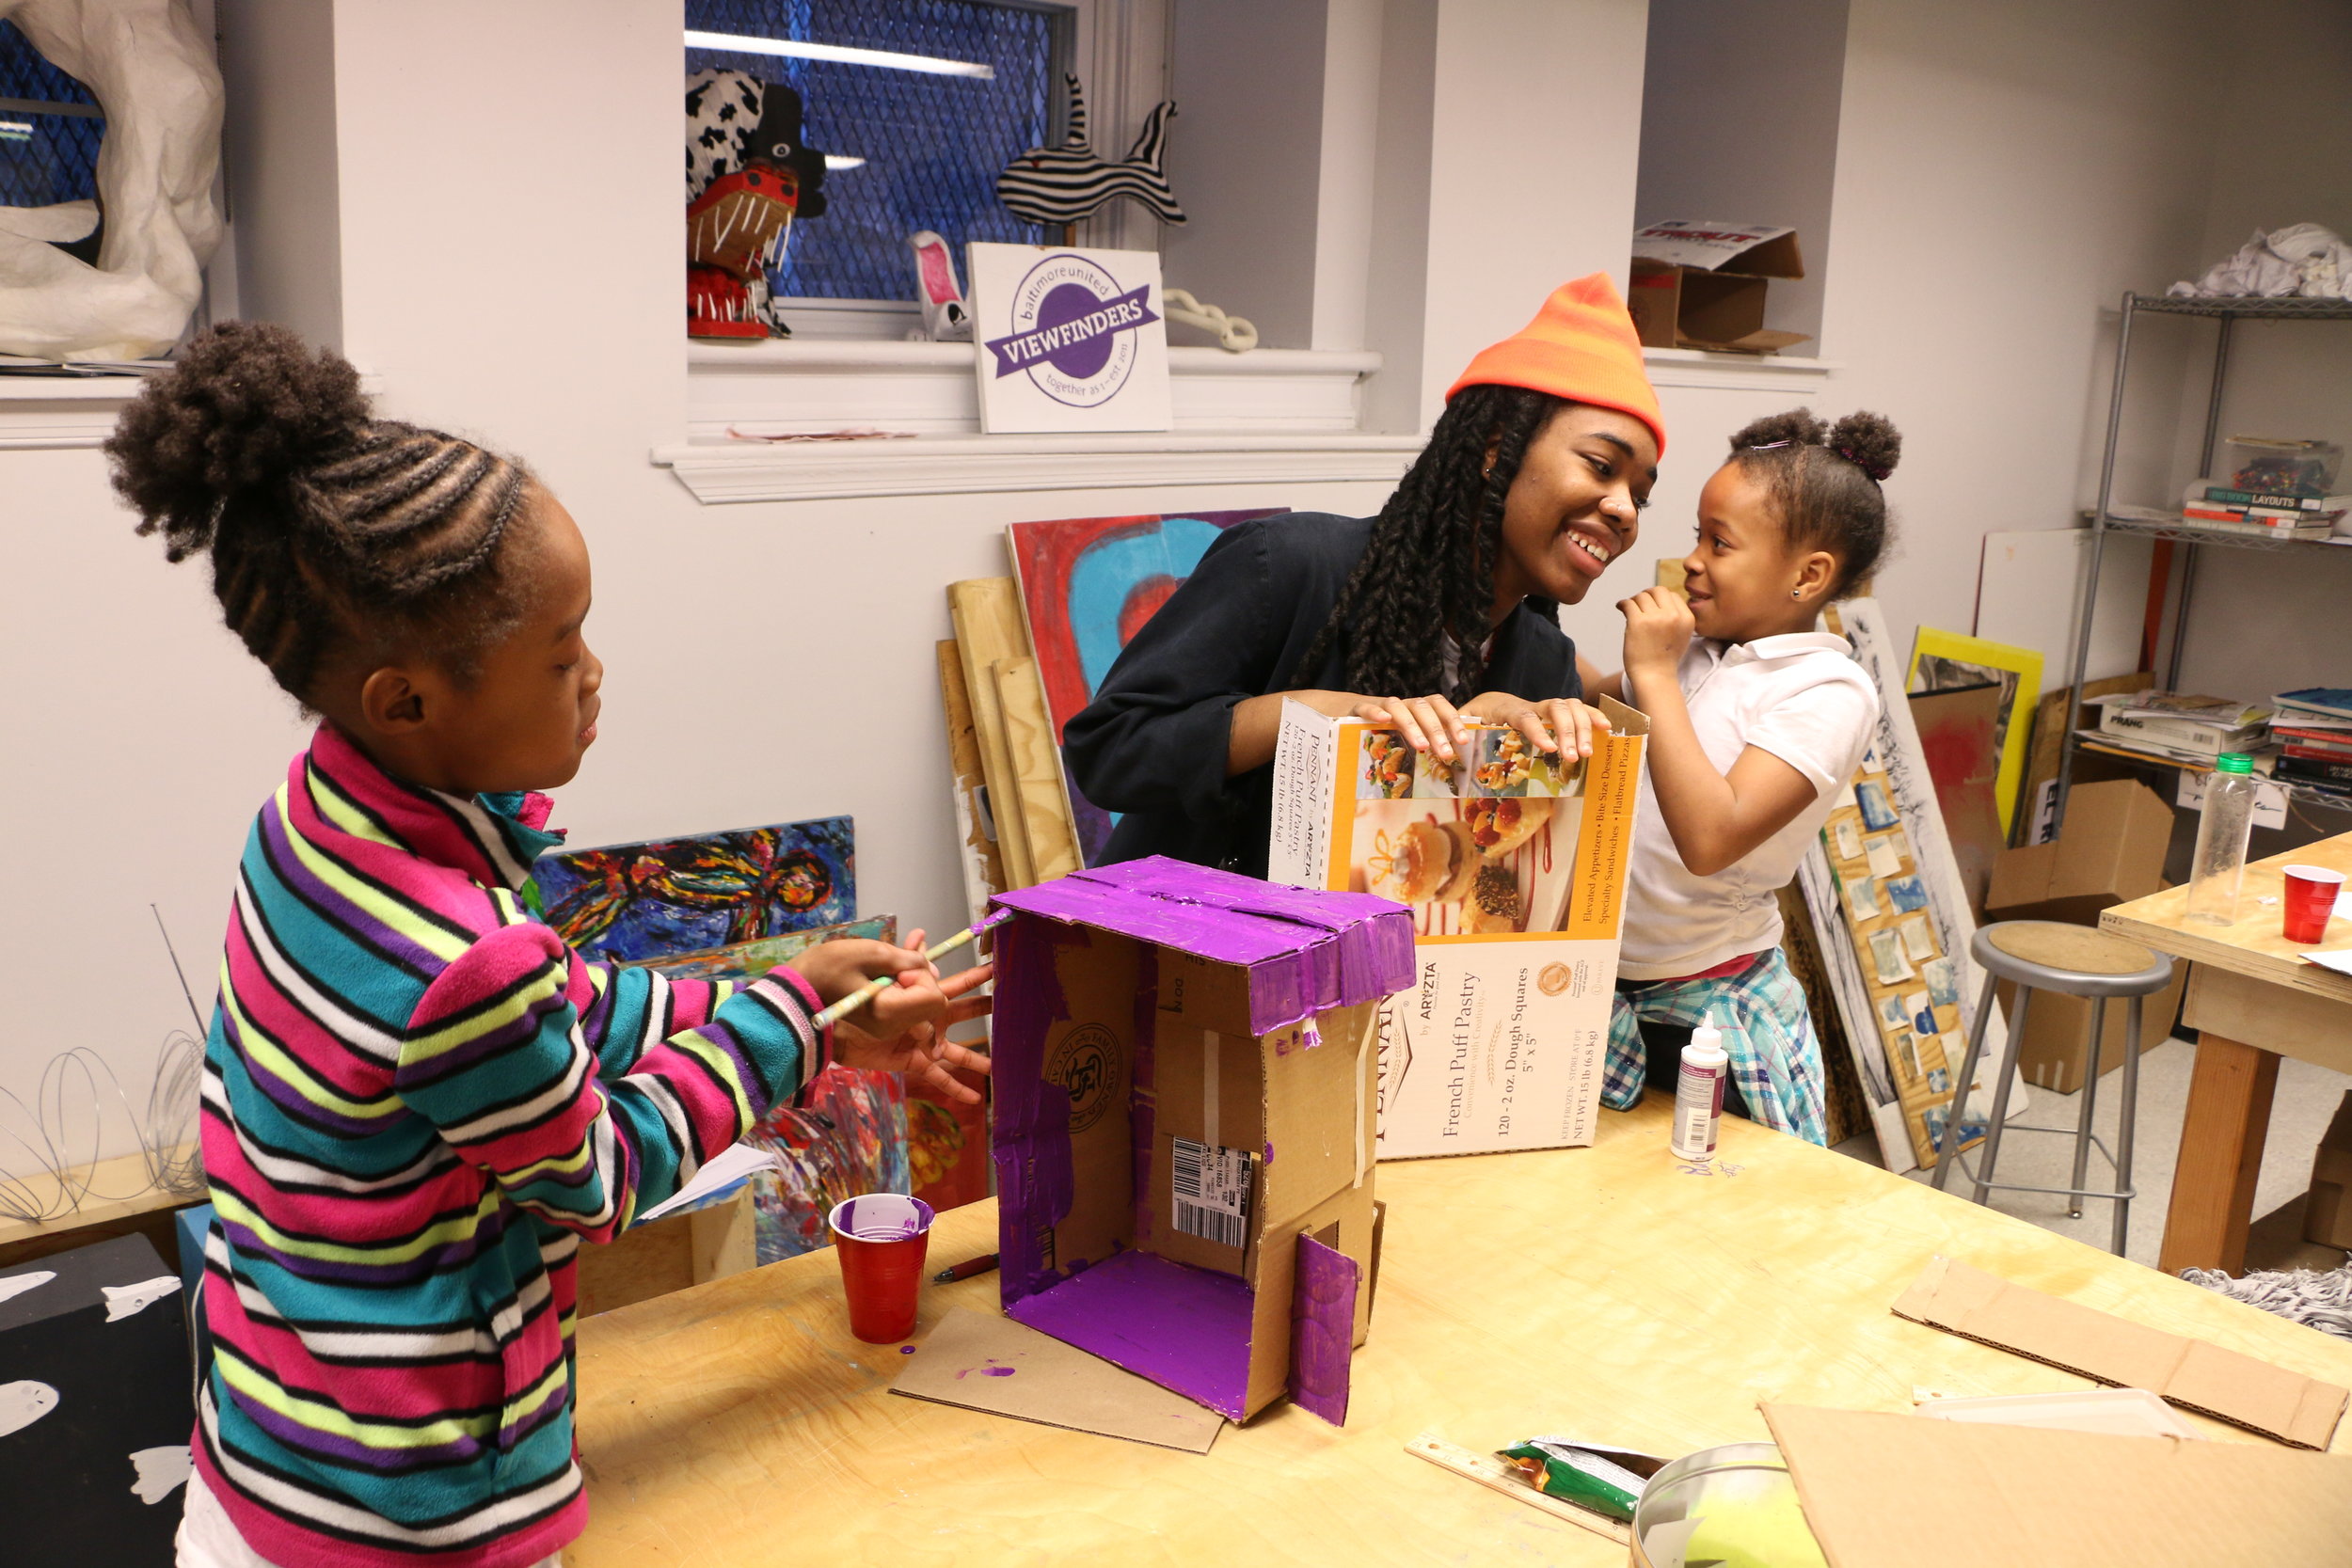
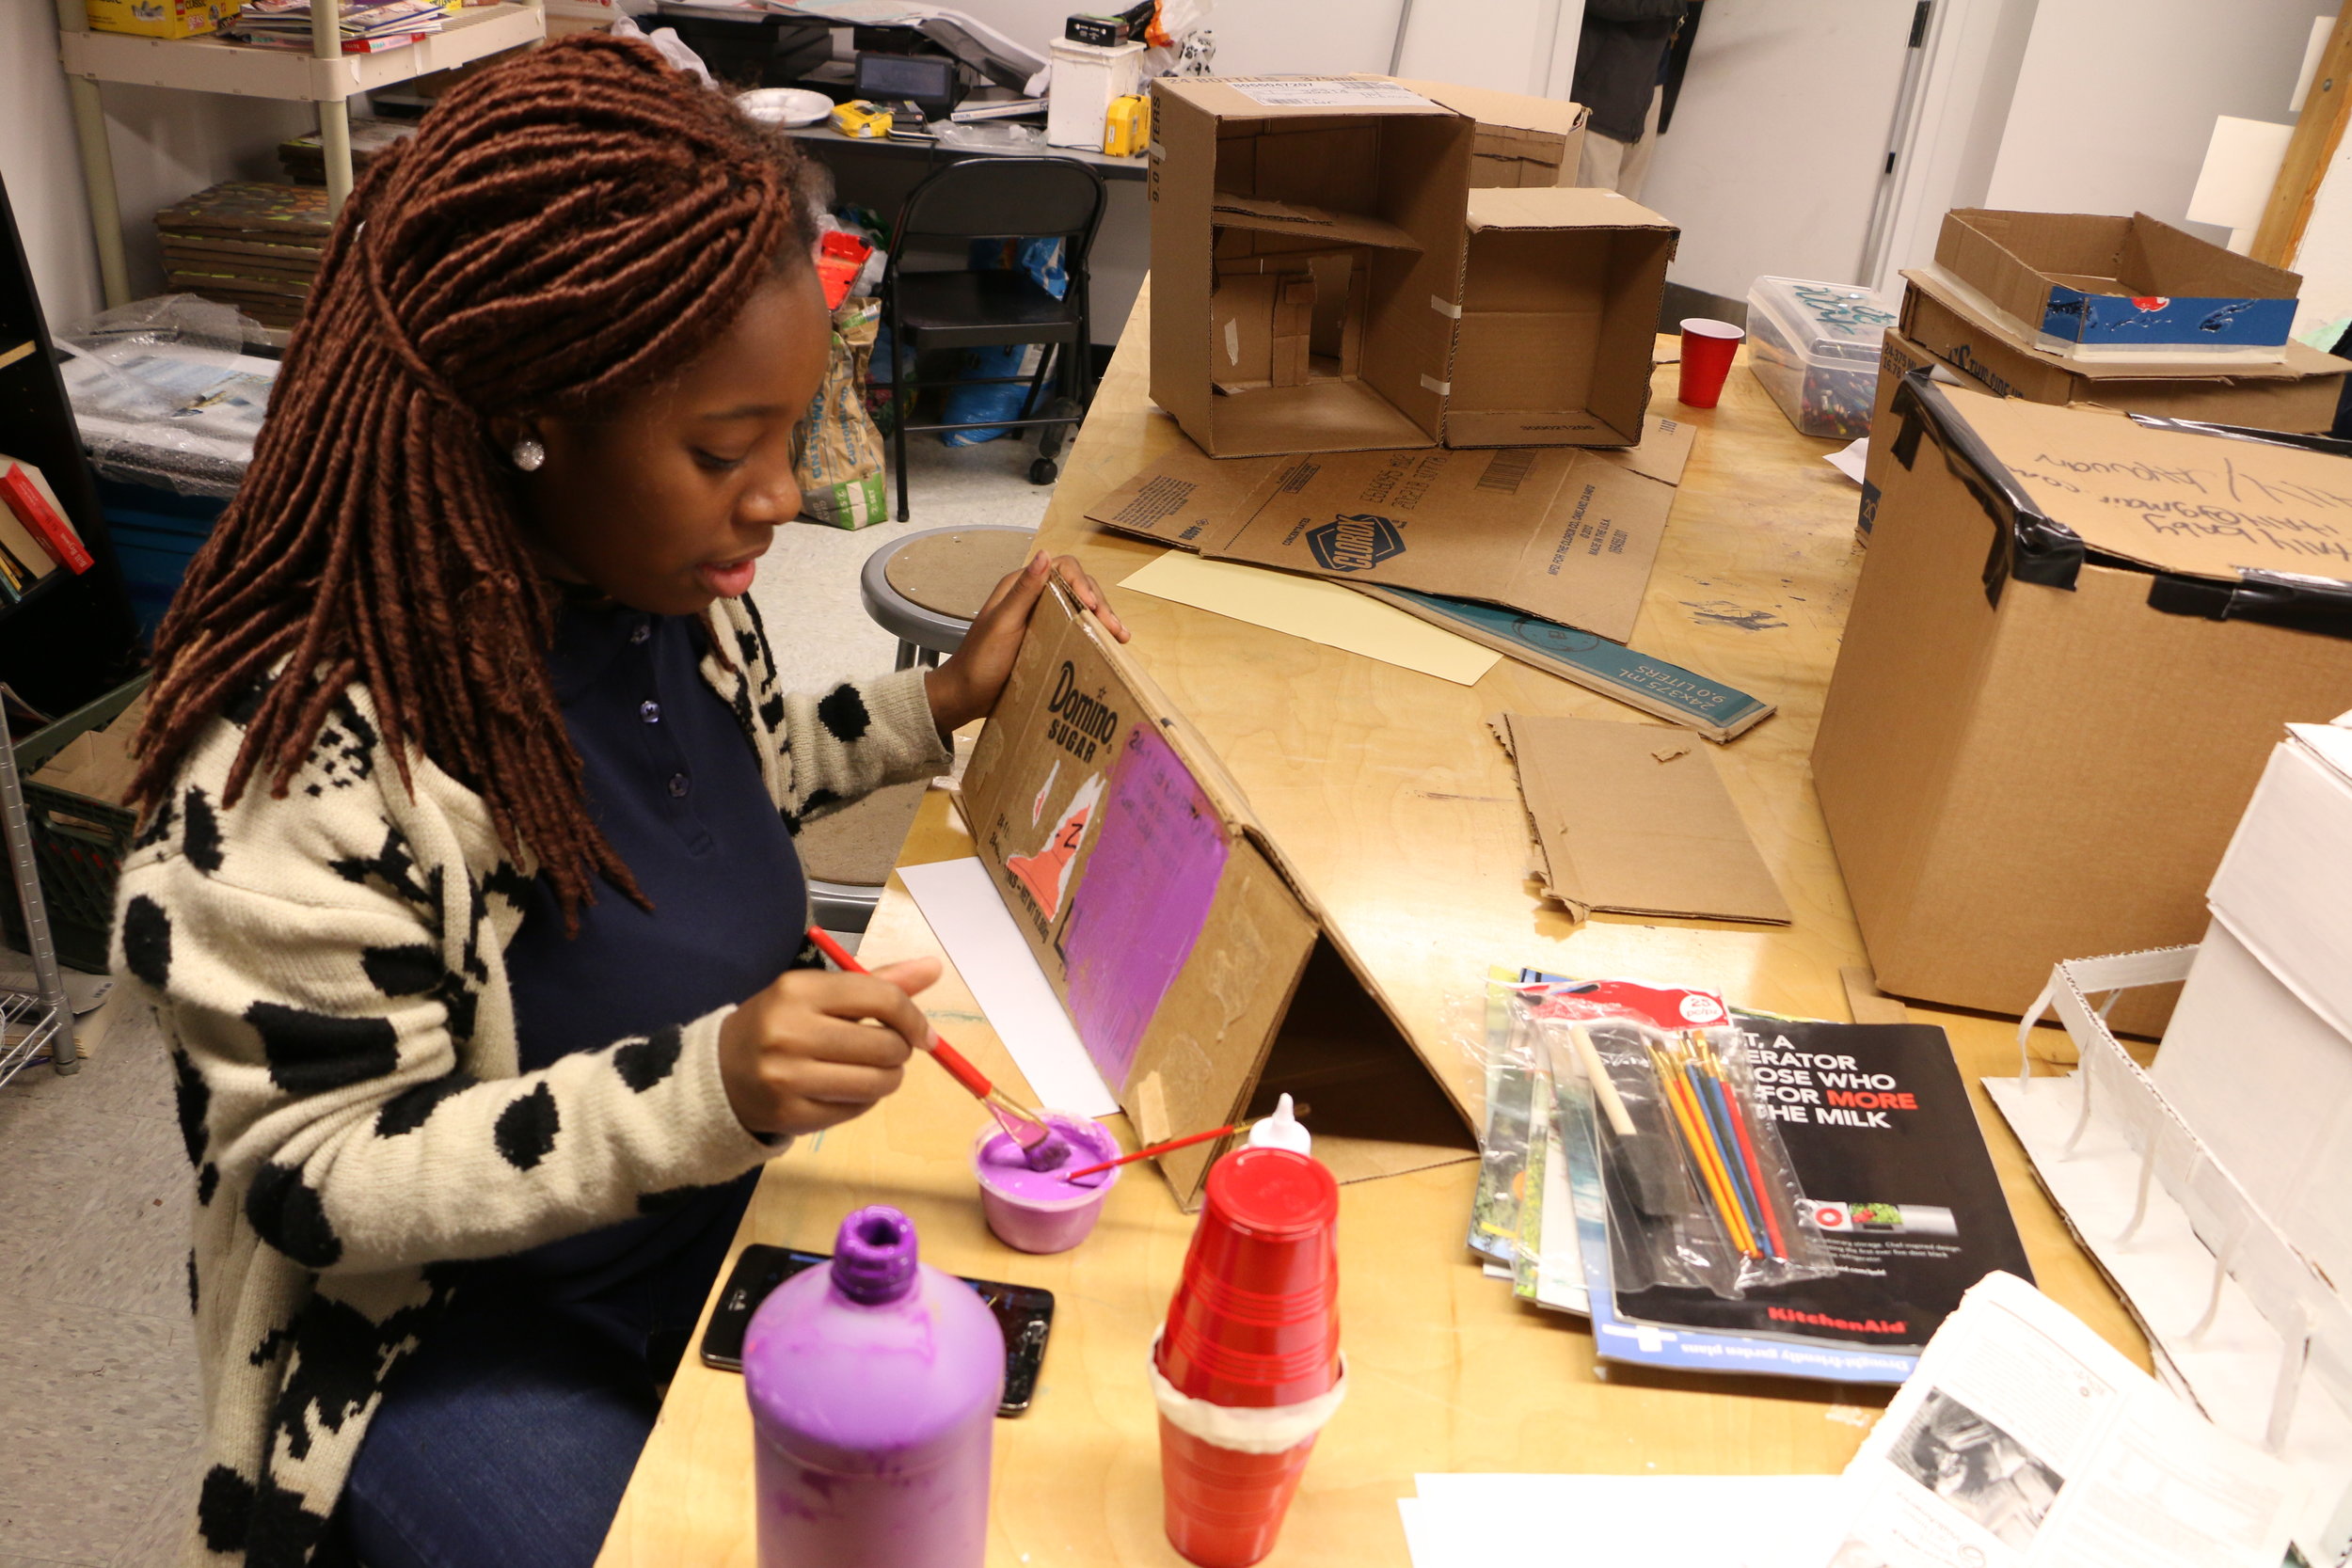
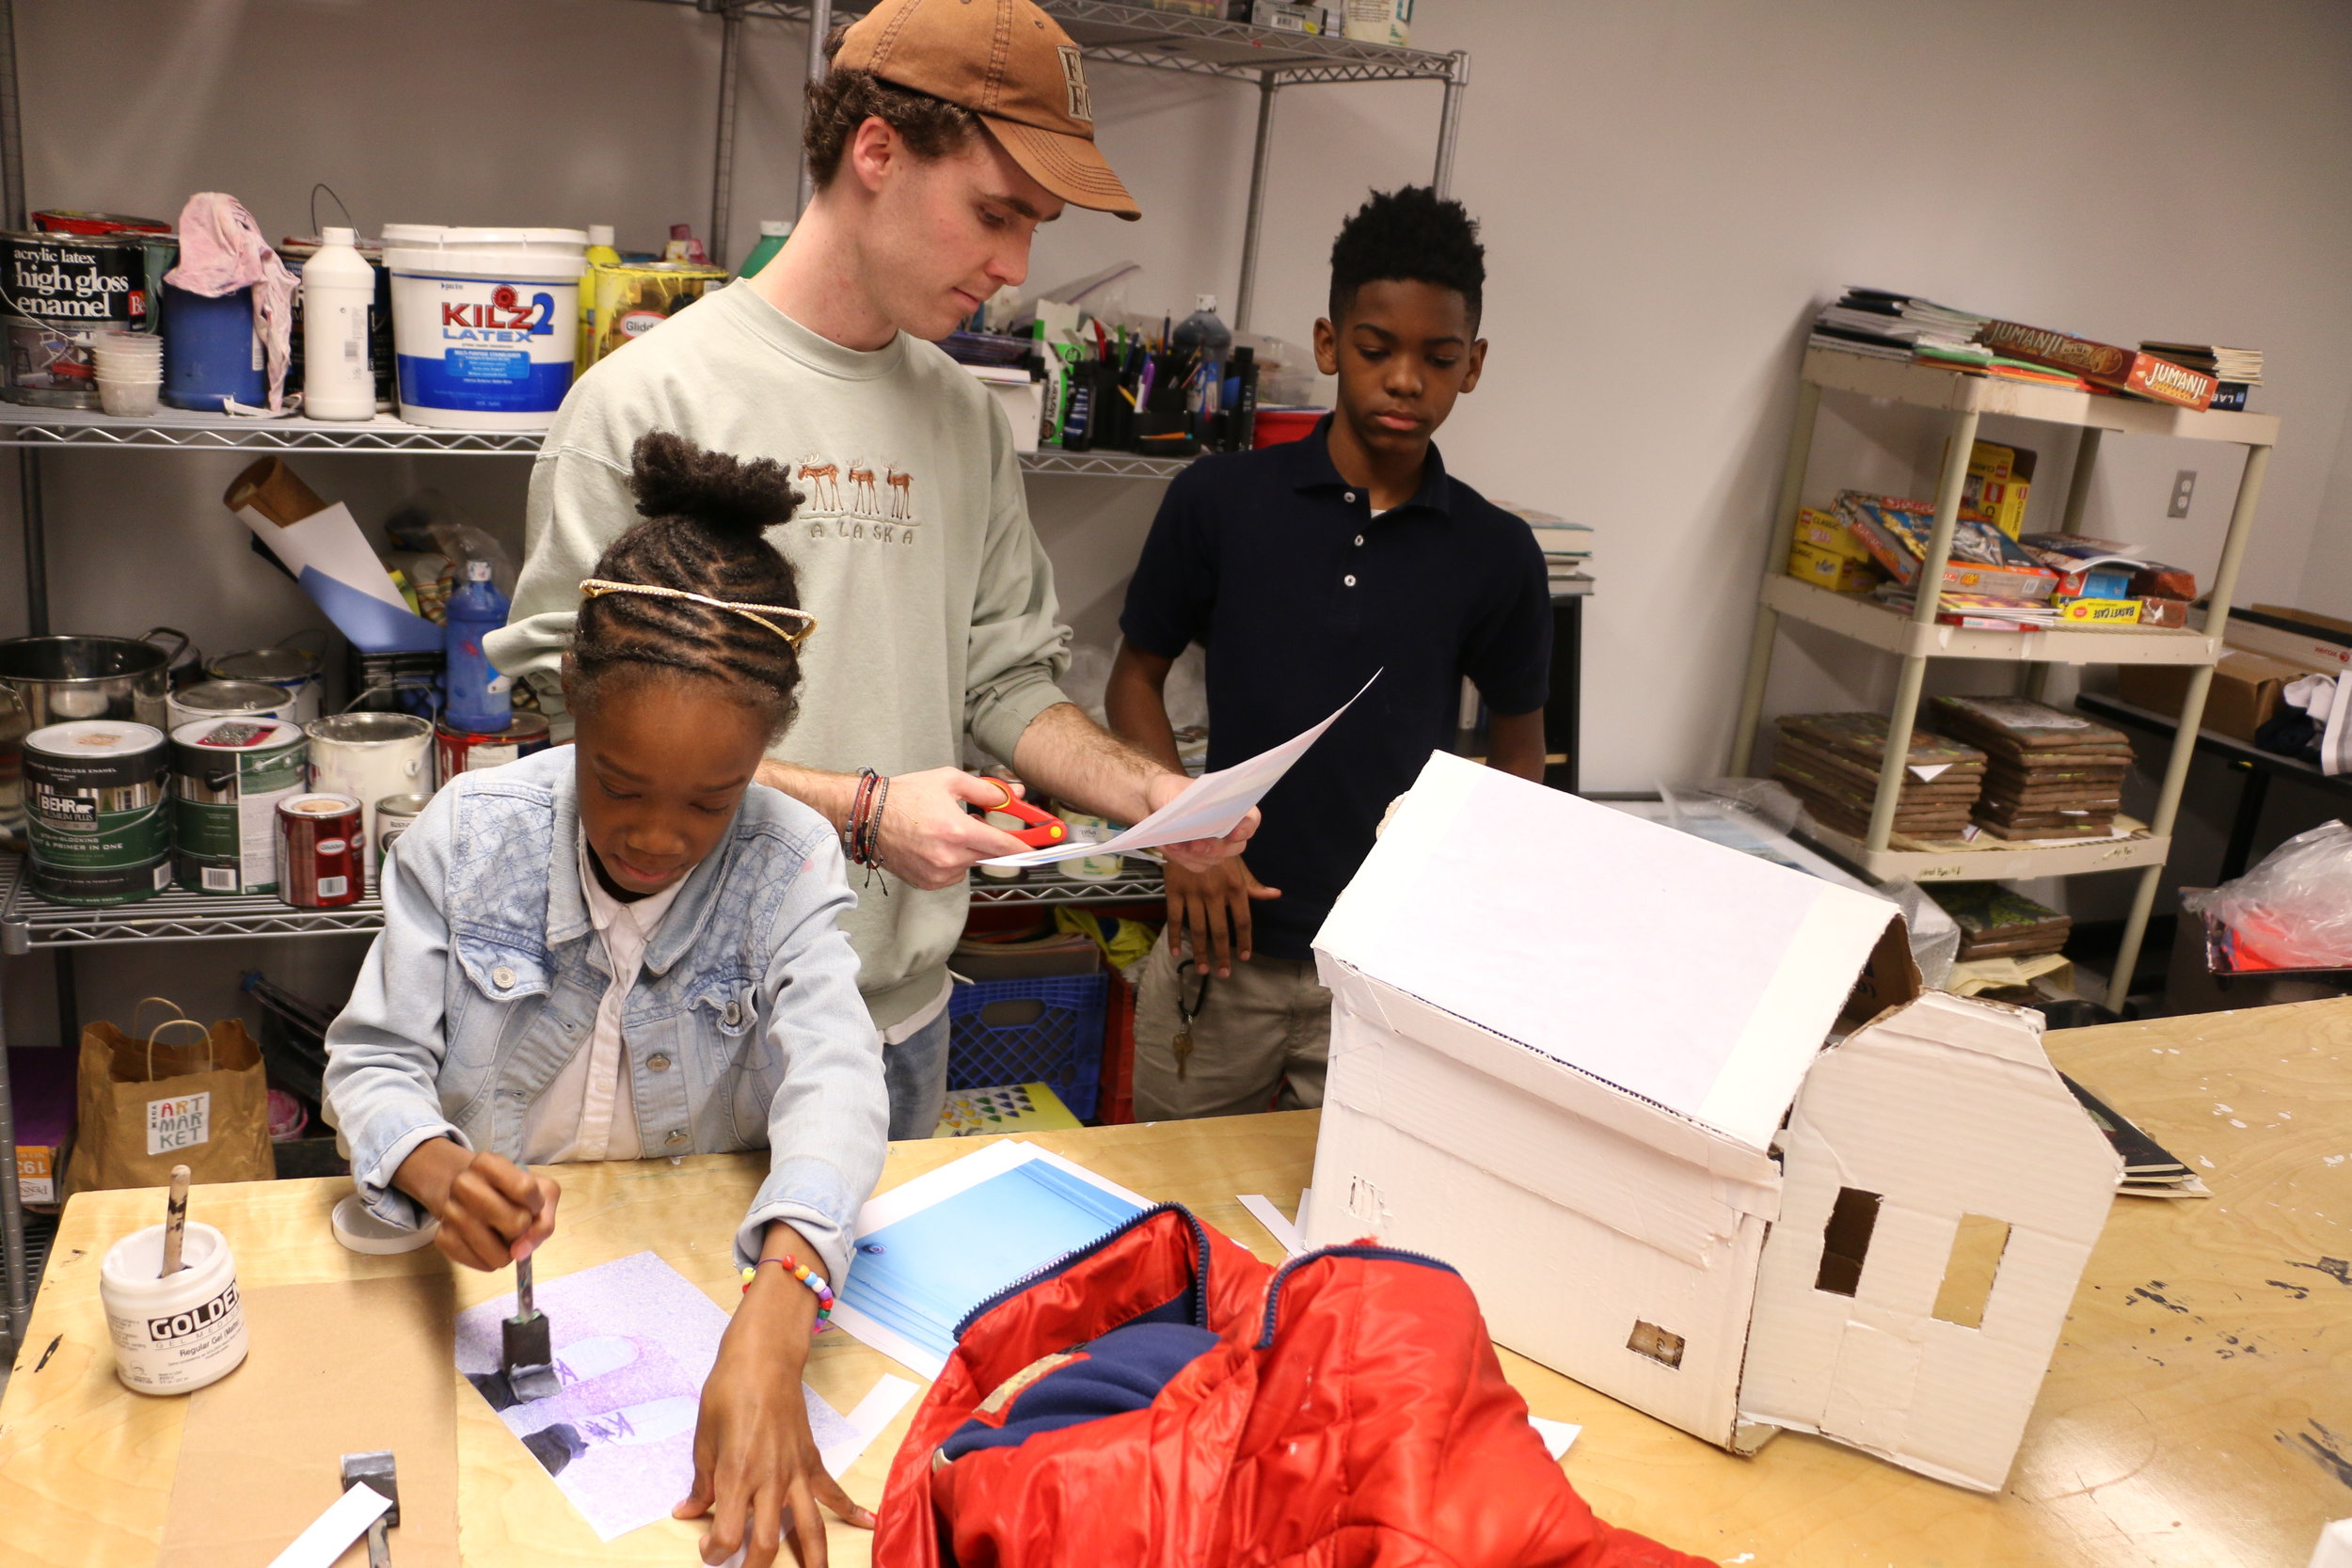
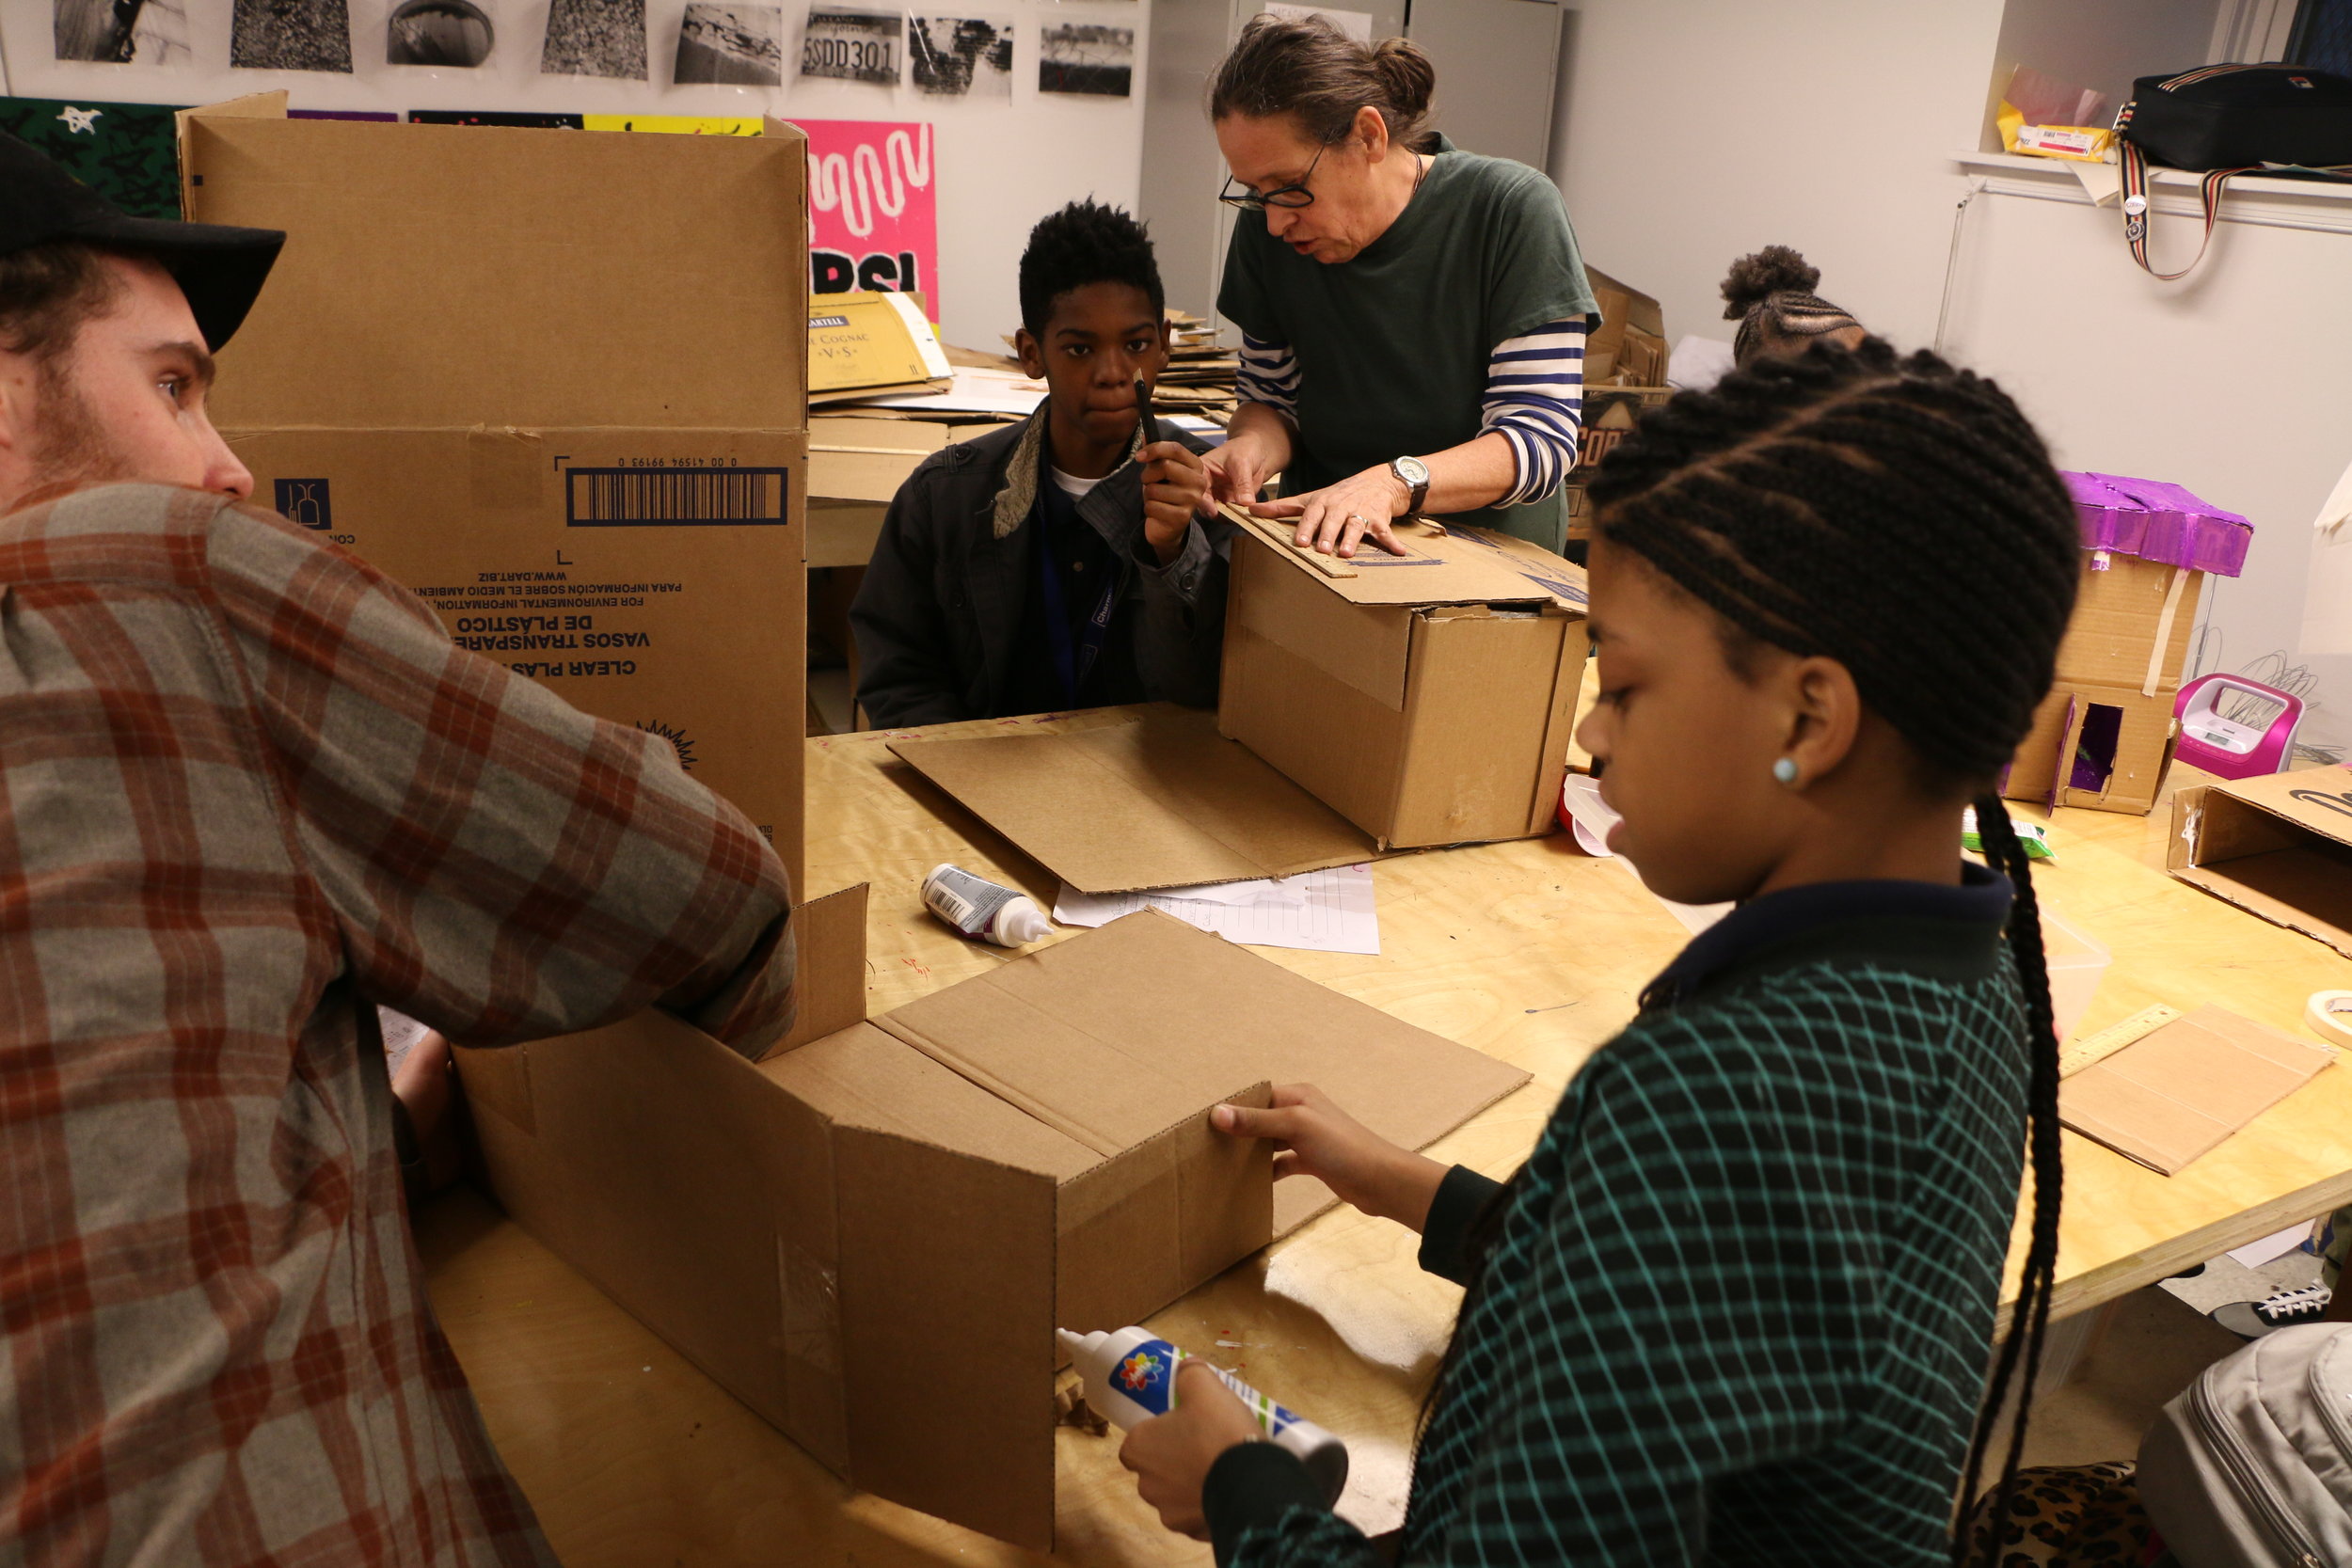
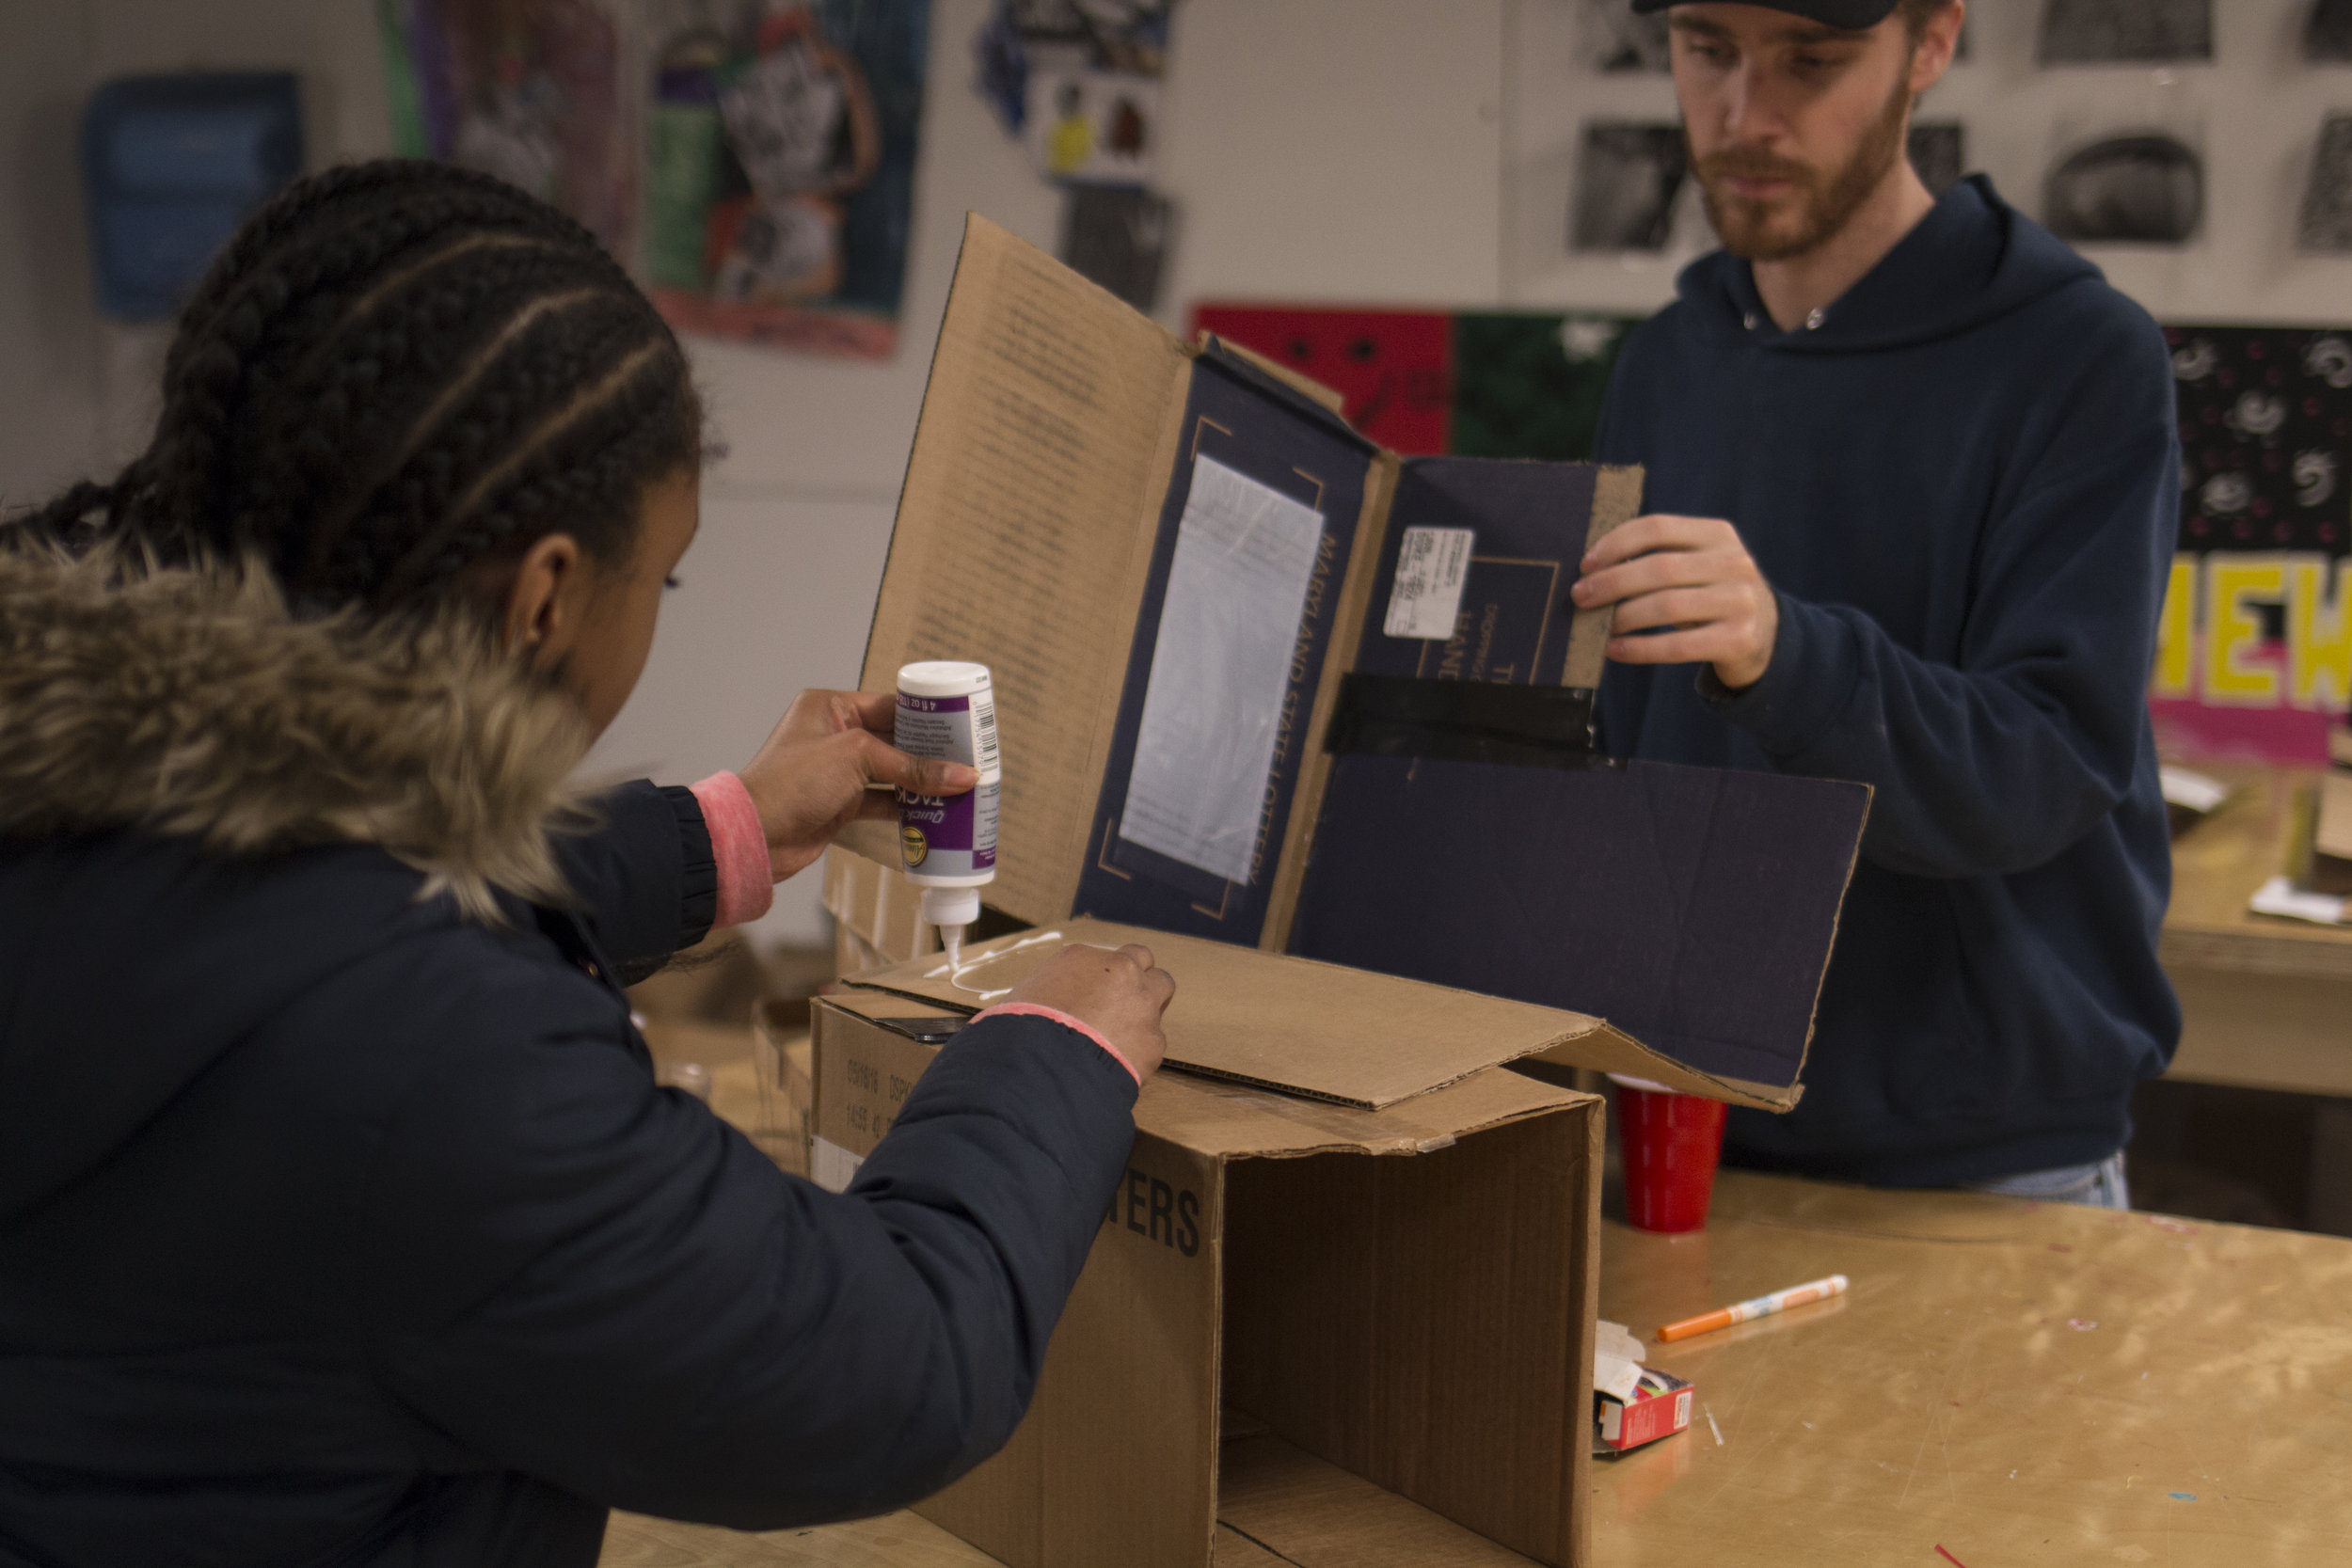
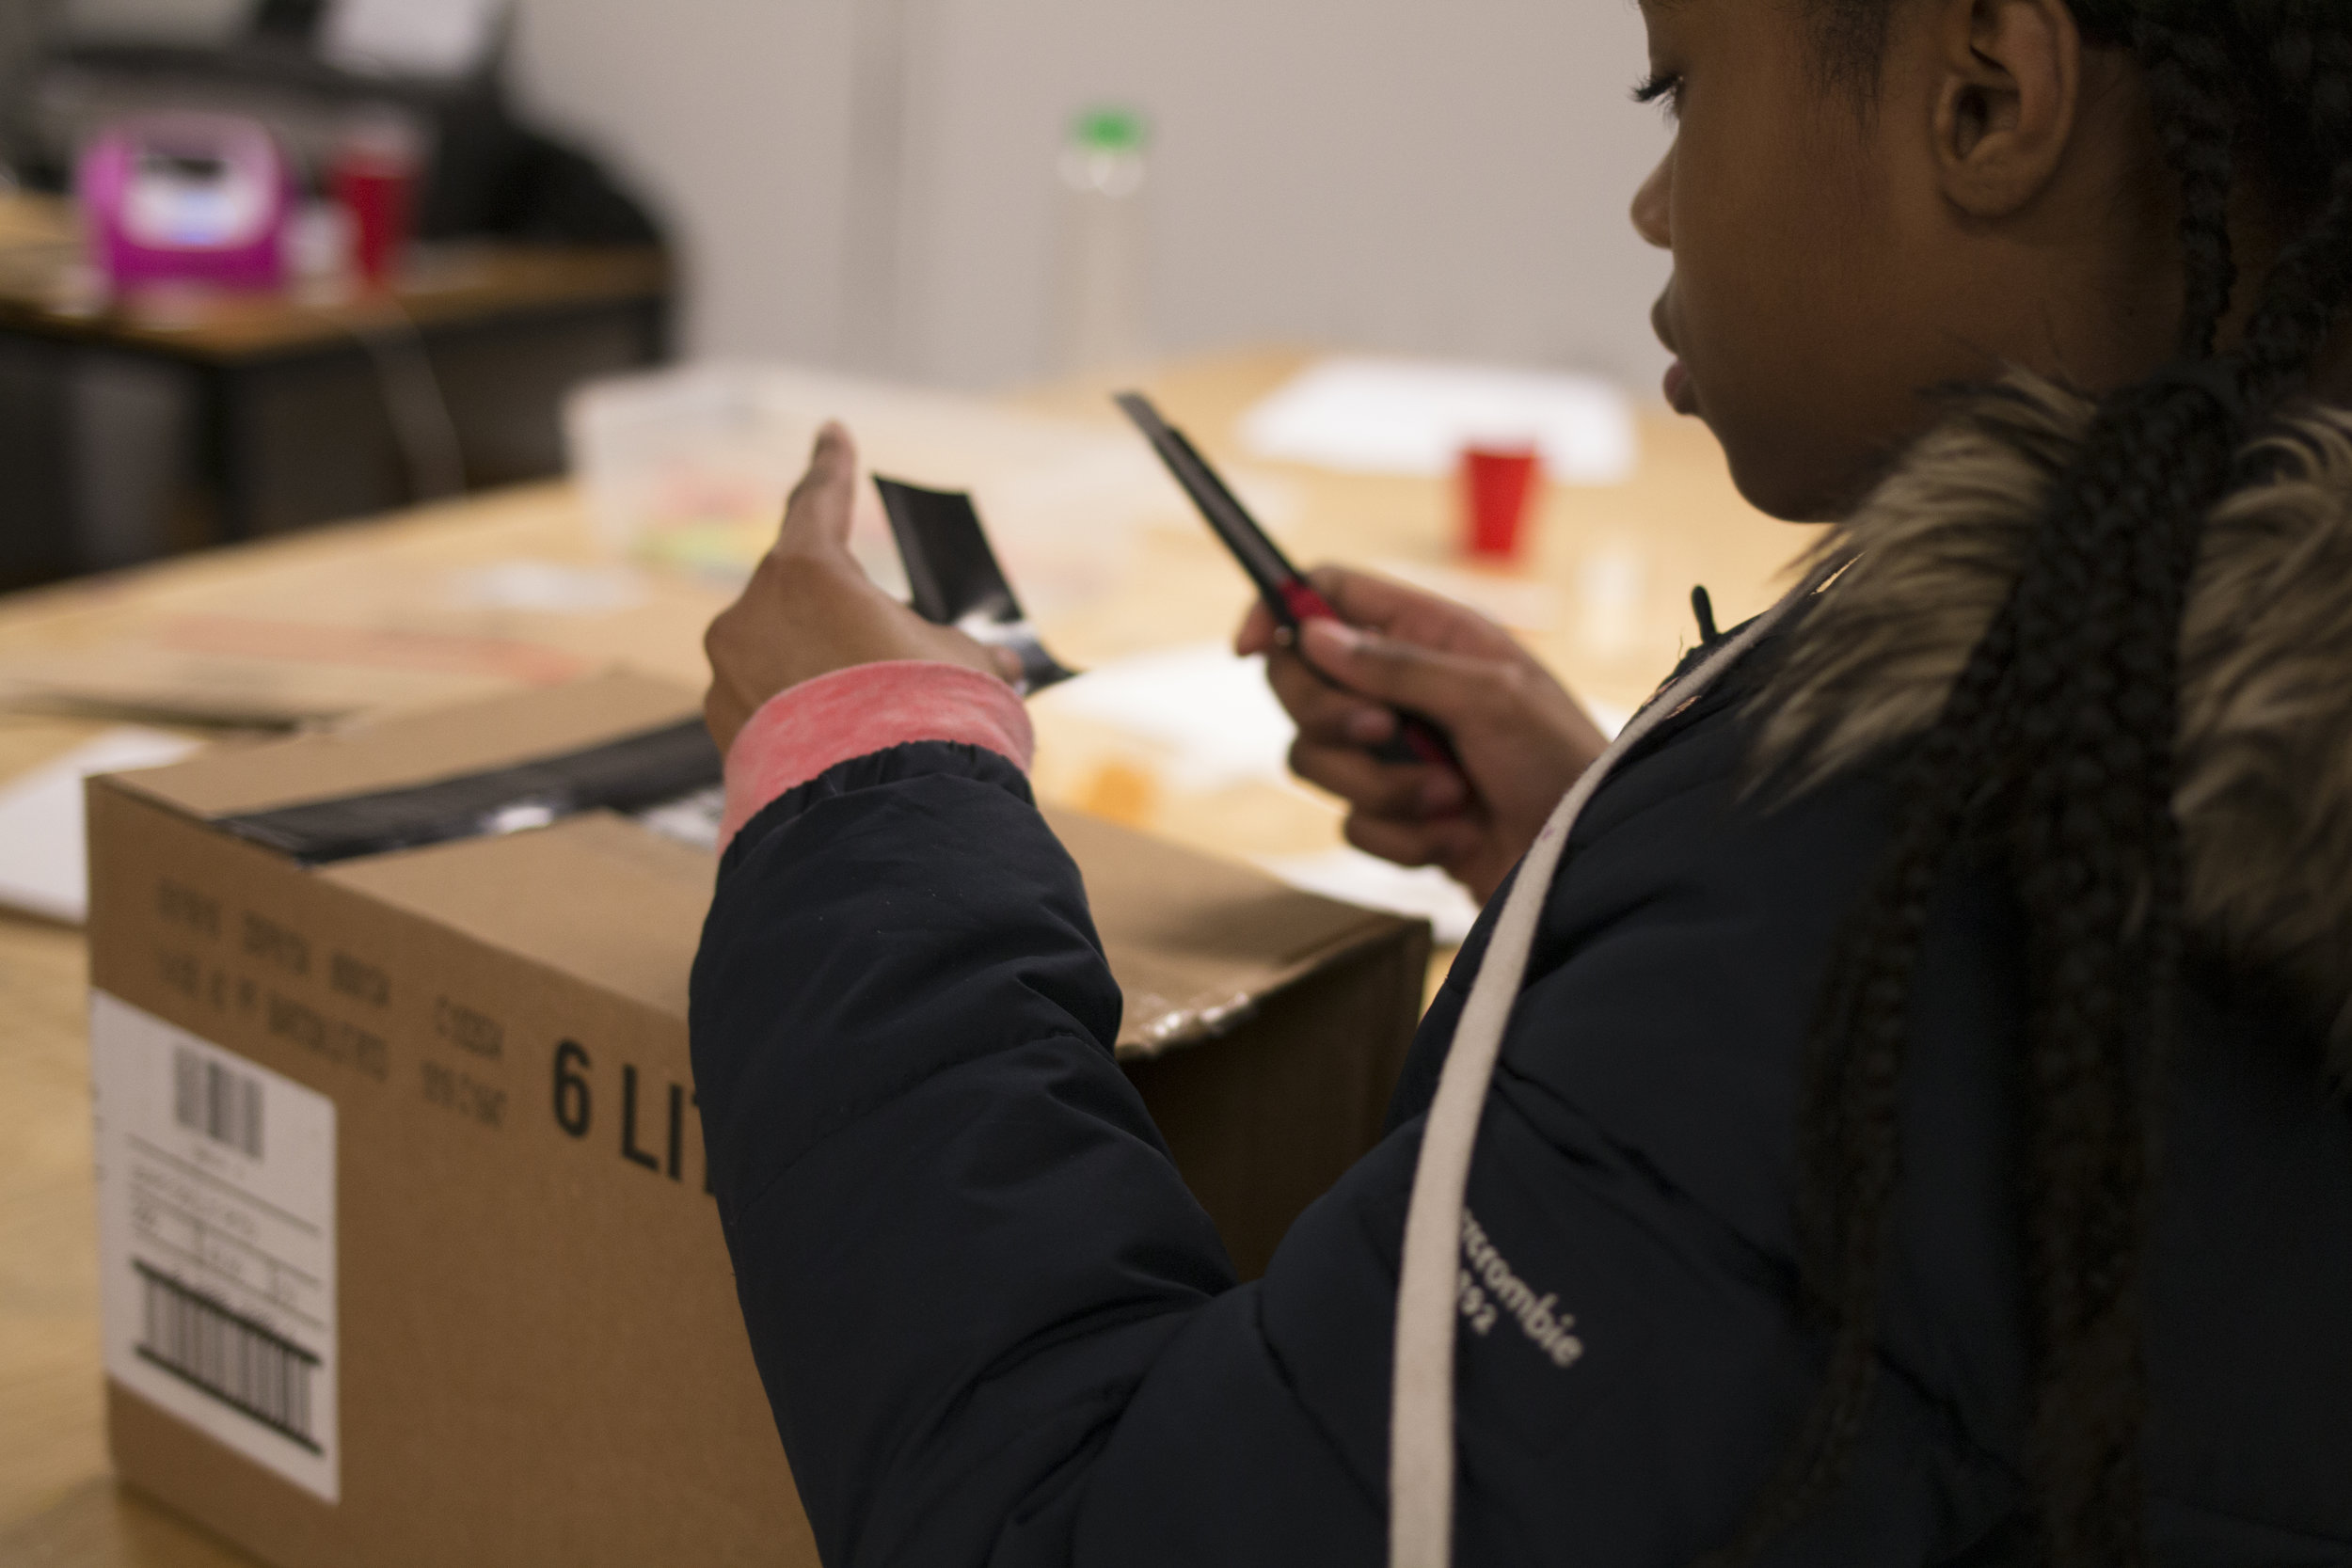
With the exteriors of their homes complete, the Jr. Viewfinders moved on to designing the interiors. The aim was to have the youth return to the poems that they wrote earlier in the project and expand upon some of those ideas. We wanted them to consider what they wanted inside their home structure that they feel truly represented them and their sense of home. So, we used a blueprint template of the interior walls and asked them to sketch out the words and images they wanted to have on those walls. Then, they brought in photos, printed photos, and printed parts of their poems to decorate the interior. 

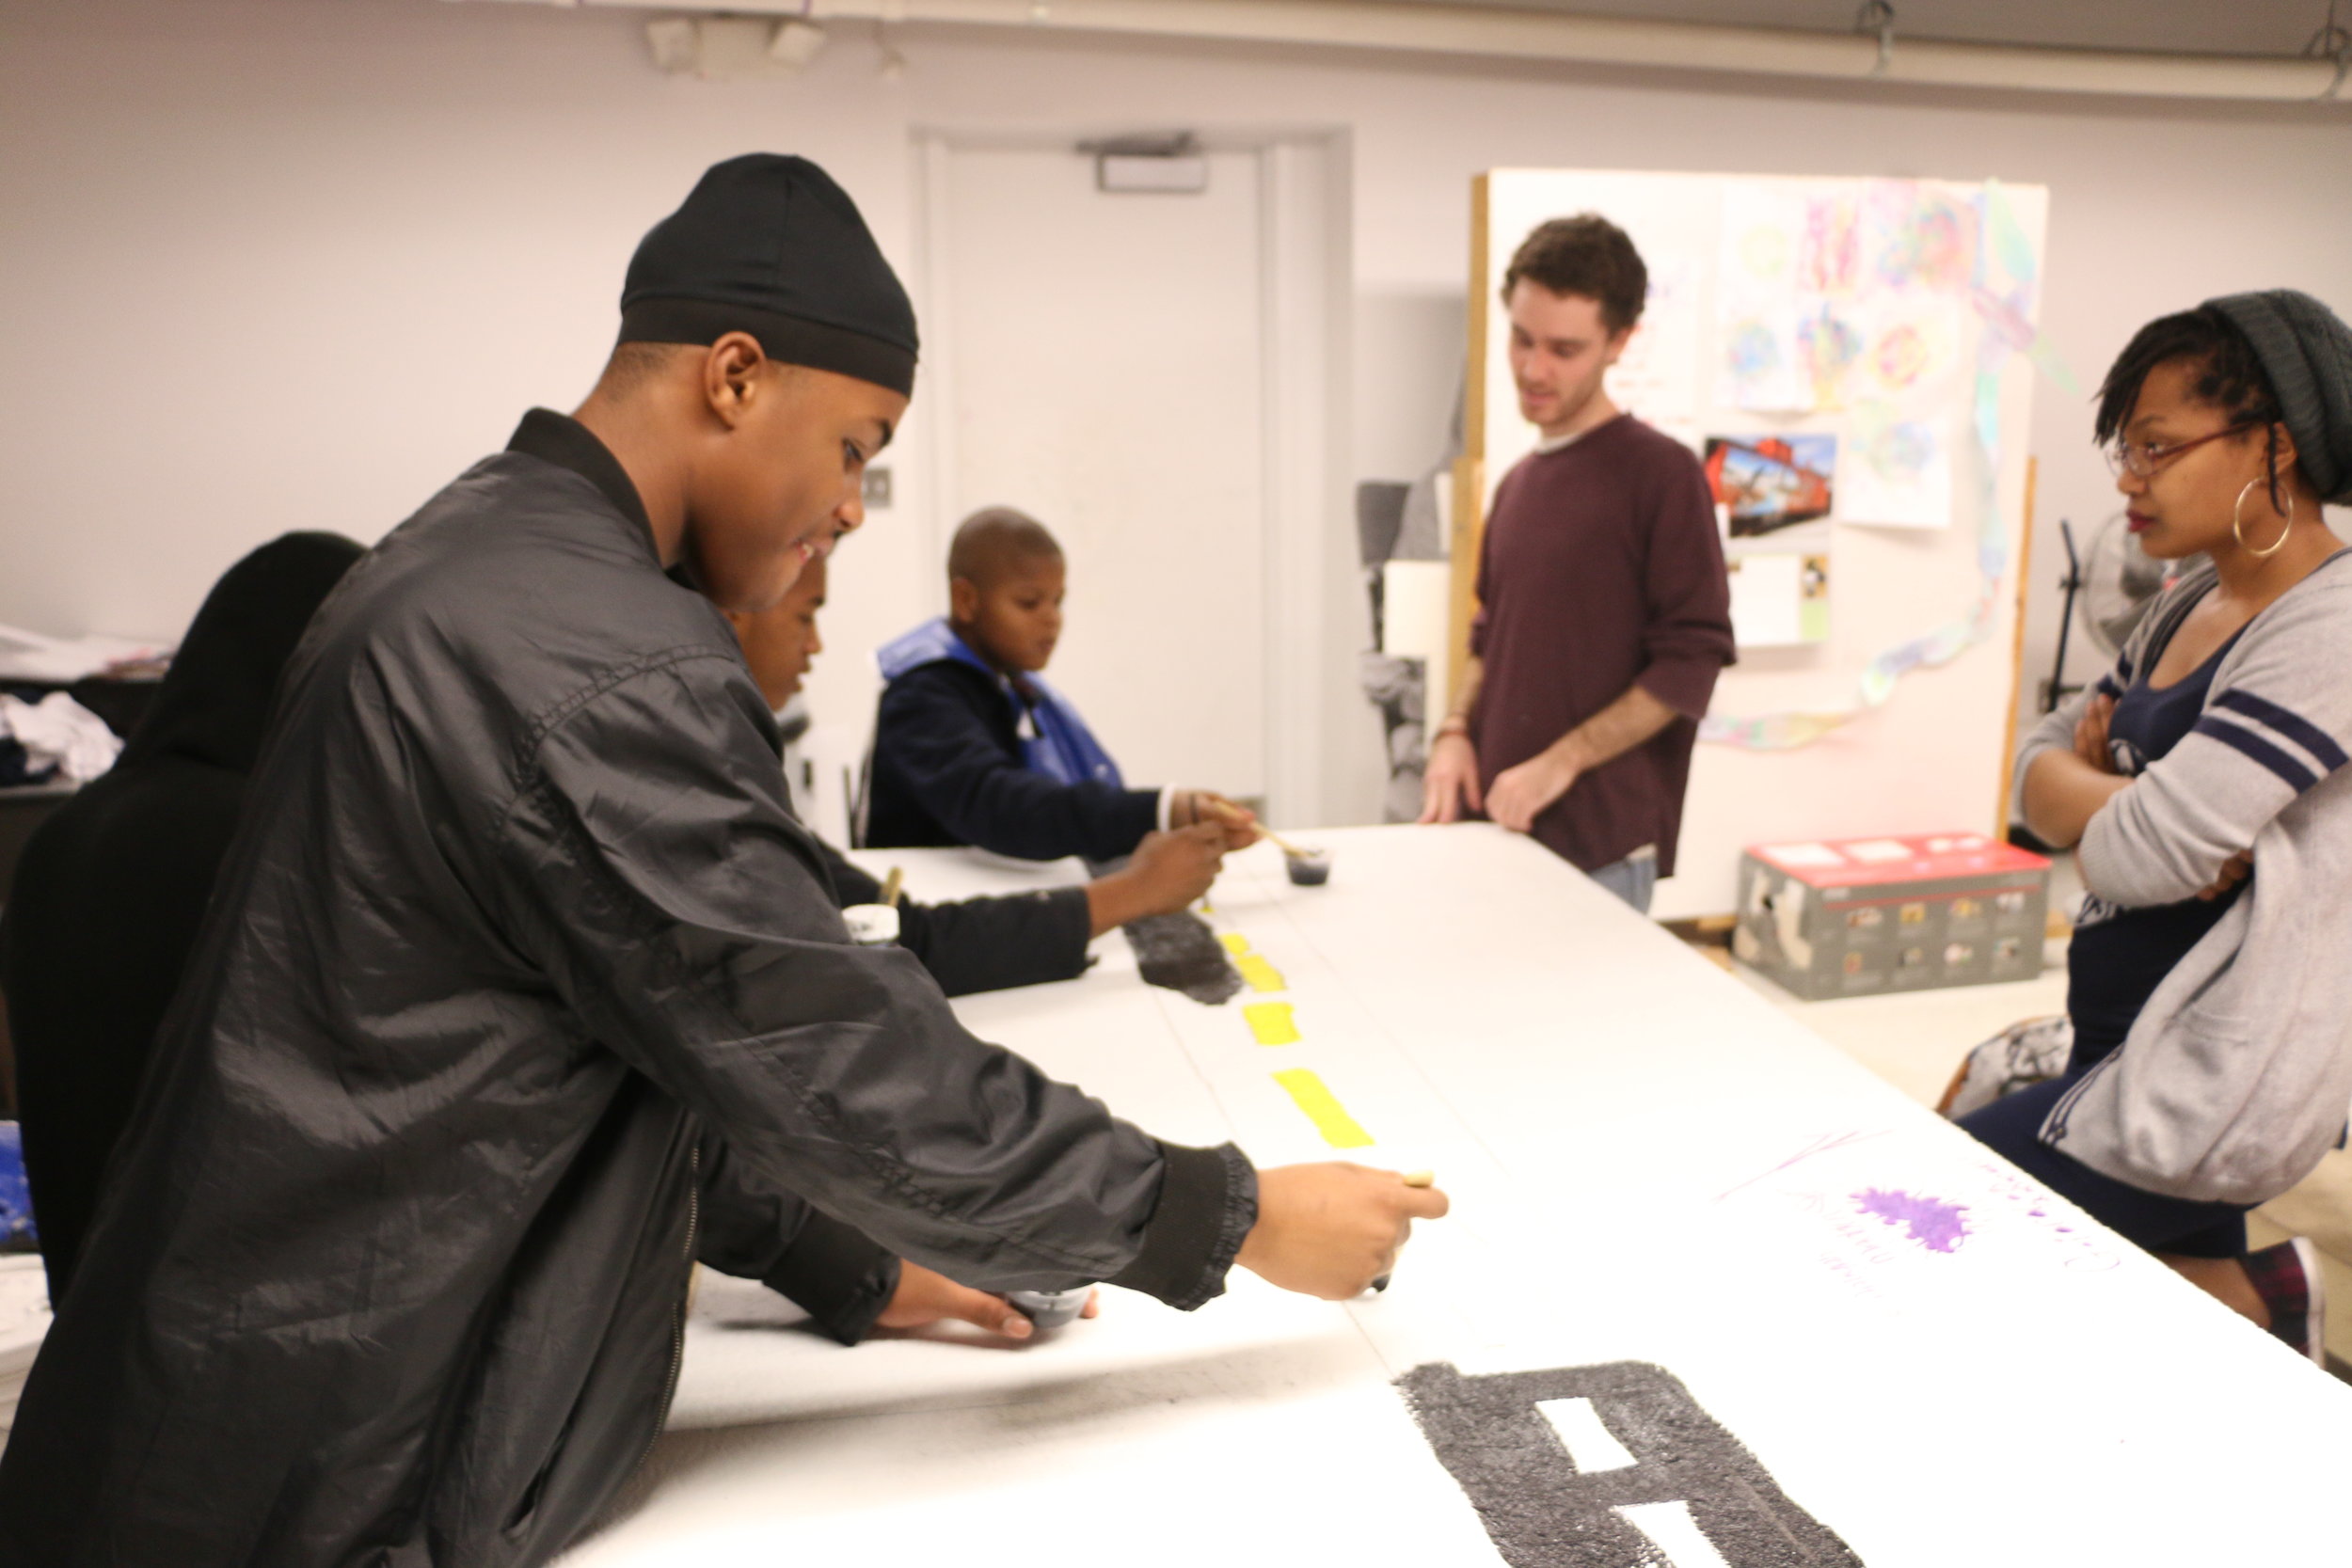
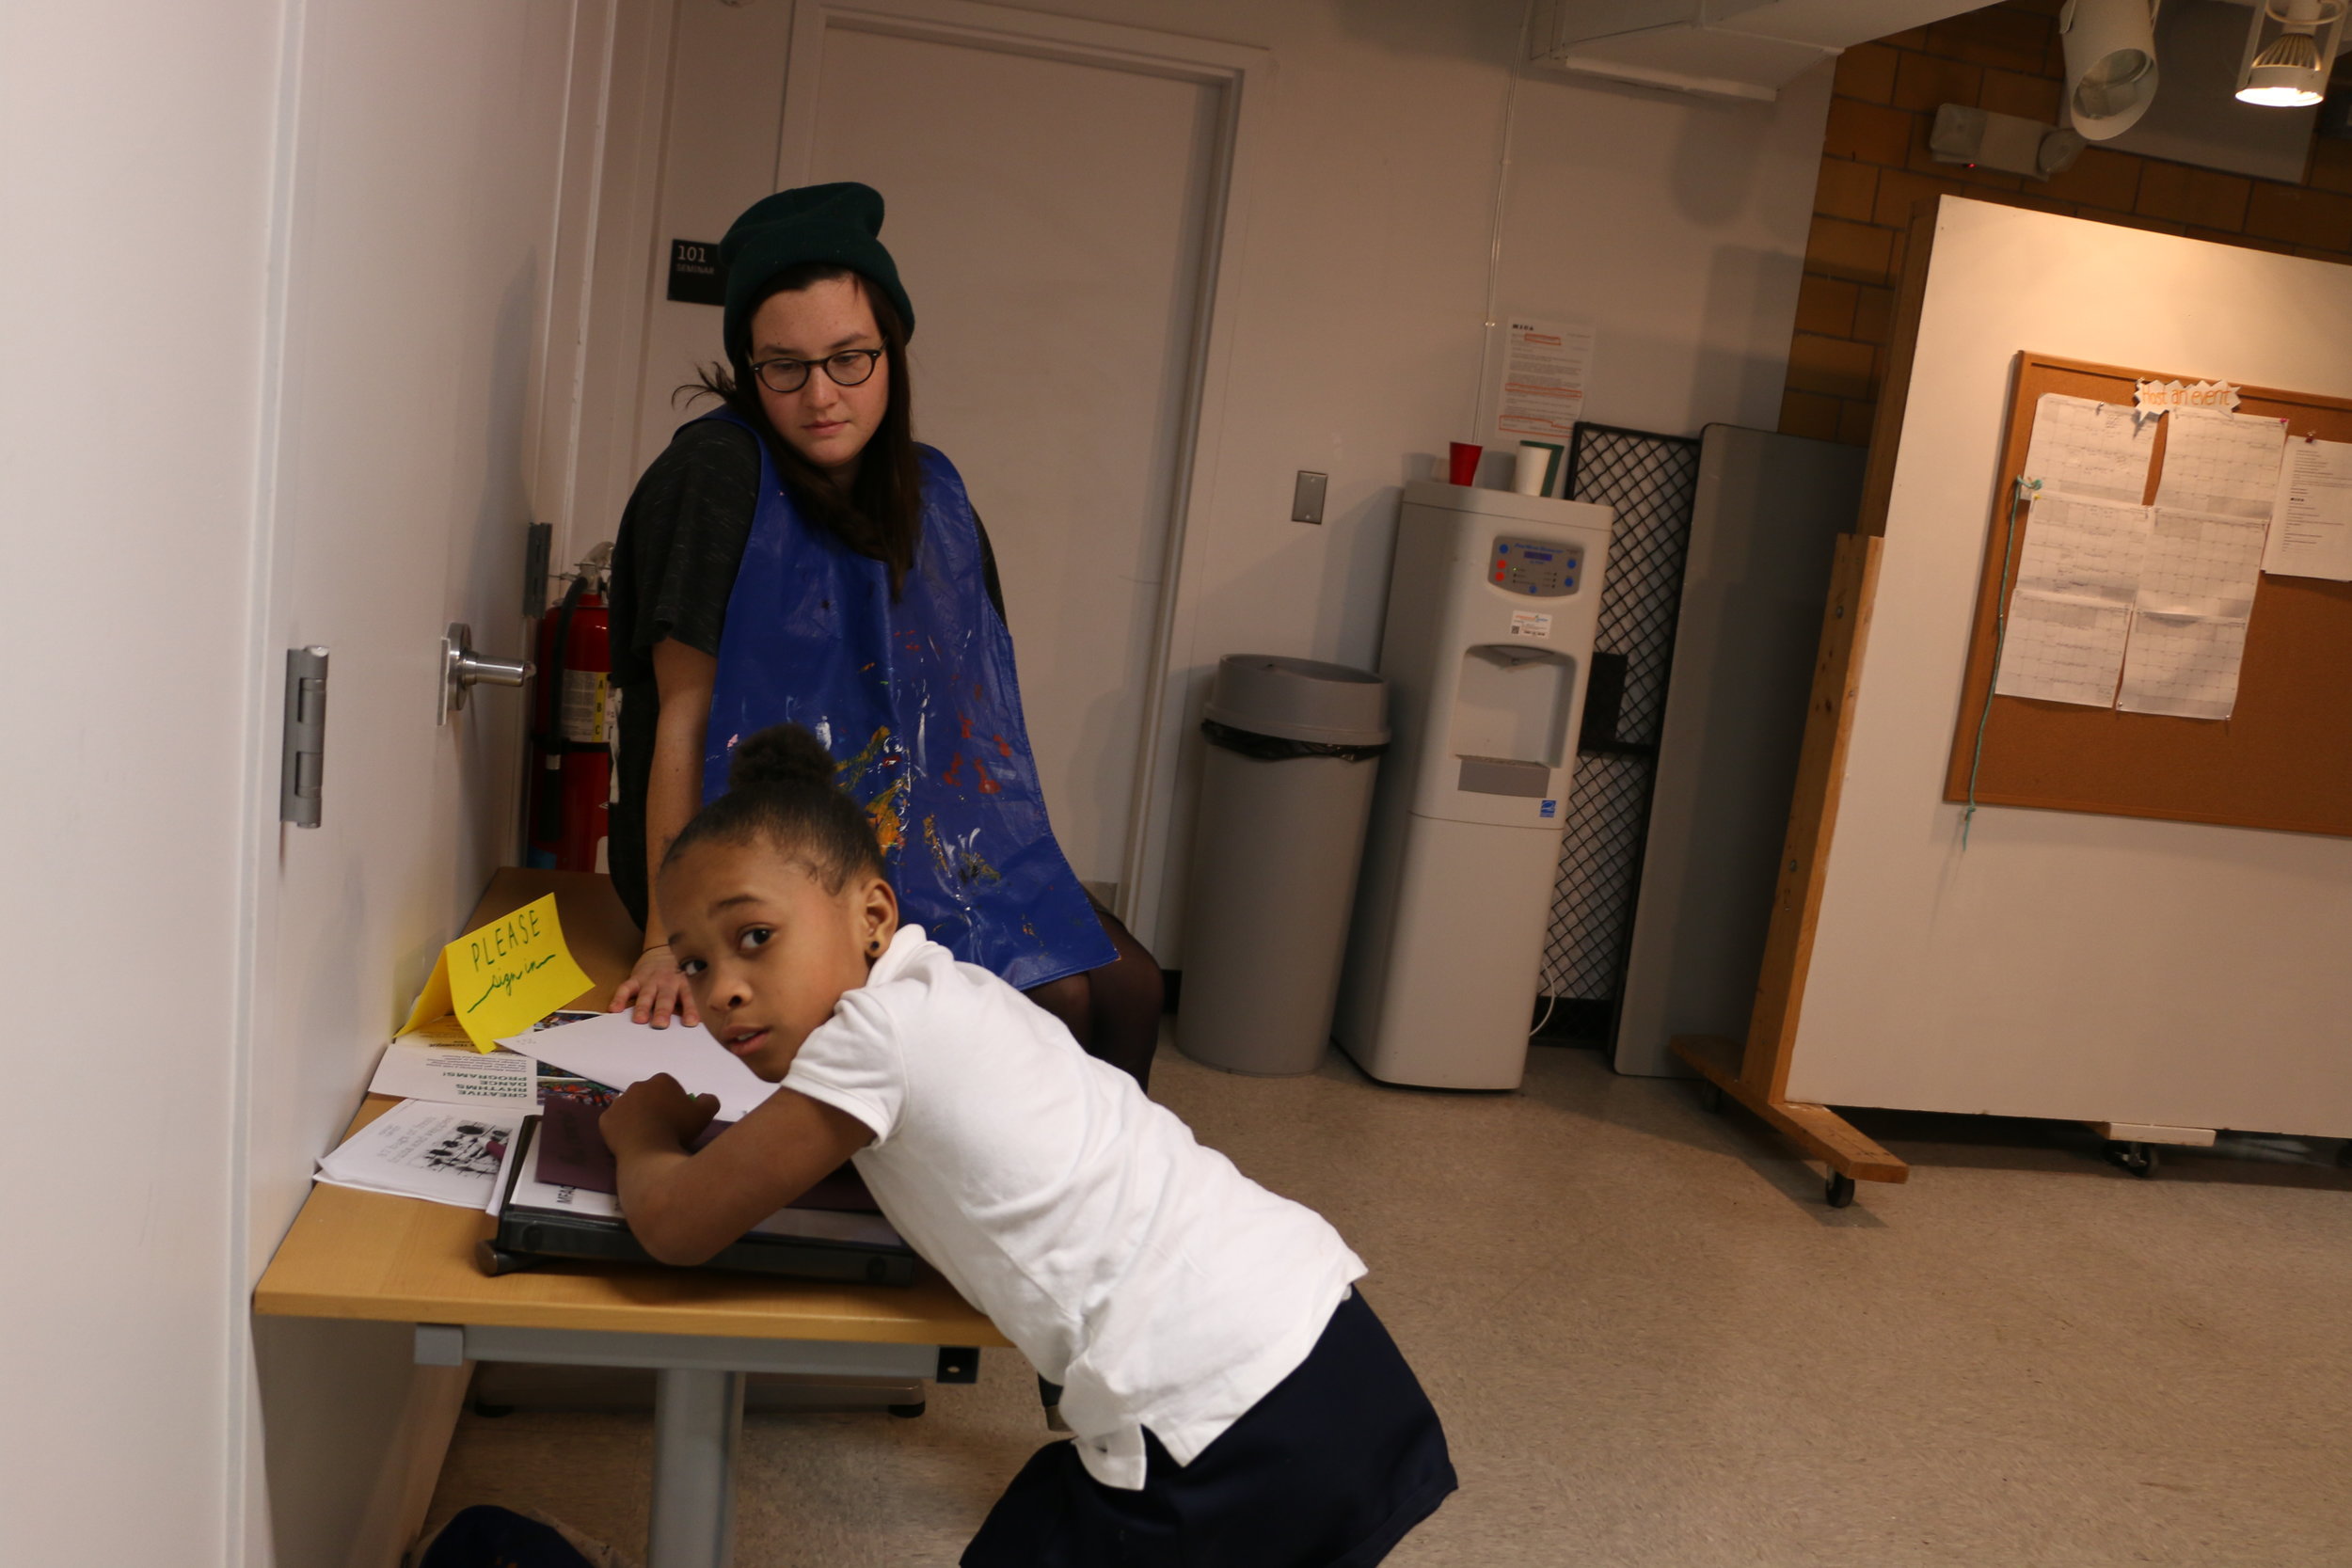
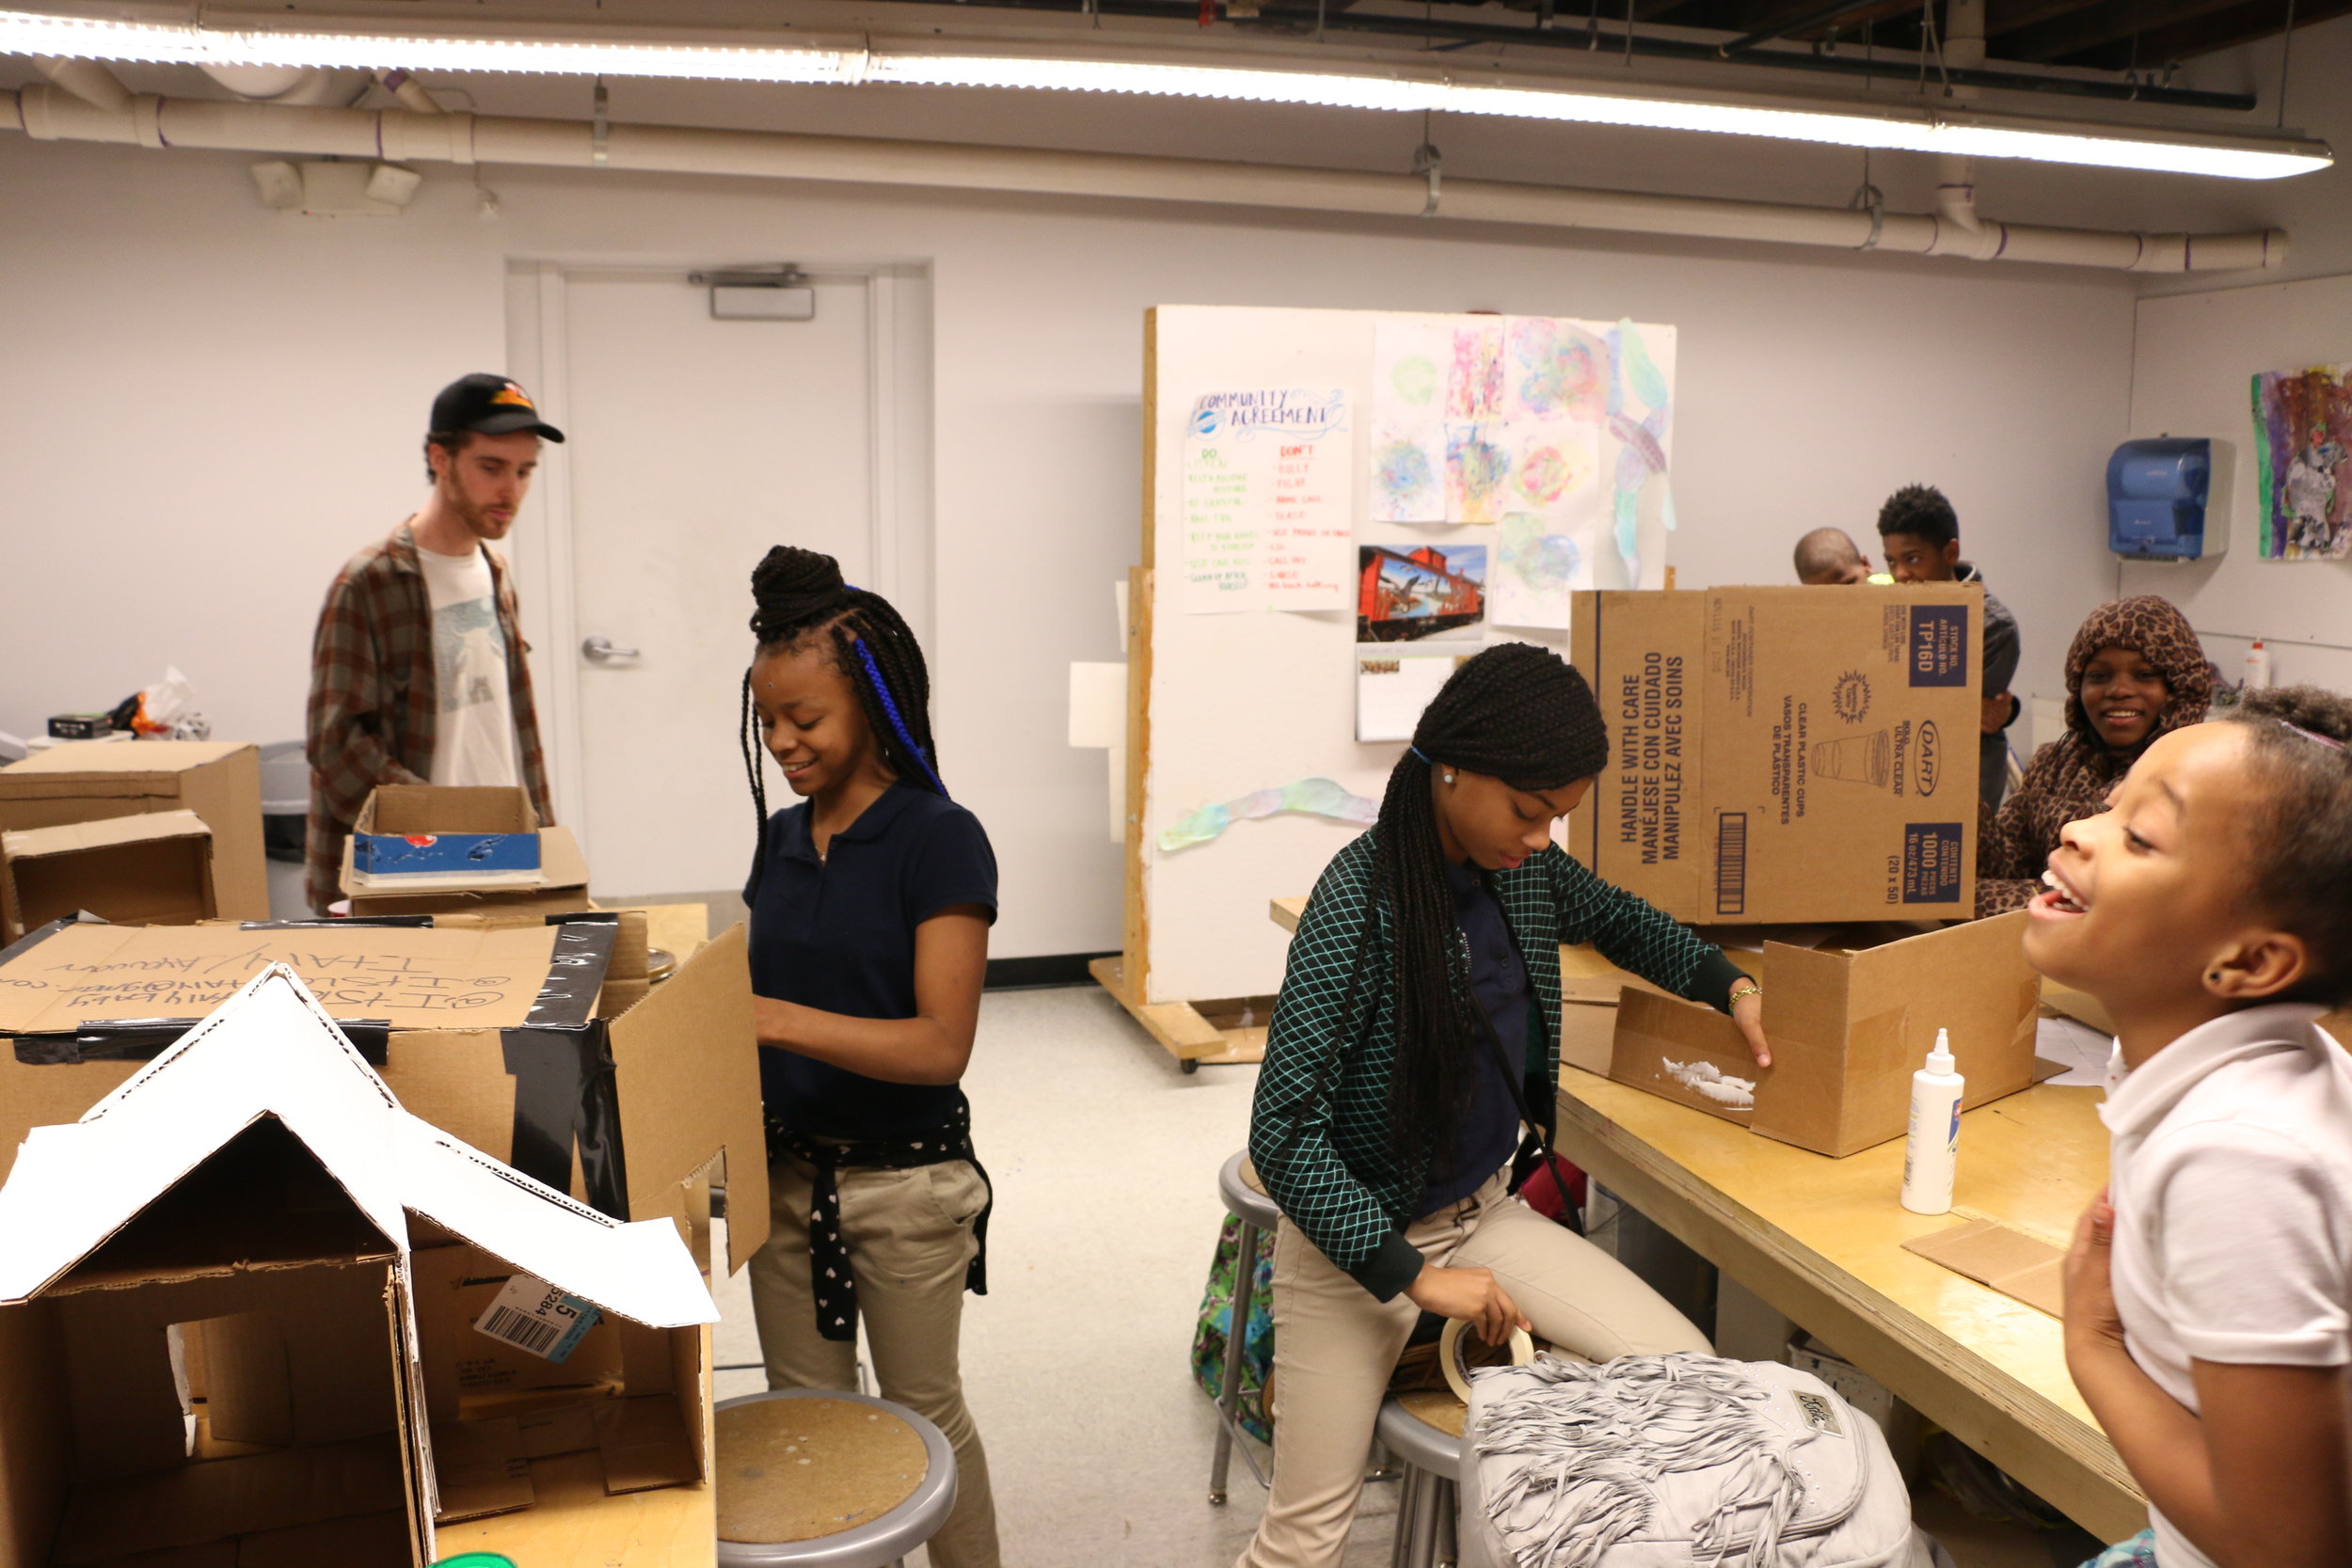
At this point in the project, we'd been working on these homes for around three or four weeks and we sensed that the youth were losing interest in the project. Particularly when we started the interiors, focus was scattered and the youth seemed bored. So, we came up with an alternate activity. We decided to work on designing a large piece of plywood as a neighborhood for their homes to be in. The whole piece--the plywood with the home structures on them--would then be in our upcoming Finding Home exhibit.

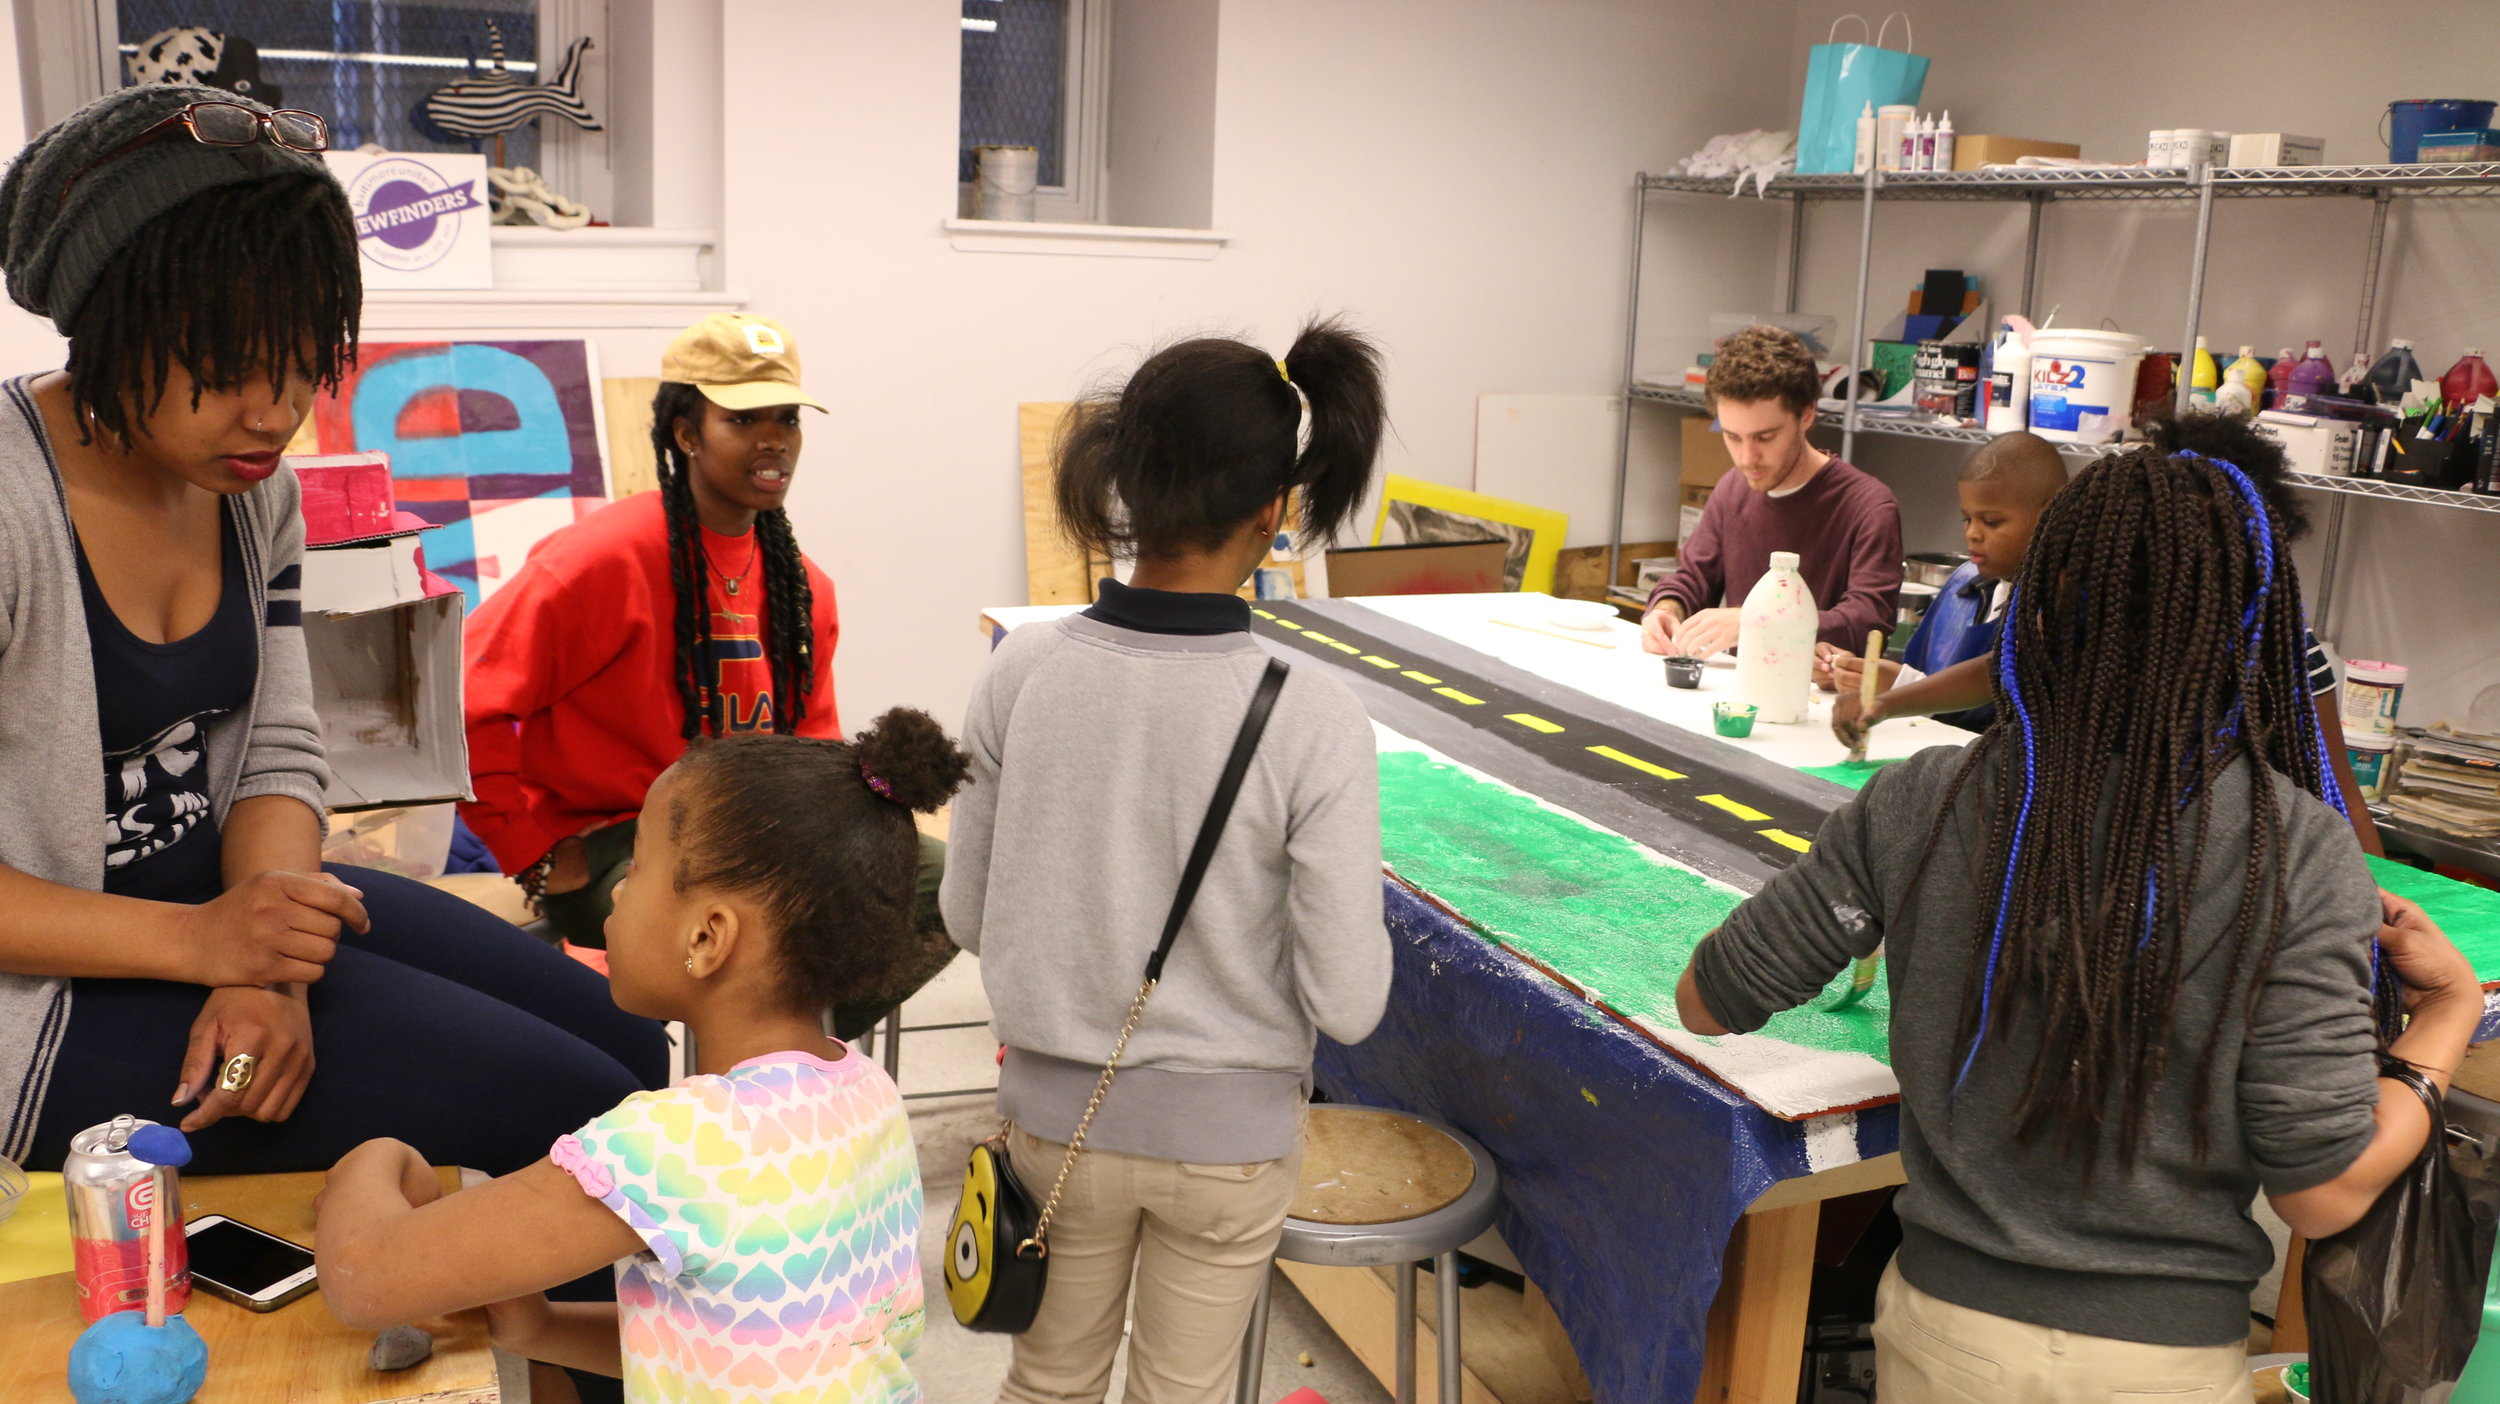
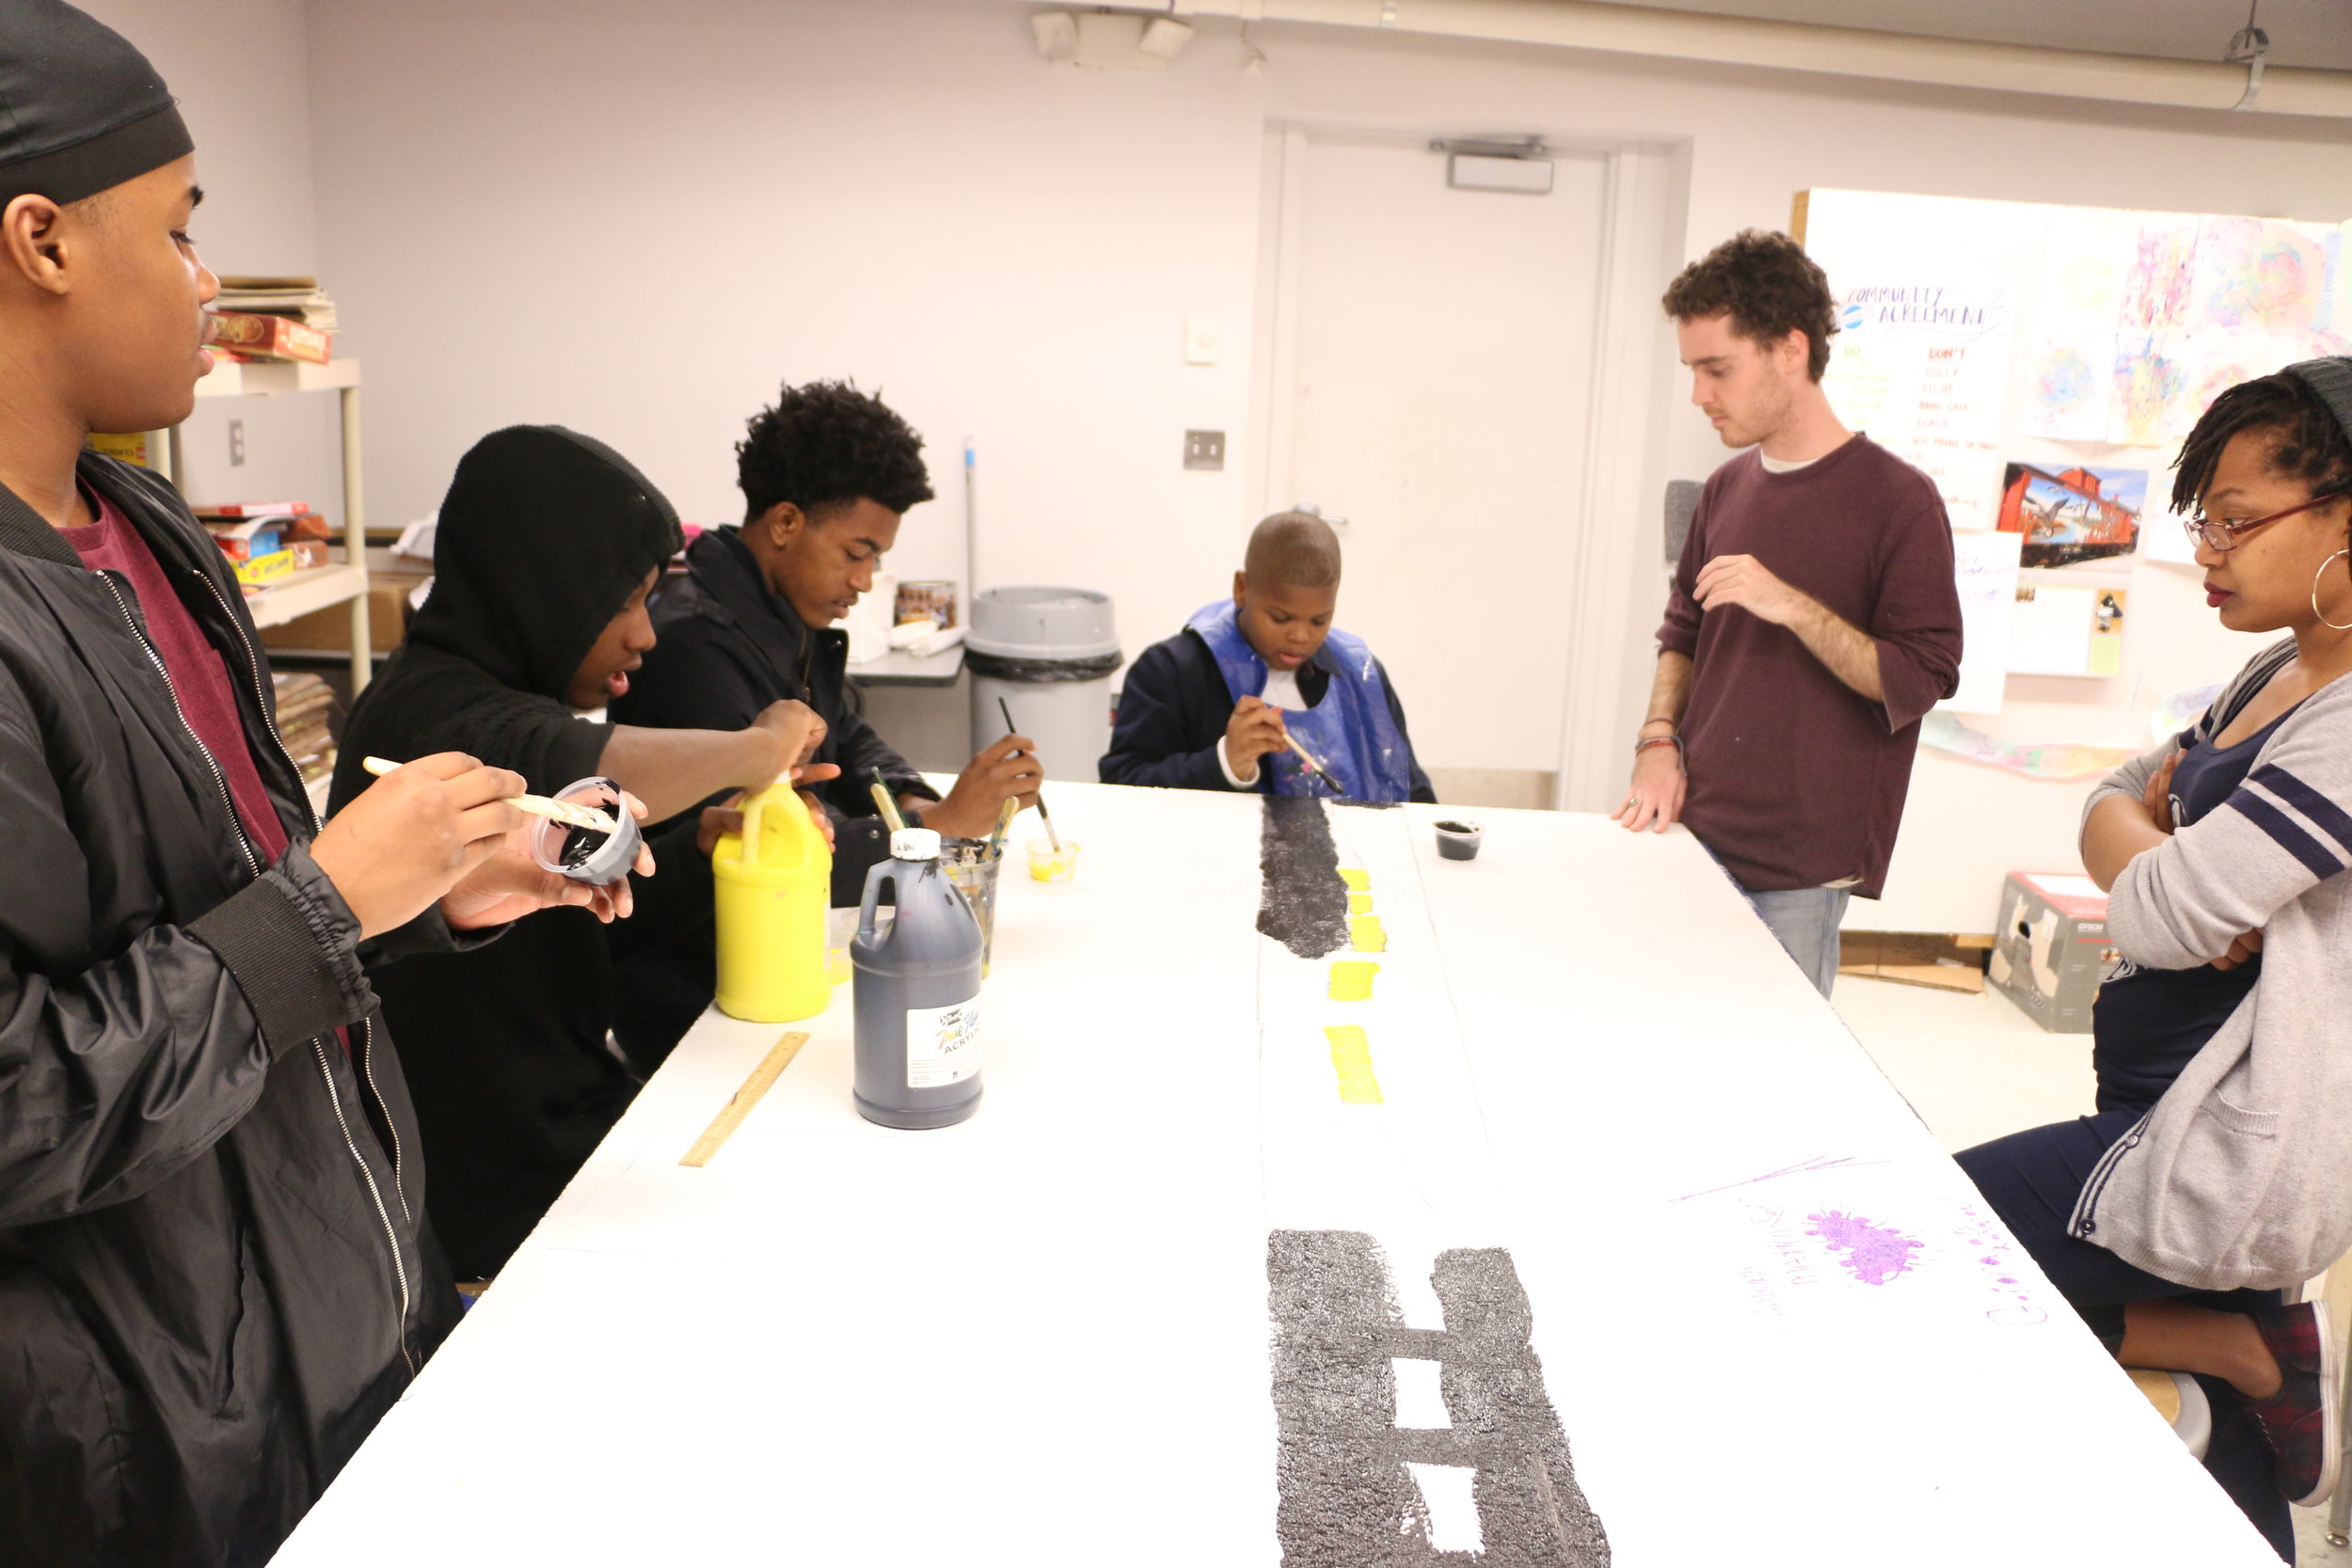
To design the neighborhood, we started by getting the basics down. We drew and painted a street and sidewalk. Then, we decided we wanted a lot of grass and flowers, so we filled the rest of the plywood with lawns and gardens. After that, we got a little more specific. We came up with a long list of things we'd want in the neighborhood: a playground, lemonade stands, benches, trees, and other things. The next day we set about drawing and painting those items onto the plywood. Lastly, we attached the houses onto the plywood to complete the neighborhood. Ultimately, switching the activities up to work on the plywood proved to be quite successful. The youth were much more engaged with working on designing the neighborhood than continuing to work on their homes, and it really helped bring us through the project.


Building Homes: Strengthening and Exteriors

The next step in the process was to strengthen their home structures and design the exteriors. Once they were happy with how their home looked, each Jr. Viewfinder painted a coat of gesso onto the exterior to help fortify the structure. It also created a blank, white layer for them to work with as they started their design process. 

The first step in designing the exteriors was a photo transfer process. We used the texture photos that they took earlier in the project. The youth picked a few of their favorites and then we showed them how to do photo transfer. The way it works is that you print your photo on regular paper and make sure to cut out the part you want to use. Then apply a thin coat of a specific type of gel (a few popular brands are Liquitex and Golden) over the whole image. Next, you place the image, with the gel on it, face down on the part of the structure you want it to be. After that, it has to sit for several hours. So, the next day, you come back and use a wet rag to rub away the paper. Once all the paper is gone, you're left with the image on the home structure. (Tip: if you want to use words, make sure to print the mirror image of the words!)

For us, this process was a mixed bag. It's never going to look perfect--and that's part of the effect, especially when transferring the image onto a material like cardboard. But, some of our youth were expecting it to look perfect, so they weren't so happy with how a few turned out. It also proved to be more time consuming and difficult to rub the paper away than we'd thought, so the youth struggled to stay focused on that rather tedious task. Ultimately, though, their homes looked great with the images, even with rough and torn edges, and most of the youth, enjoyed learning the process. The final step in the exterior design was to paint and draw anything else they wanted onto their homes. A lot of them filled in the blank areas with colors or painted a pattern on a wall. You can see some photos of us at work below!


Building Homes: Plans and Foundations

We are about to get into the heart of the Finding Home project: building model homes. We wanted the heart of this project be hands-on art making, and we wanted the activity to be challenging, exciting, and fun for the youth. So, for a project about home, we decided that building homes out of cardboard would fit those goals. 

We started by thinking about how to design a home. We looked at examples that focused on Baltimore specific types of homes that the youth could relate to, but we did also show some more extravagant examples of architecture. We wanted the youth to go deep into their imaginations to come up with a house structure that they really loved and wanted to build. However, building a home out of cardboard isn't always easy, so we showed some examples of cardboard homes to help show some of the limitations of working with cardboard.

Next, the youth drew sketches of the house that they wanted to build. They added details about decoration that won't come into play until later in the design process. Most importantly, they all had foundation of their structures figured out. Then, we dove straight into the building process. We demonstrated certain techniques in working with cardboard, like how to make a corner and effective ways to attach two pieces together. While there had been some reticence about the project during the planning phase, the first day of building was probably one our most focused day of programming all year. The youth were super focused on getting the base and foundation of their structure sturdy. They improvised and problem solved together to figure it out. Overall, it was awesome to see how the youth really enjoyed working with their hands to make the homes. Check out some process pictures below.